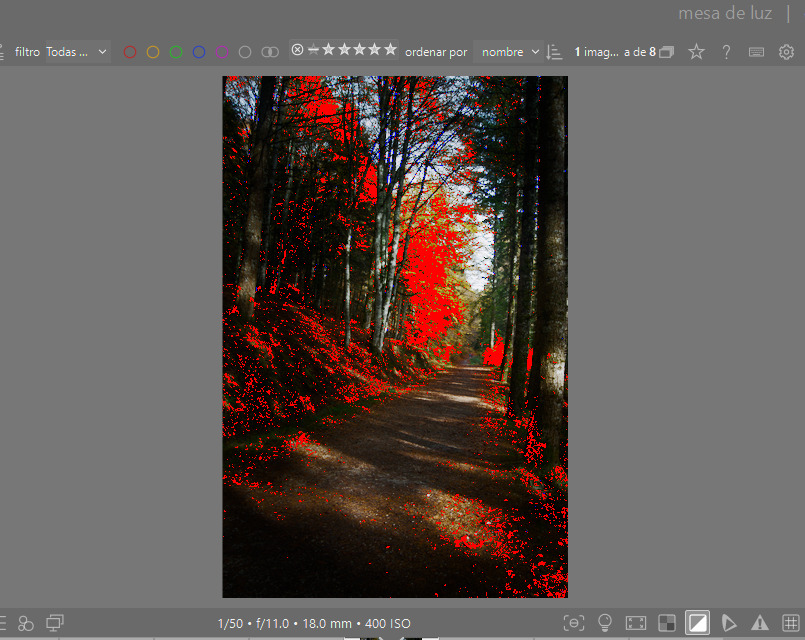
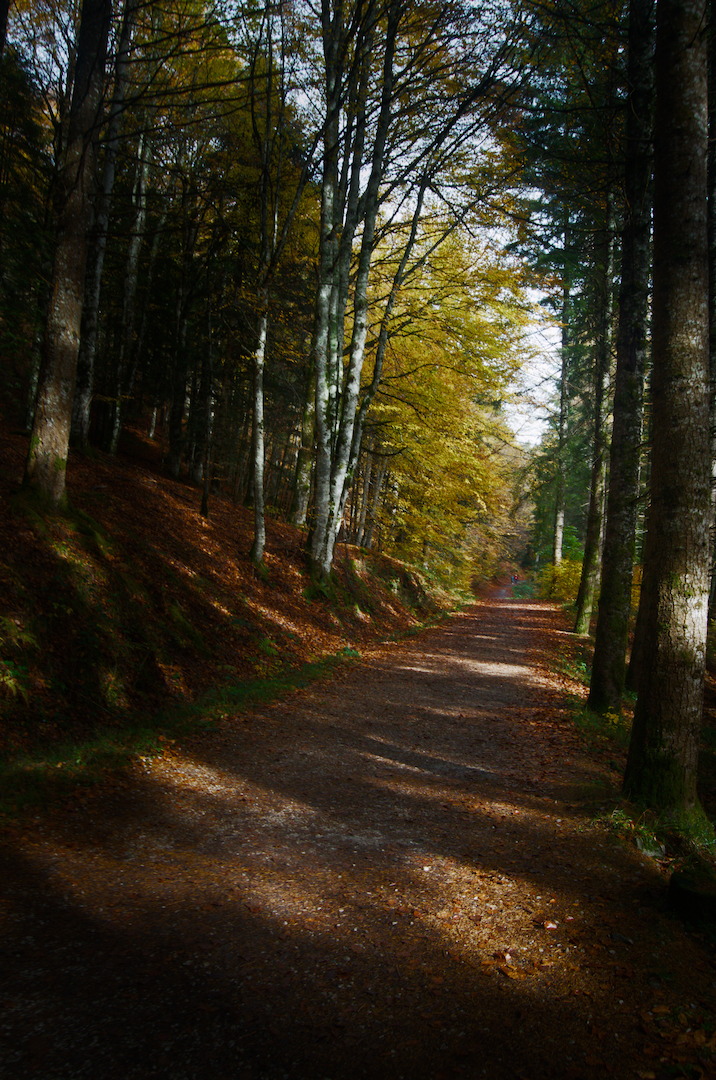
I am trying to understand AgX and it looks great, but I have issues with saturation clipping indicator that scares to me (might it deal to problems if I print or export the image in other device?)
If I edit my image with sigmoid - smooth preset and sRGB colors, then I have no clipping indicators. However, these indicators came often with the same image if I move to AgX. They only leave if I strongly decrease contrast and rise shadows (which is not how the image looks fine, to me). AgX colors are set to sRGB as well, by the way.
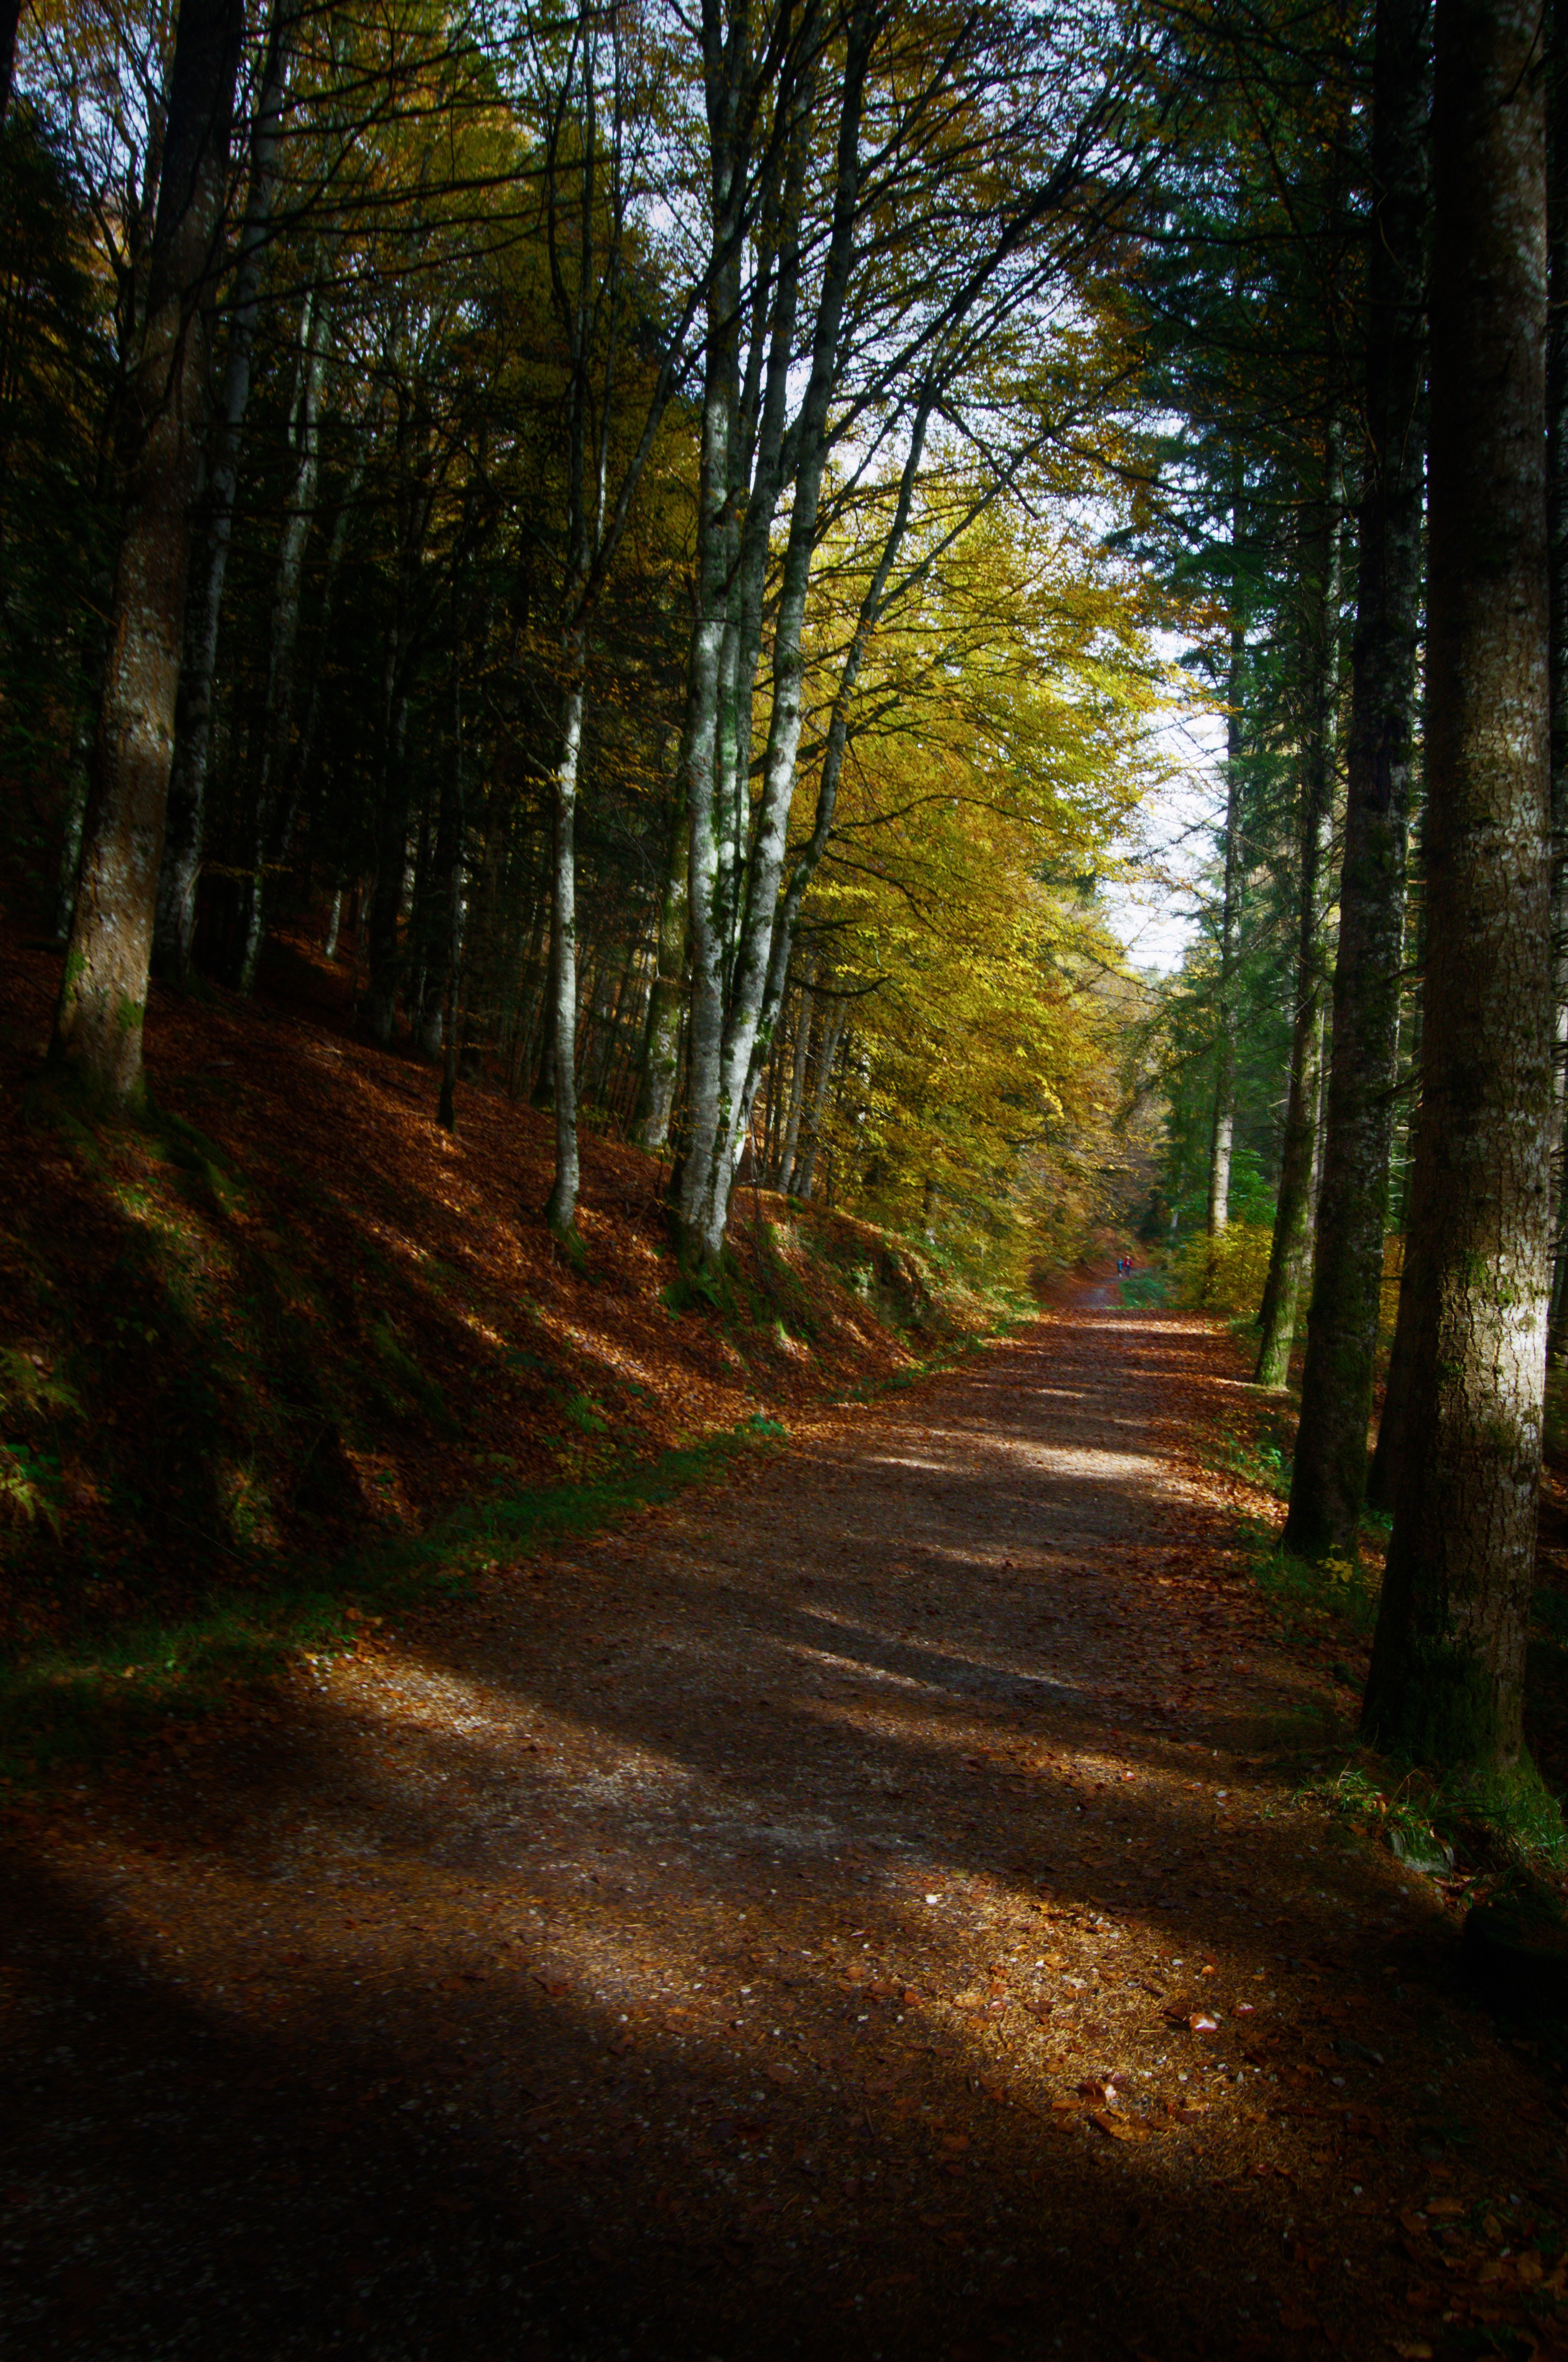
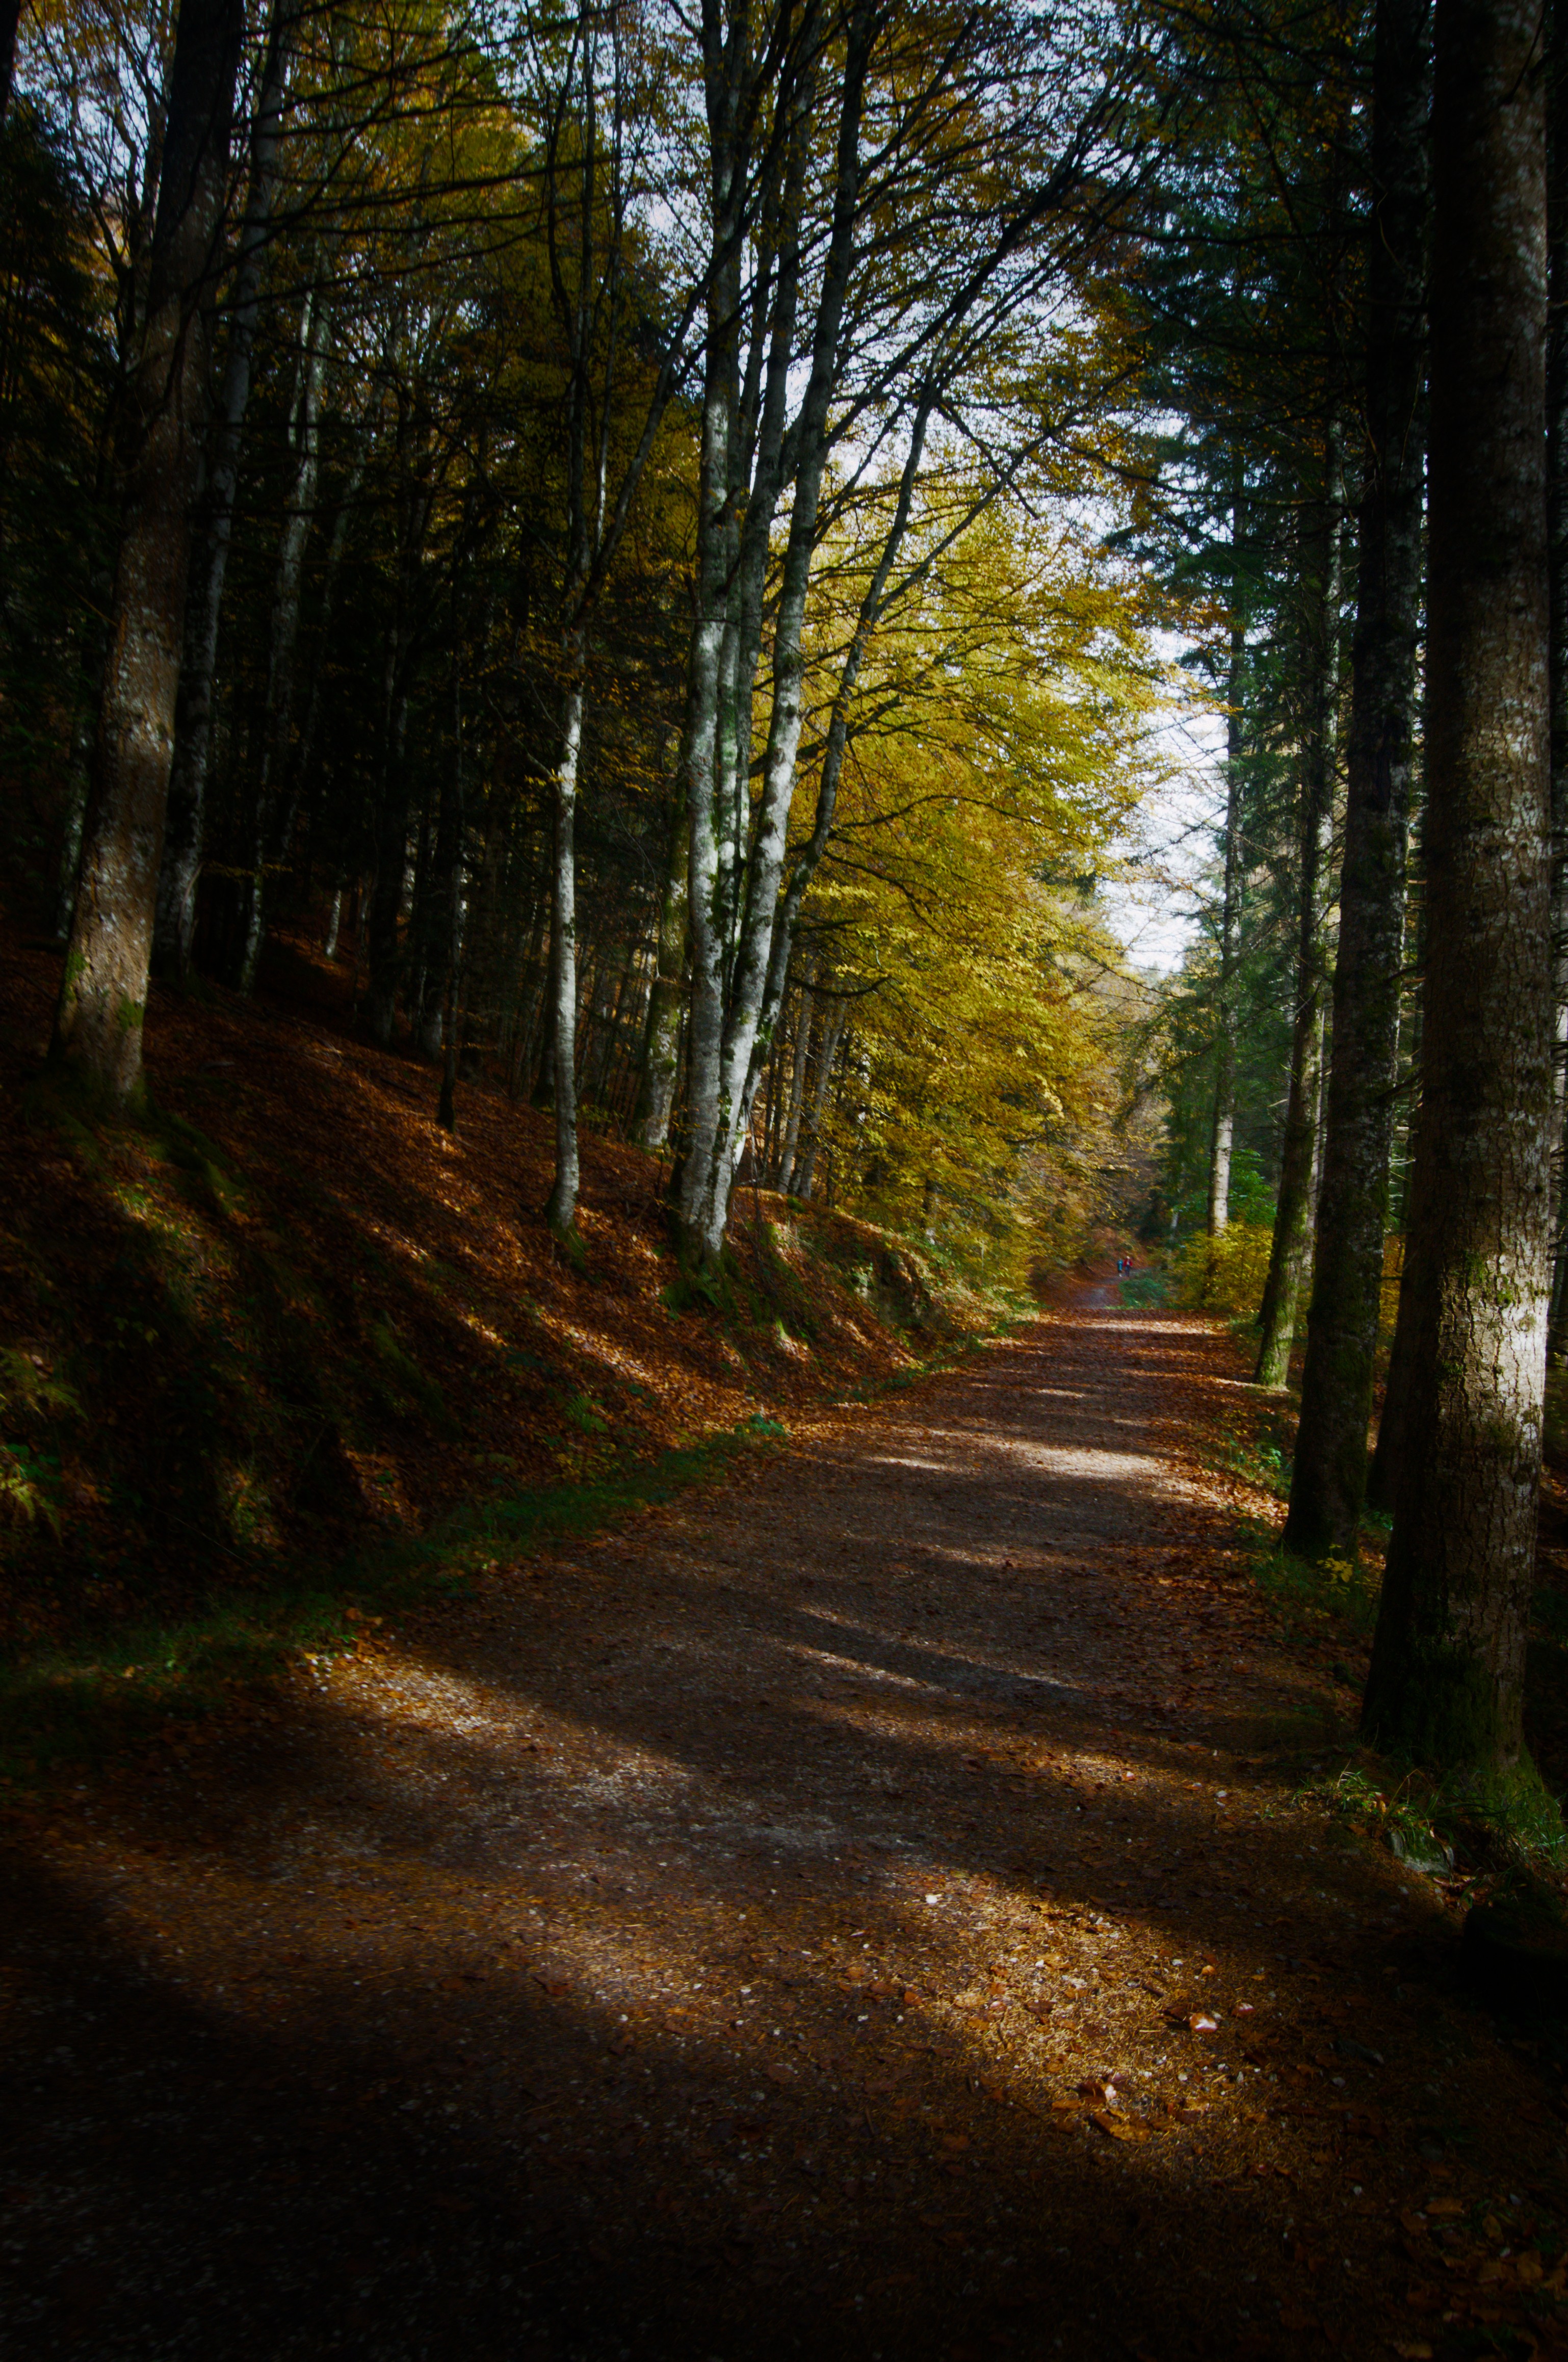
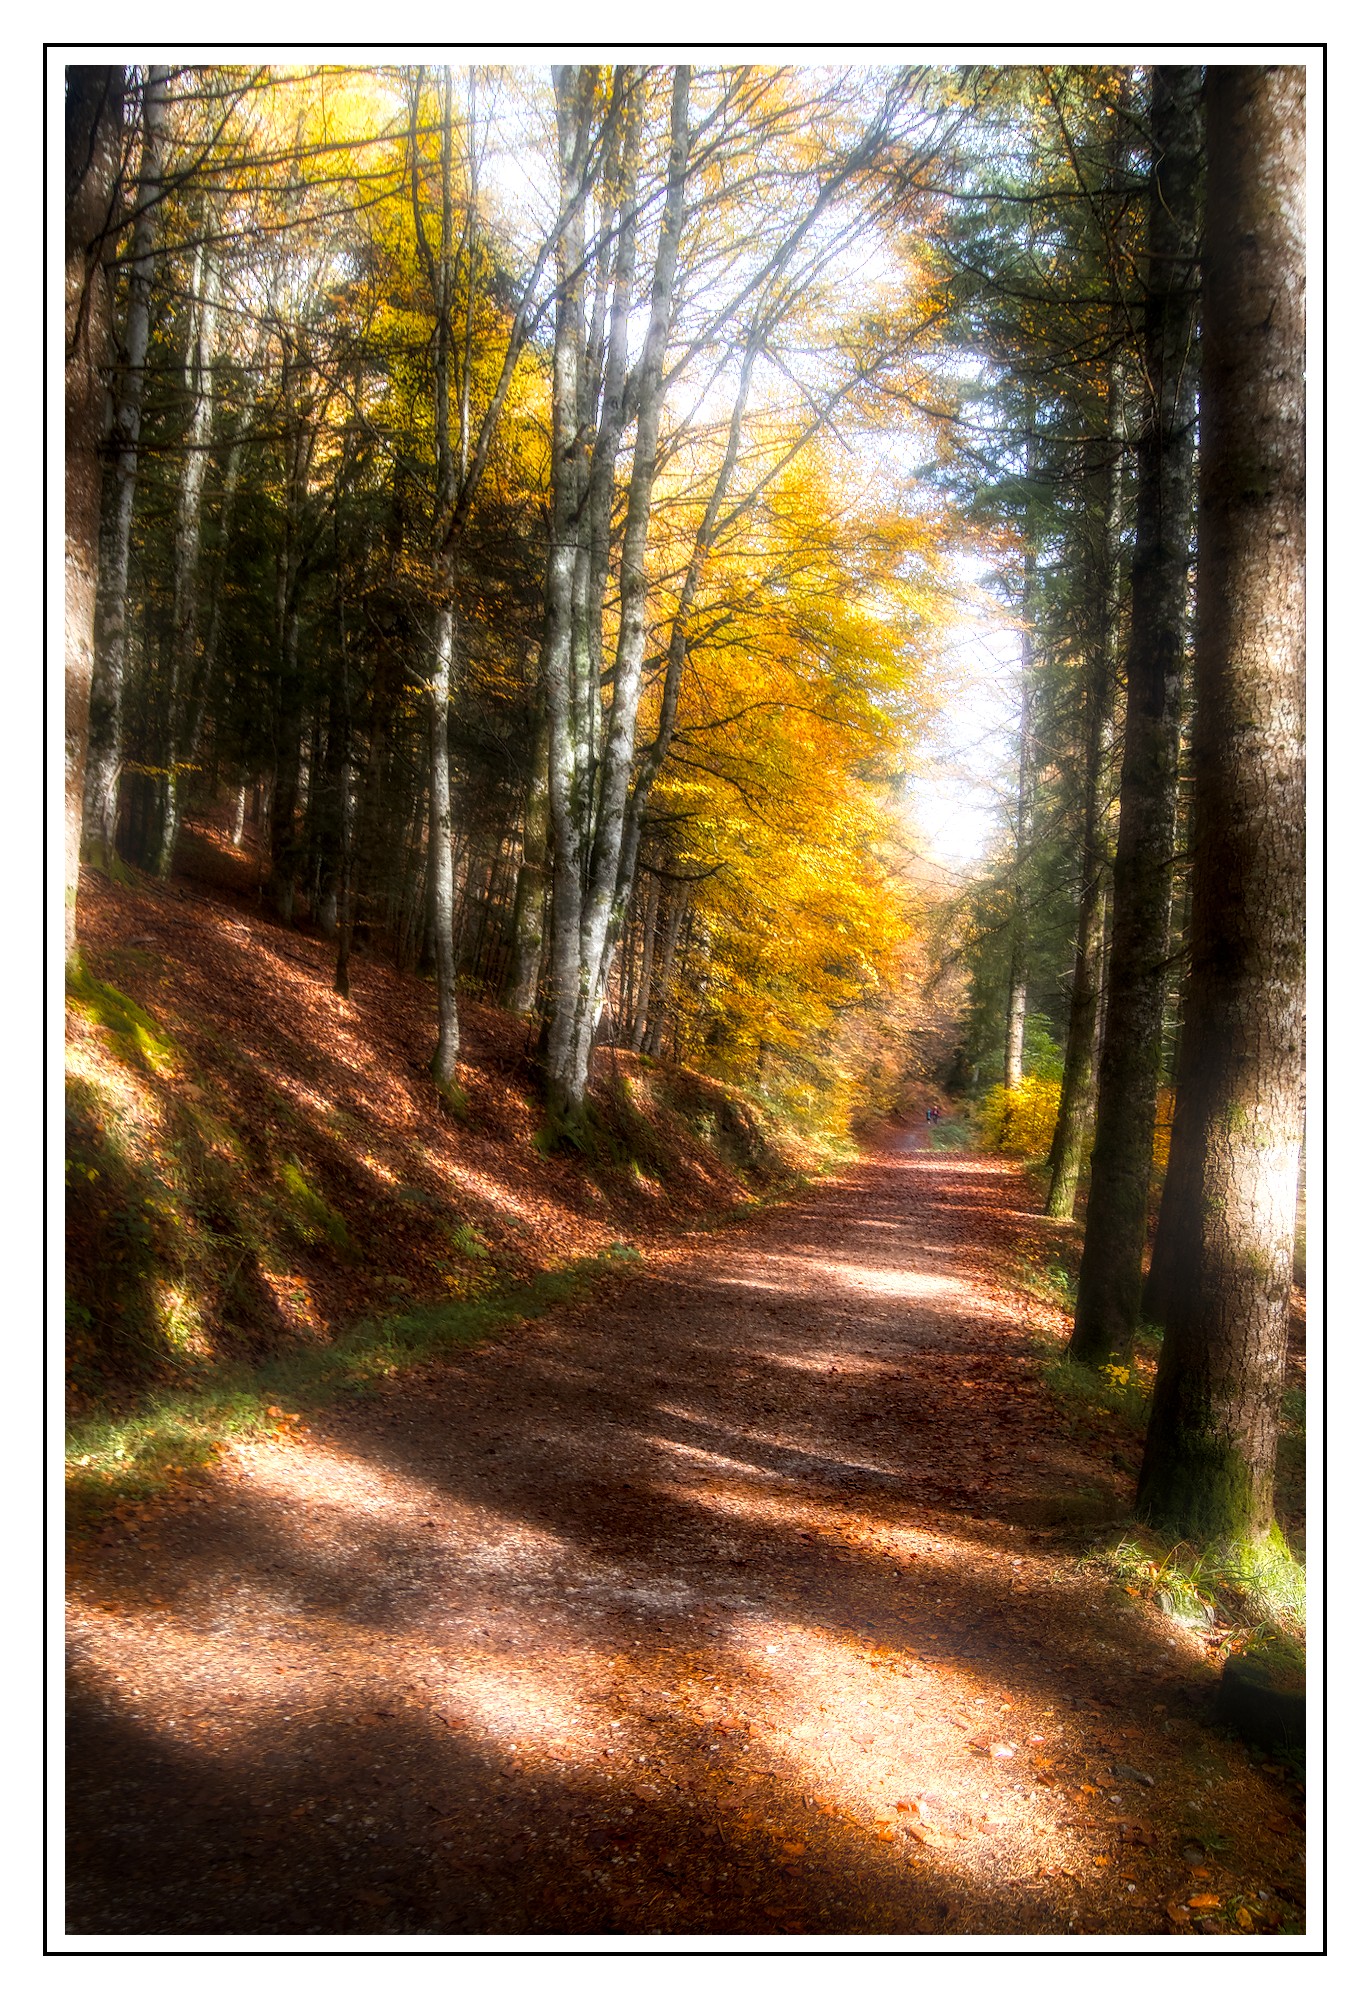
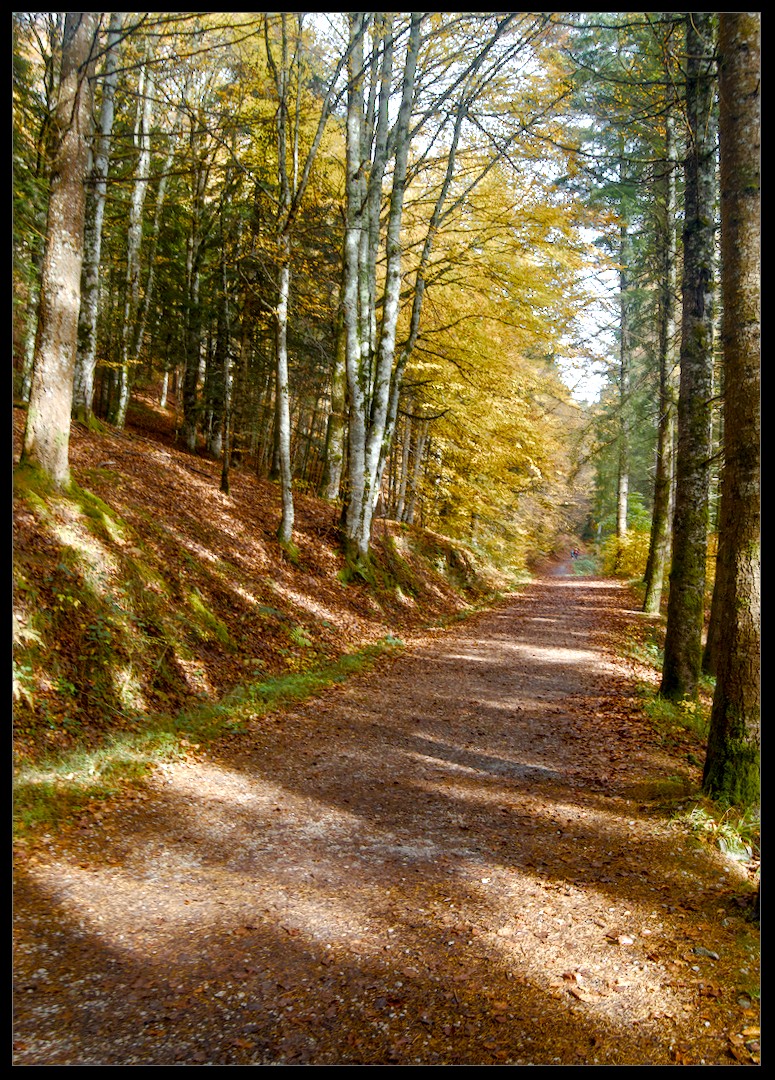
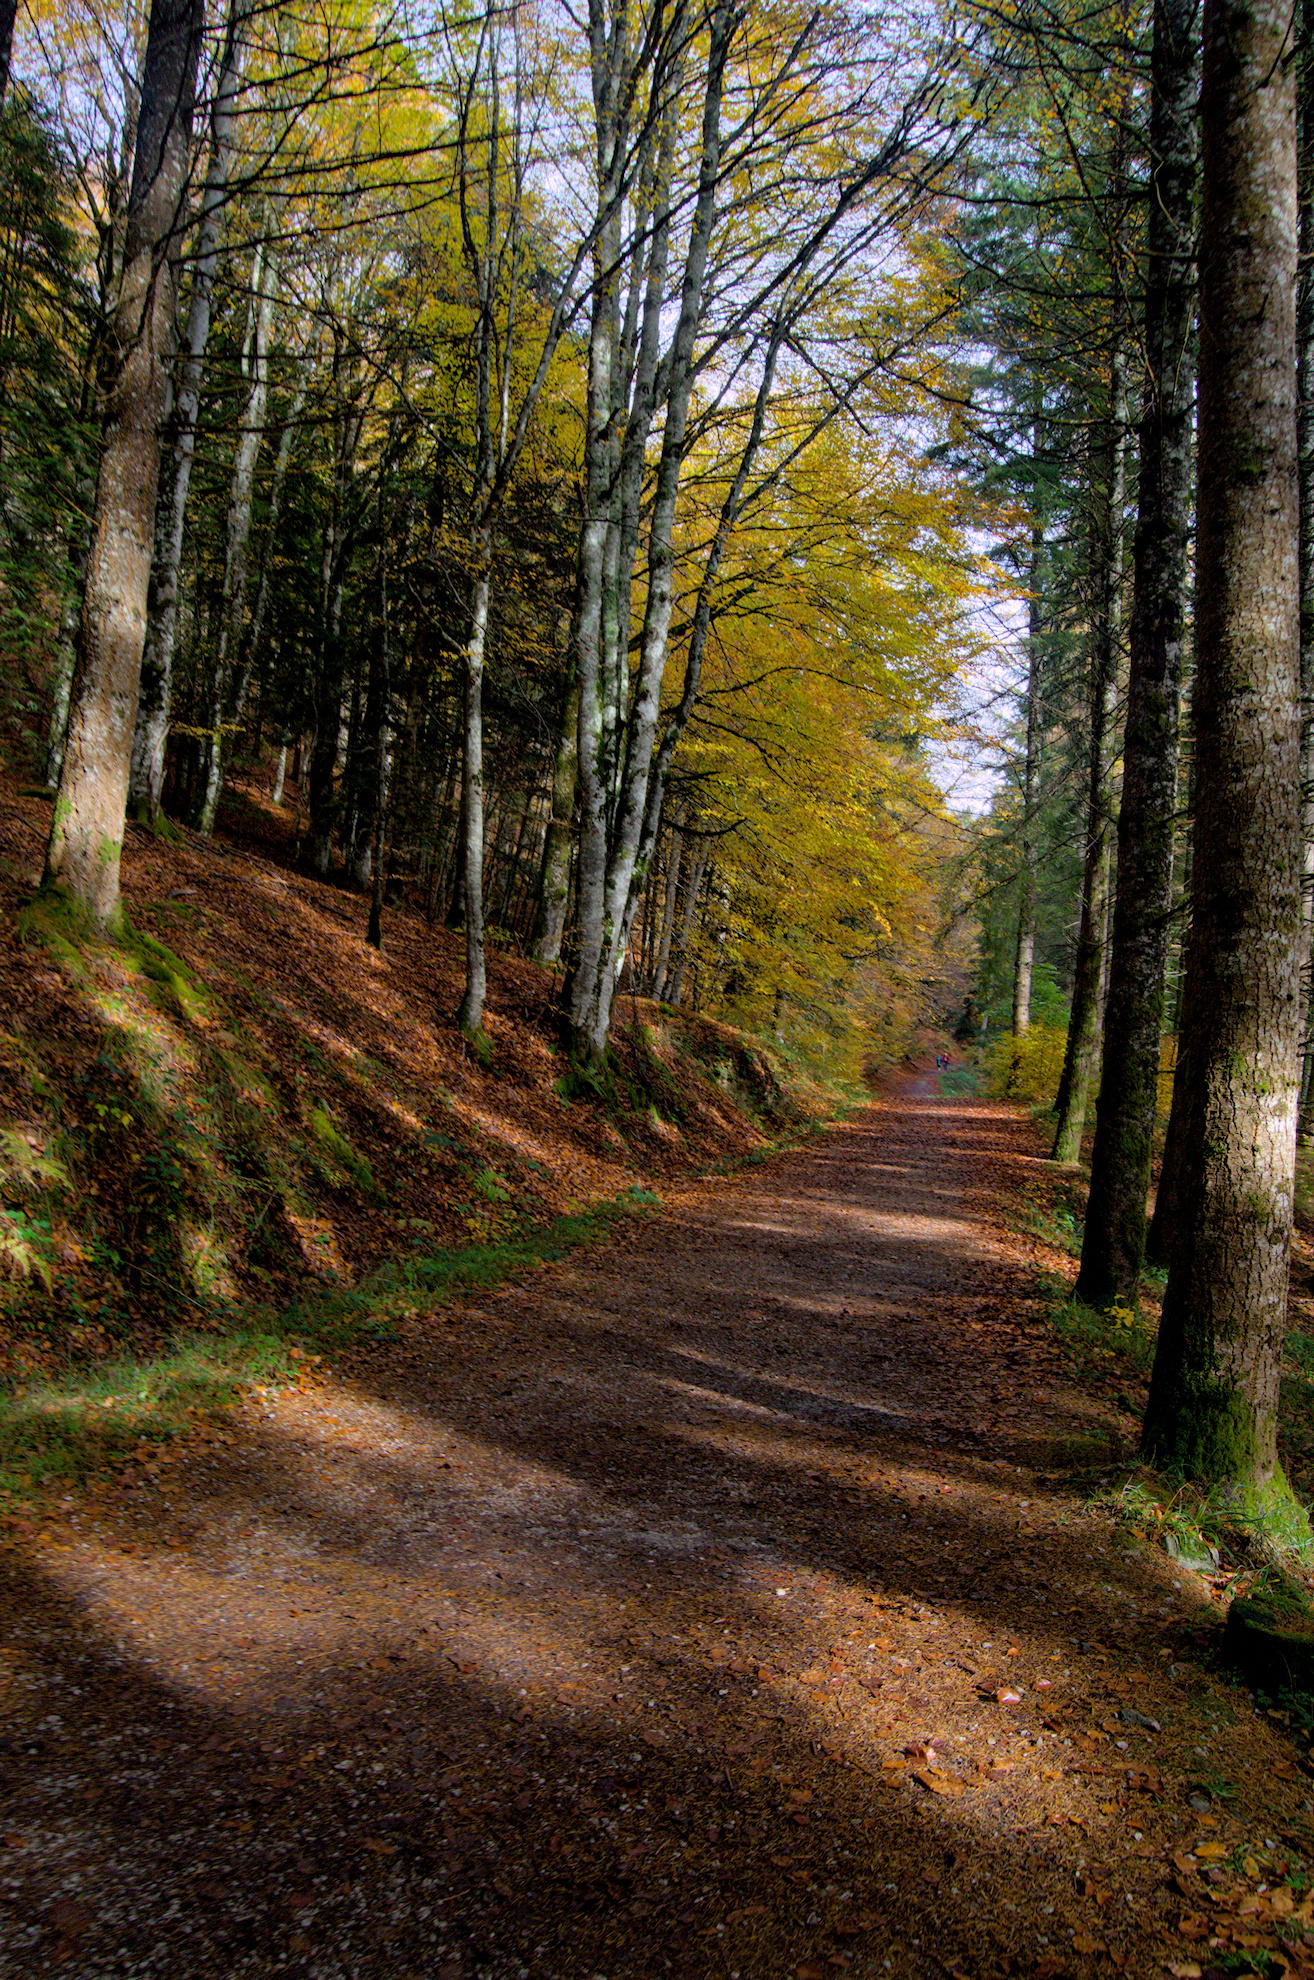
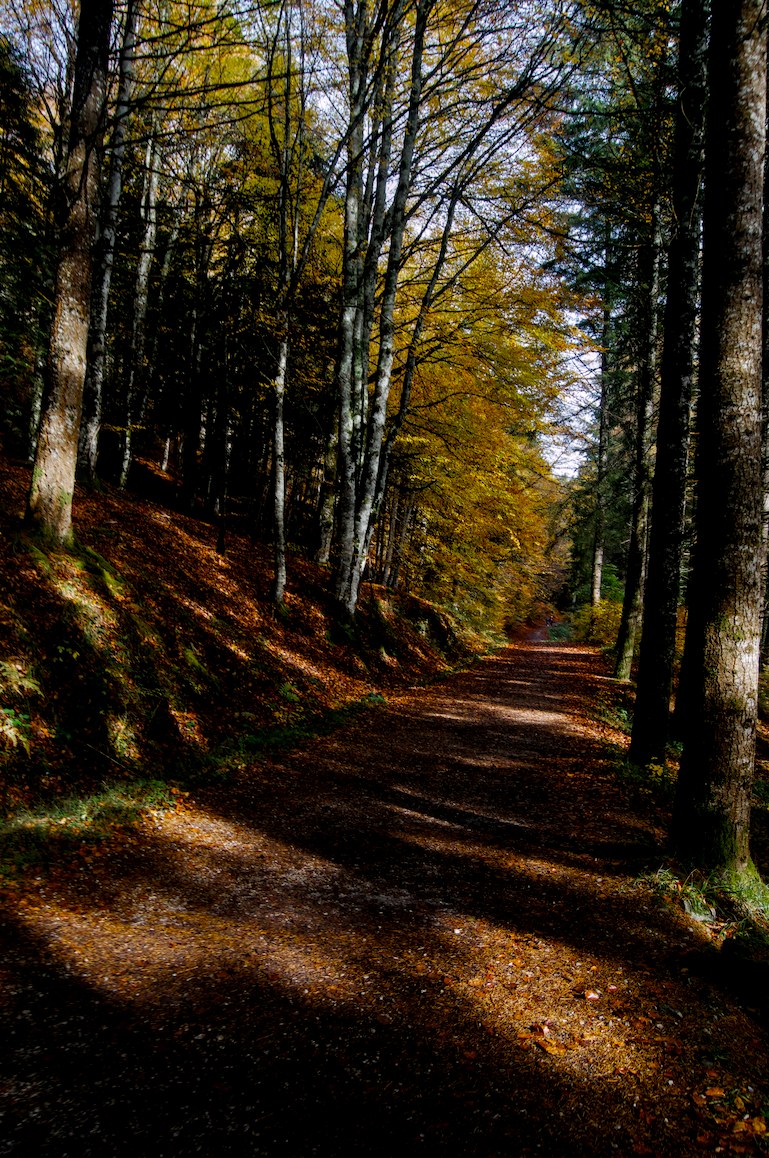
Please have a look to my jpgs
Sigmoid:
Thank you for your reply @kofa
It is clear to me that AgX is more flexible and users will obtain results at least as good as sigmoid. However I do not know if I am doing something wrong with such clipping indicators. I did not find the answer in the documentation. Maybe I am wrong at the capture?
Cant open your file right now, but for me agx primaries master purity boost pushes the colors to clipping values sooner than expected. Change it to 0 and add the saturation in color balance rgb.
Since the curve is per-channel, and it reaches 0, saturation boost after tone mapping will result in out-of-gamut colours. Recall that increasing saturation means increasing the difference between RGB channels (R=G=B is neutral, a colour with exactly 2 components of 0 value is a primary, one with exactly 1 component of 0 value and equal in the other two is a secondary/complementary colour: yellow, cyan or magenta). RGB < 0 means oversaturation. RGB > 1 means too high brightness for display-referred values. Of course a pixel might have both properties.
I plan to continue my work on gamut compression (so t we could take care of this before export), but there’s a more important technical task to finish first.
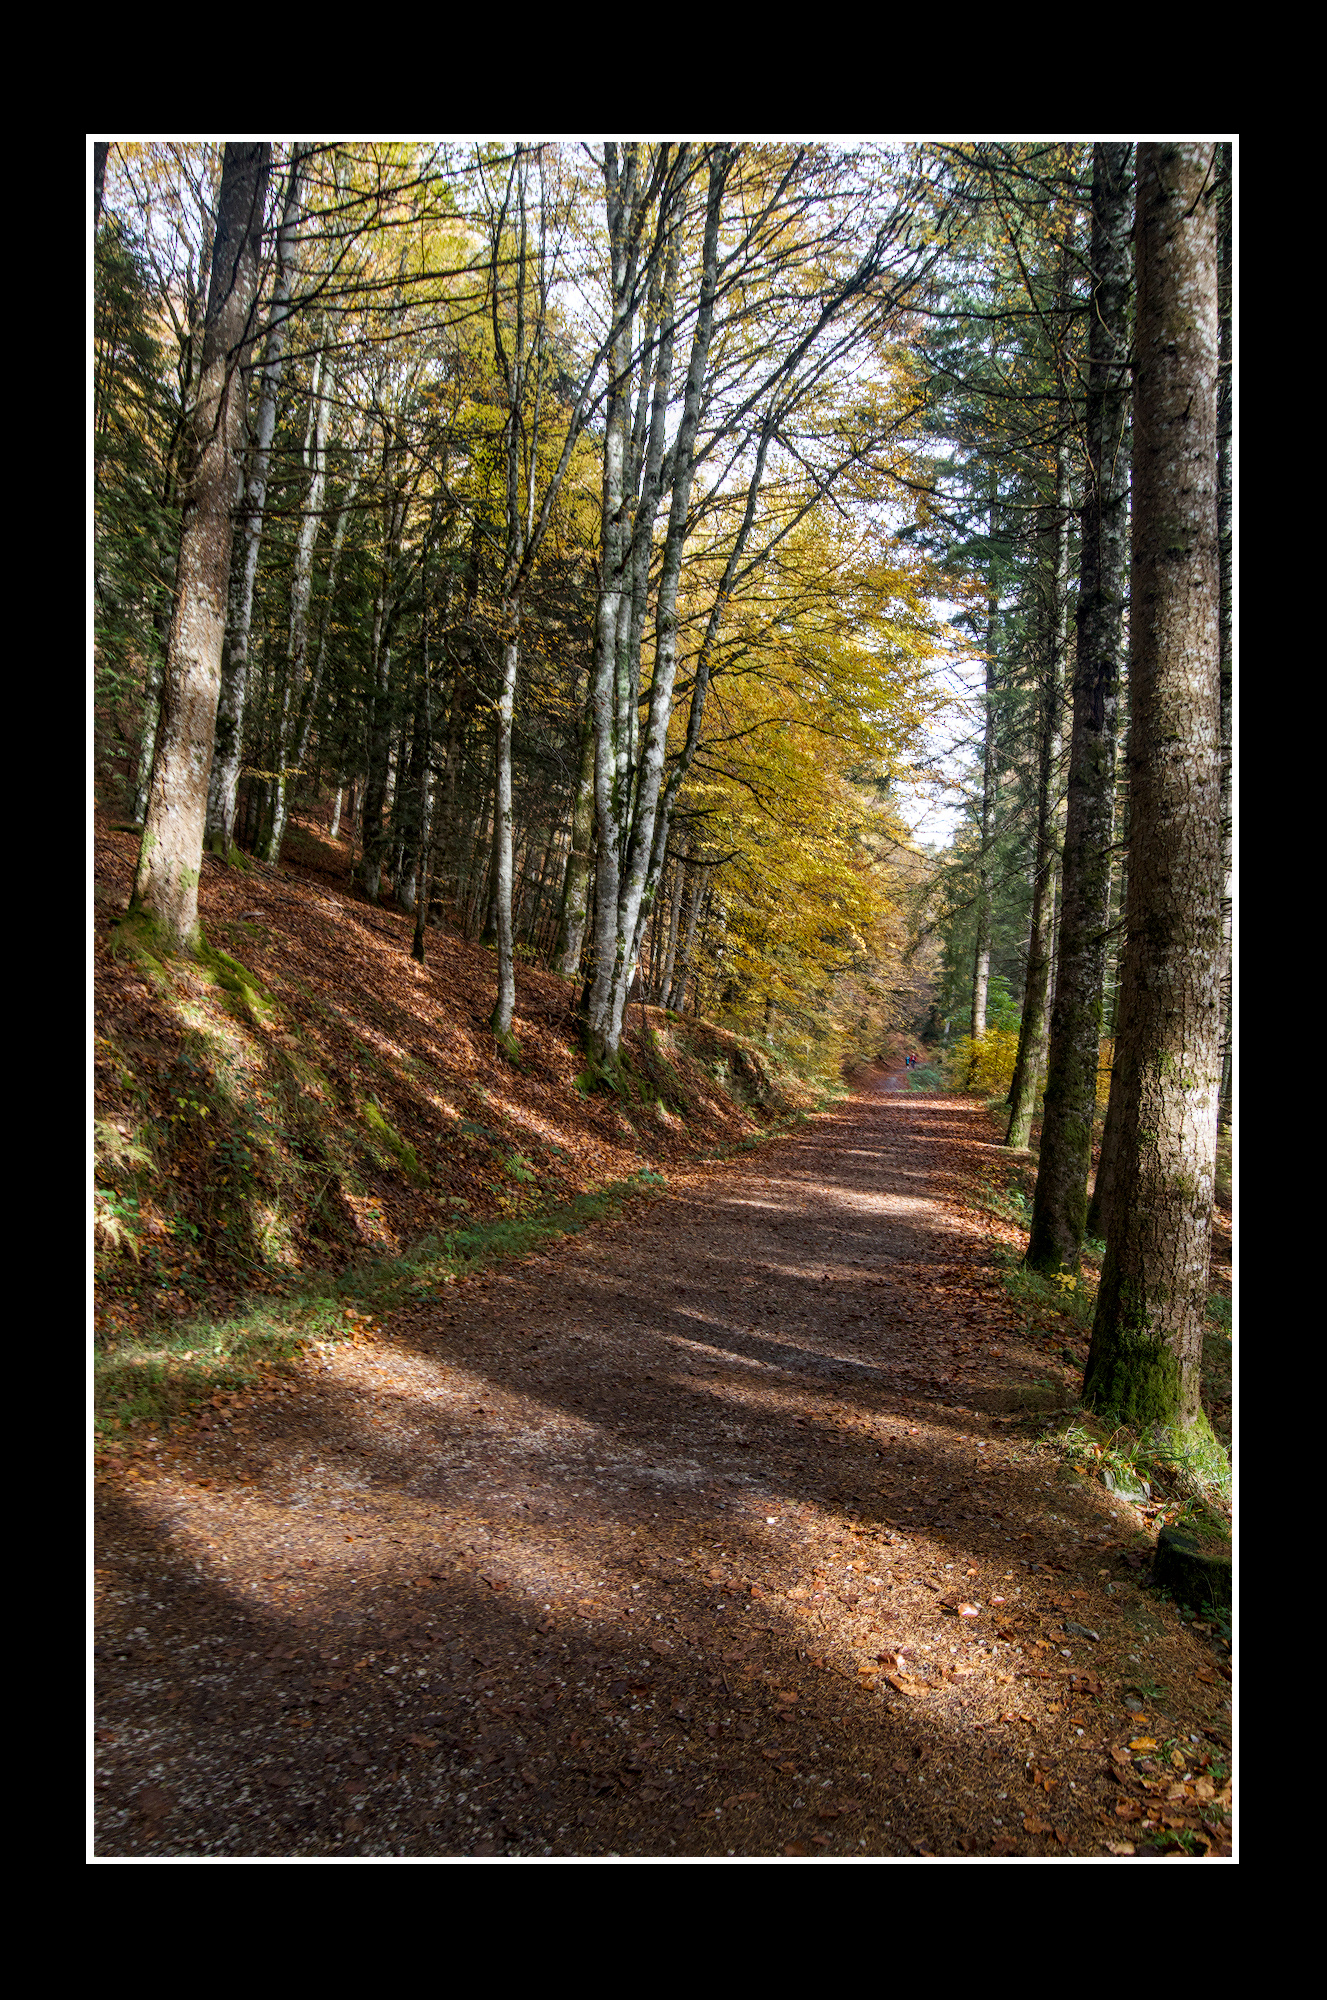
I don’t personally worry about the clipping indicators. If the picture looks nice on my calibrated screen then I am happy. My edit is a bit lighter than yours. DT 5.4 with AgX using sigmoid default preset and blue purity boost increased DSC_0116.NEF.xmp (13.1 KB)
1.) Don’t worry about the gamut clipping unless you find actual artifacts, which in my experience is very rare
2.) beautiful shot, I enjoy both your and Terry’s edits :-)!
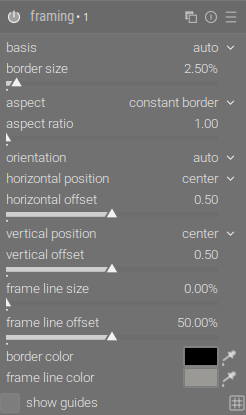
Where does this fine grey line of the frame comes from? Have you added it after your edit?
I’m asking because this module leaves me very often puzzled.
I Never achieved such a fine line even though I tried. Often the lines are of different thickness, even though they shouldn’t. Often they are not exactly centred, even though they should…
I’ve been sporadically following the whole AgX thing, curious to see how such late-in-the-toolchain color manipulation performs. As it is, I do all my processing in camera space and defer the camera conversion to export (that’s about as late as it can get), but I’m starting to wonder how that compares to an early working-profile conversion (which is what most competent software does).
The addition to that mix would be a LUT-based camera profile, where the gamut down-convert is more specifically controllable vice the toe-the-line linear conversion of a matrix. To the point of this thread, I wonder how using a LUT-based camera profile might mitigate the clipping problem in AgX?
one thing I noticed was that the lens correction module couldn’t find your lens, I tried to select the one that seemed most like it, great image, I wanted some strong contrast and to emphasise the bright foliage.
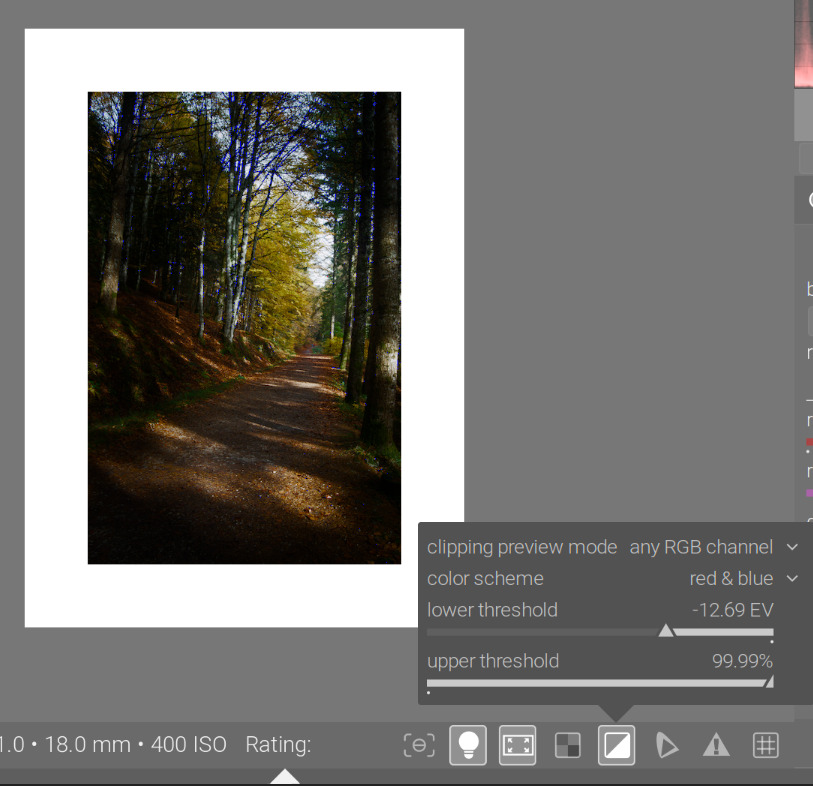
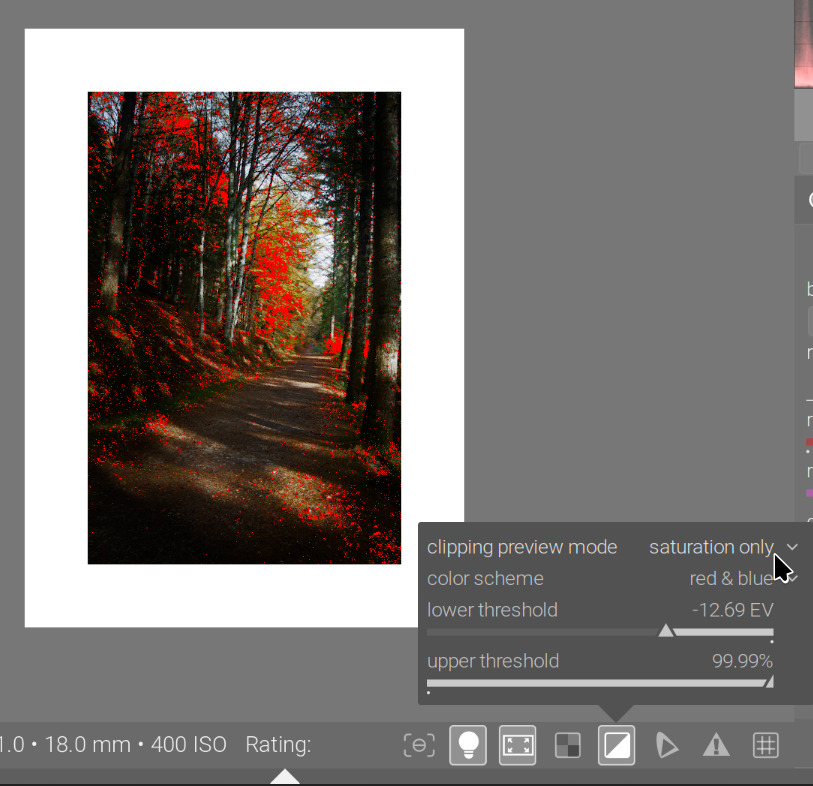
I’m home now. The clipping indicator has the following modes:
full gamut: checks several things:
first, it invokes the luminance only check
if that did not trigger, invokes the saturation only check
if that was fine, performs the any rgb channel check
any rgb channel: any RGB channel is below the lower or above the upper threshold, you get the blue/red warning.
luminance only: if any pixel’s luminance (the Y channel from CIE XYZ) exceeds the upper threshold set in the tools config, or is below the lower threshold, you get the red/blue warning
saturation only: it calculates a kind of saturation I’m not familiar with (but I know next to nothing about colour, so that does not mean anything):
for each RGB channel (so not for the whole pixel, not for its colour!!!), it calculates this ‘saturation’ as
c = value of the channel (either the R, G or B component)
diff = c - luminance (Y, see above)
saturation of channel = square root of (diff^2 / (Y ^ 2 + c^2)
if any of those values is above the upper threshold, you get a warning. An example:
Rec 709 RGB(0.0006, 0.001, 0.9) would have luminance Y value of 0.0658, and for the red channel, a difference of -0.0652, and a resulting “red saturation” of 0.9908. Therefore, it would trigger a warning if the threshold is set to 99%. The warning will be red (as we breach the upper threshold).
So, strictly speaking, from a display-referred RGB point of view, you are in gamut as long as you are between 0 and 1 (or very close to 0 / 1), checked using any rgb channel. For your image, it’s actually the saturation that triggers the warning.
The gamut check also triggers for the image. That is done via the output color profile module. That seems to check the conversion result to the output space, and also checks for negative RGB values: if(outp[4*j+0] < 0.0f || outp[4*j+1] < 0.0f || outp[4*j+2] < 0.0f)
I don’t have more time to dig into this further. It’s interesting that the any rgb channel check does not trigger, but the gamut check does.