OK; because I just finished drinking a Diet Coke, had some additional inspiration. lololol
![]()
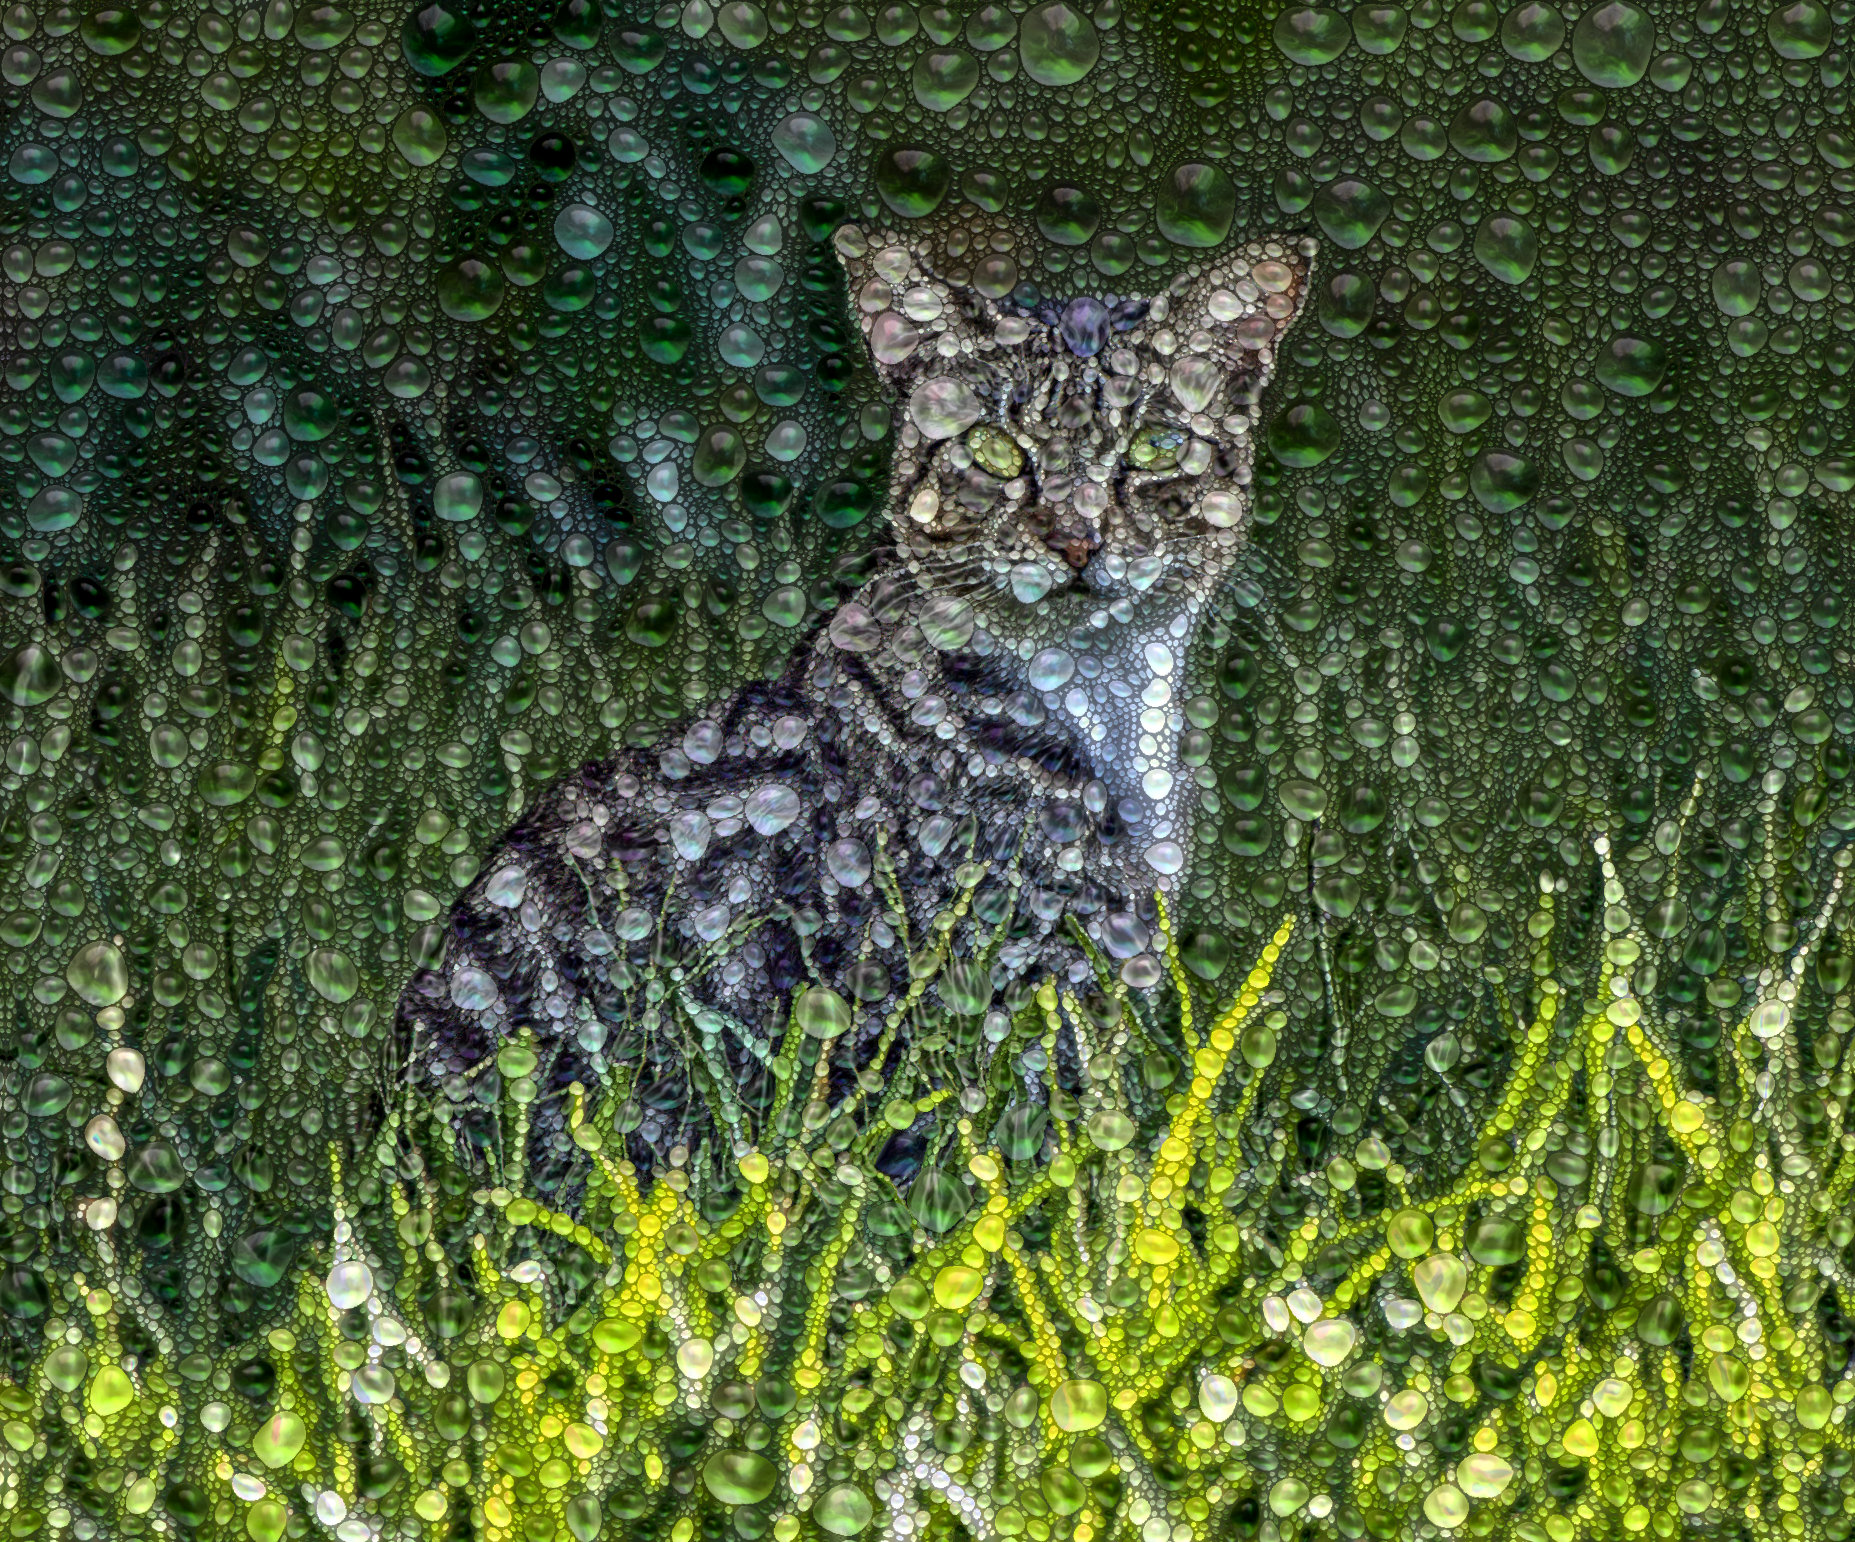
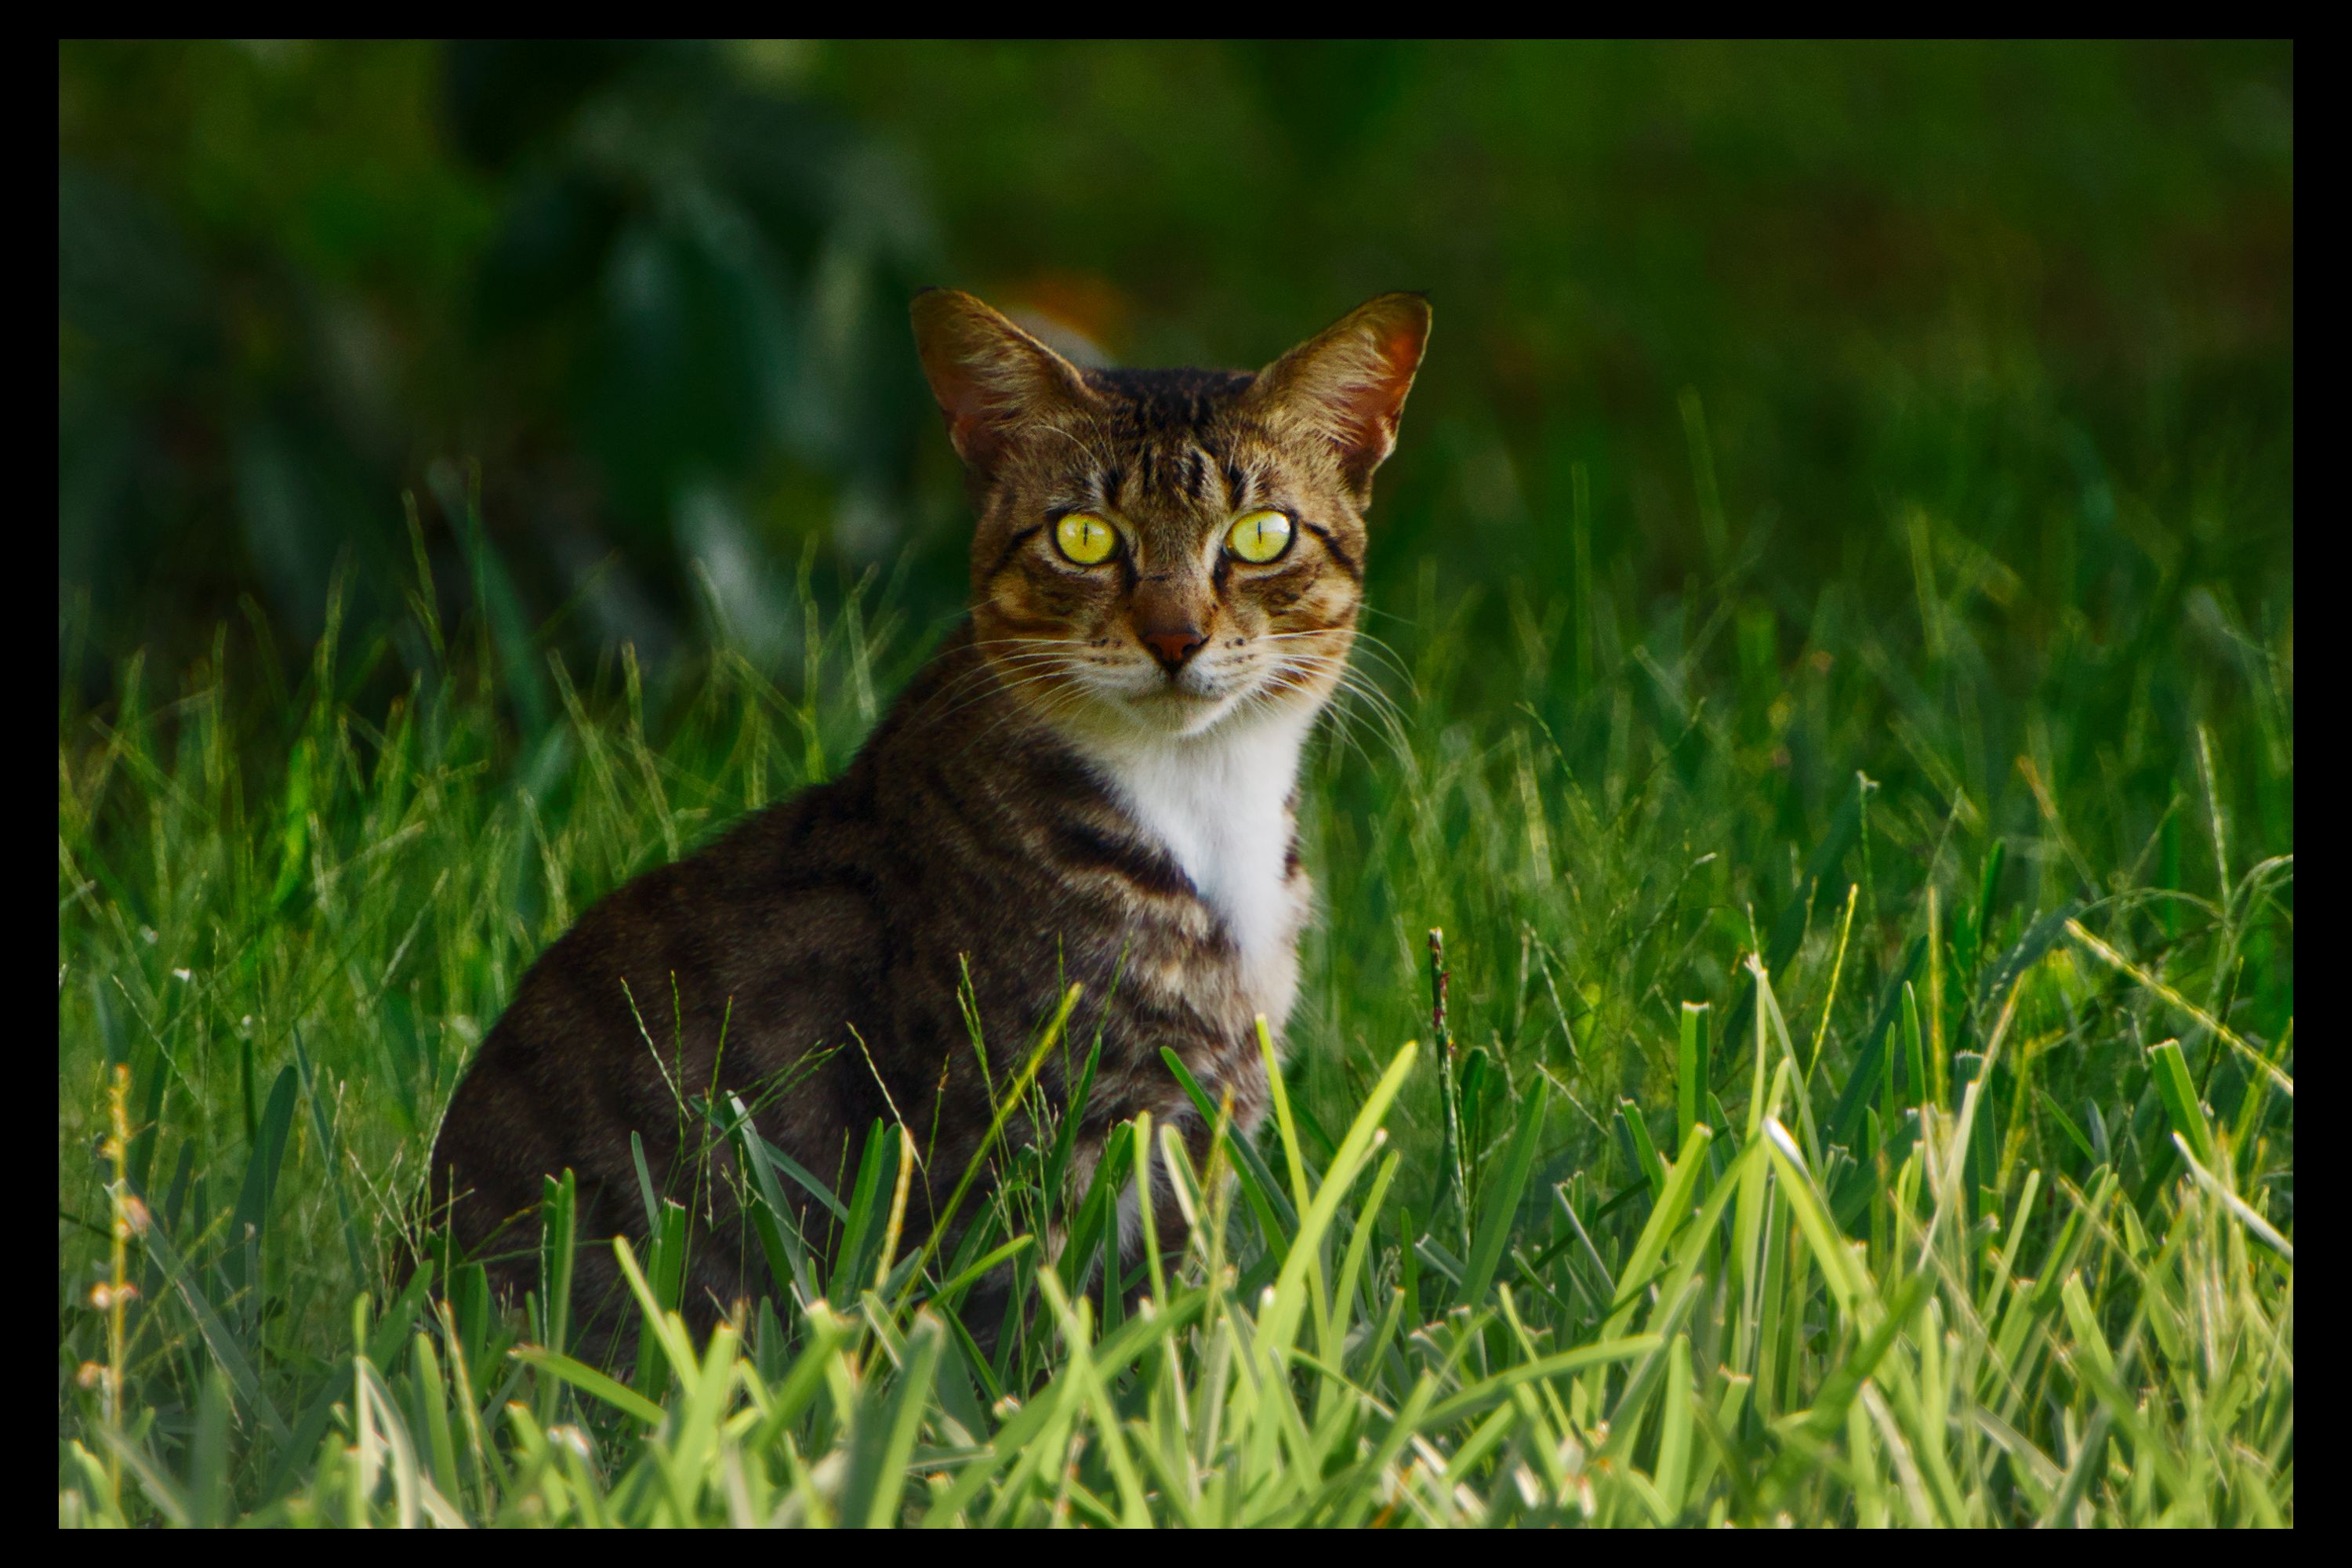
Using an art techique, I believe is the Chiaroscuro Technique, where you go from dark to light in the background and dark to light on the subject in the opposite direction.
Since the background transitioned naturally from bottom to top, leaning to the left it seemed right to transition the cat from head to tail with some exposure, feathered. Again to the left.
Did a little color work on the eyes to help bring out the yellow. I own a cat and yellow is a popular cat eye color.
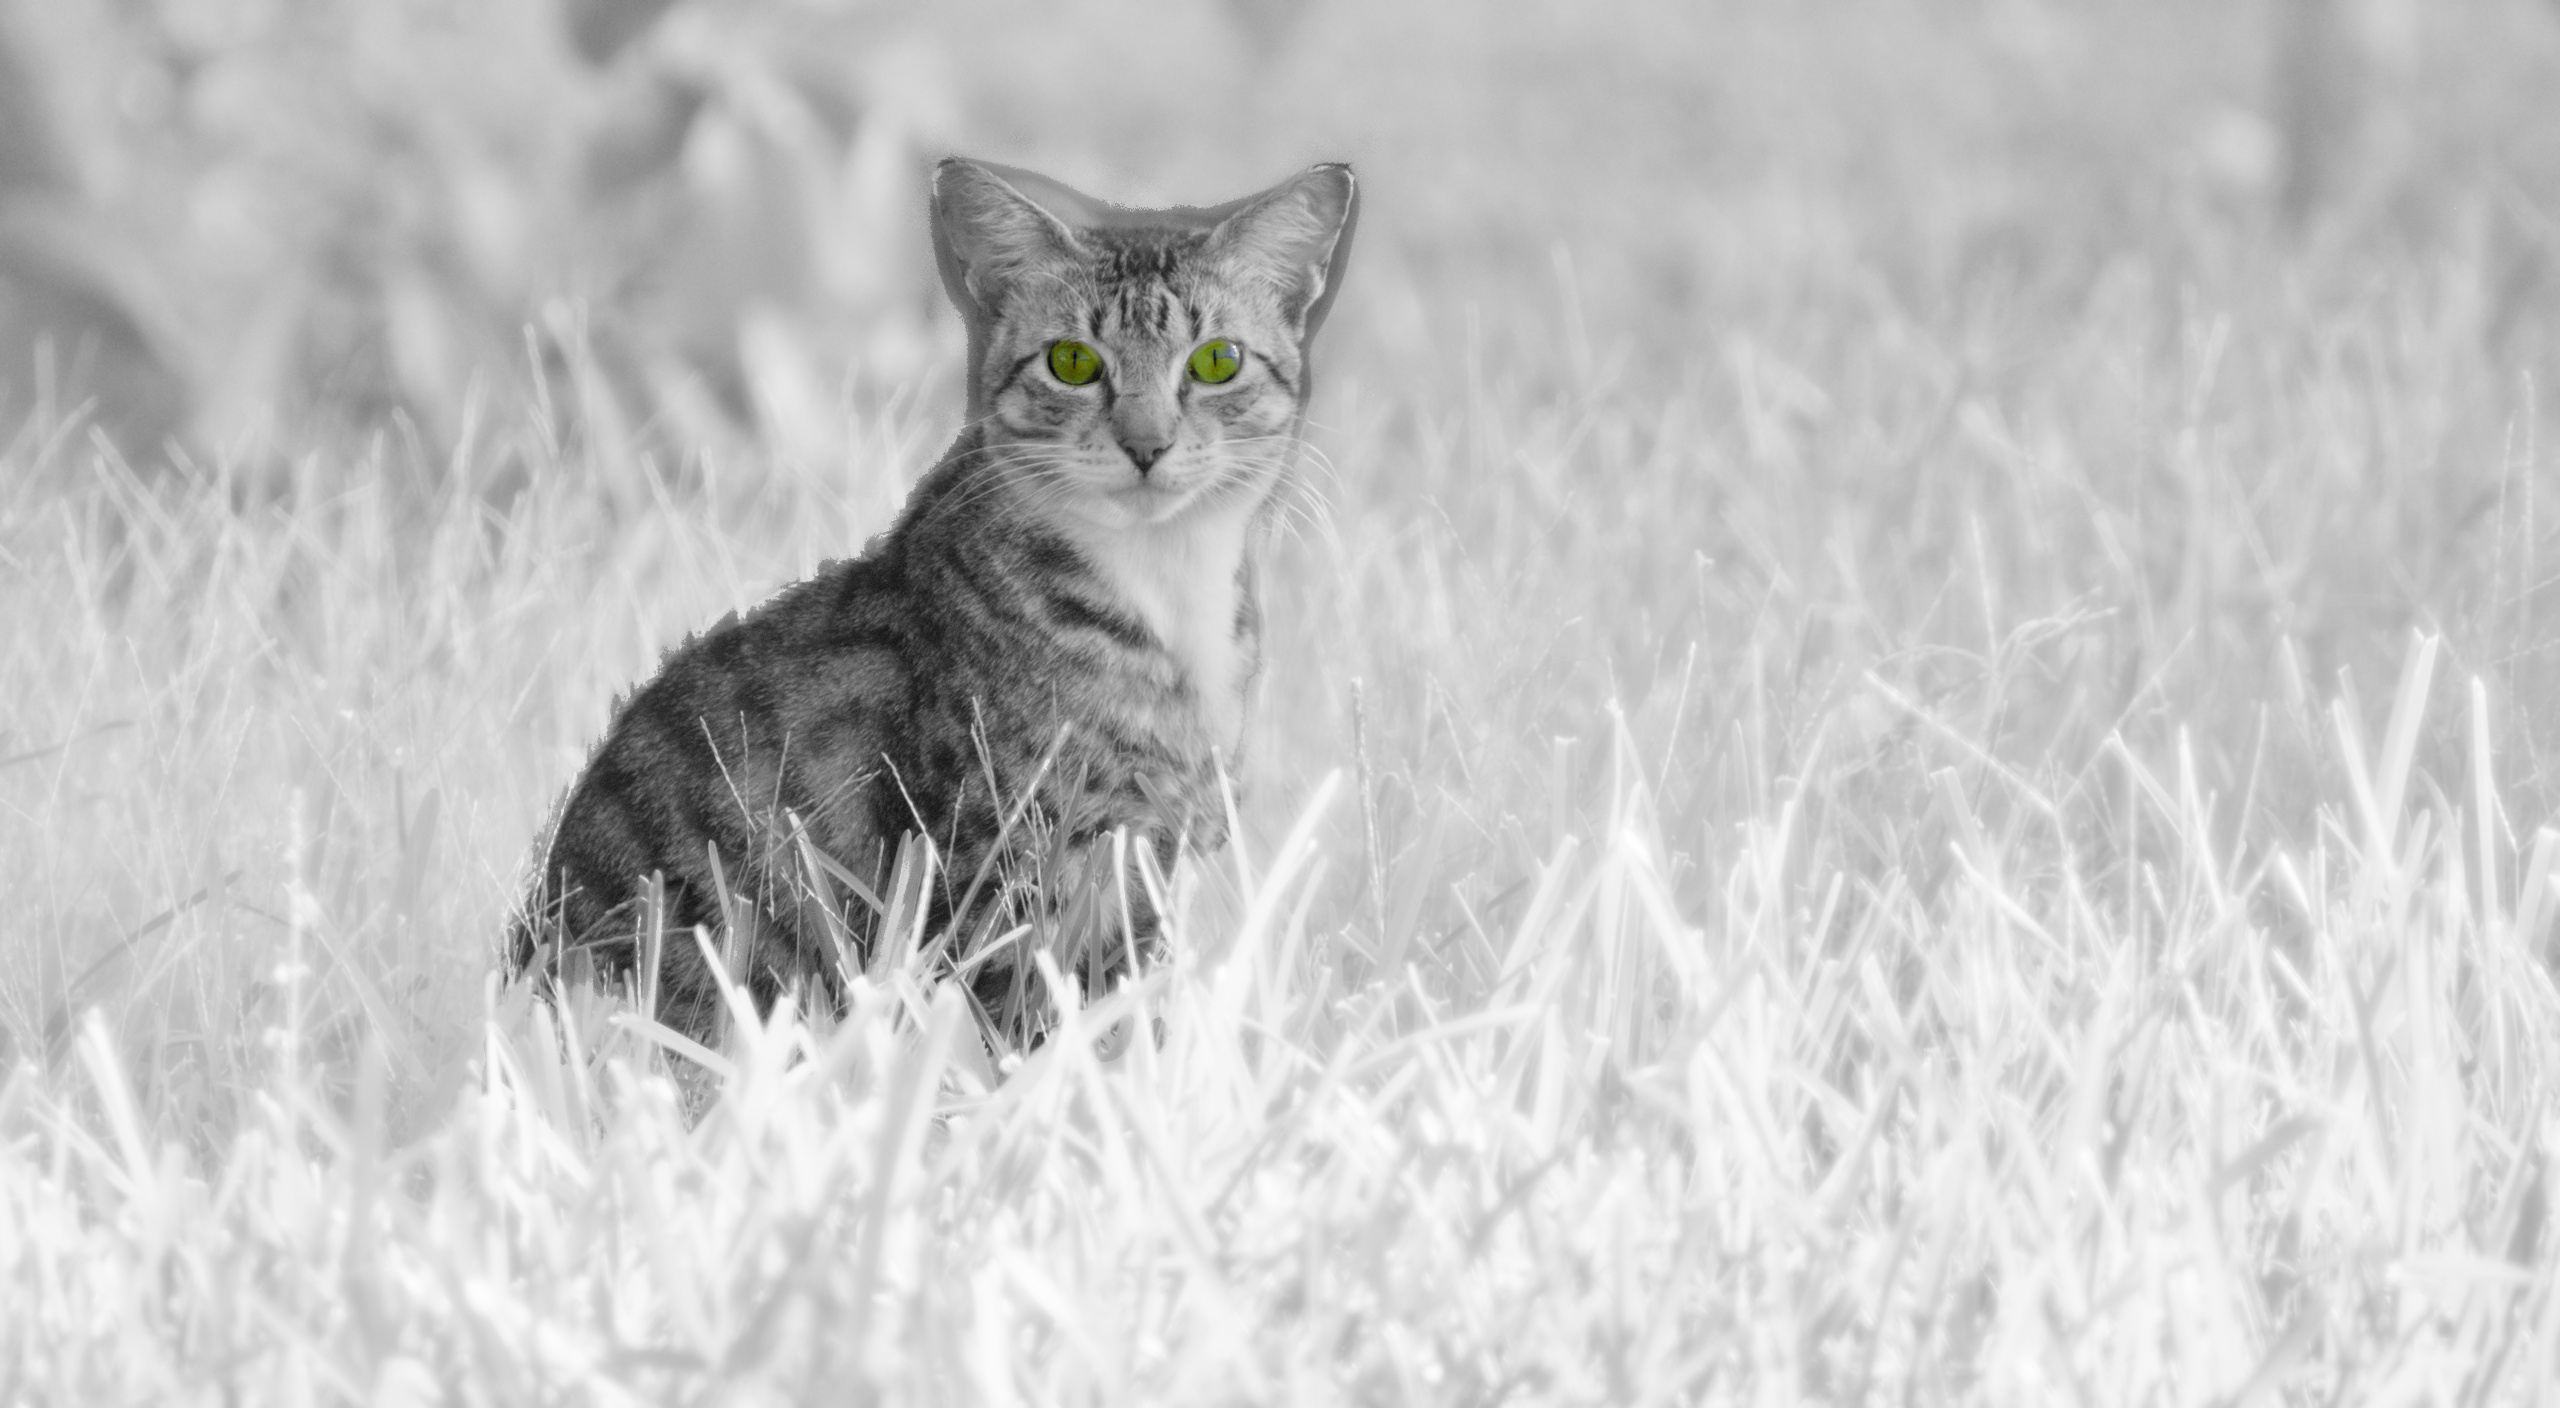
Glow in the dark ir cat.
Im very much still learning dt so like to experiment a lot to get to know new possibilities. This one is less about perfection rather then about finding out what can be done.
Nevertheless hope you like it.
Kind regards, Jetze
A kind hello to all following this discussion,
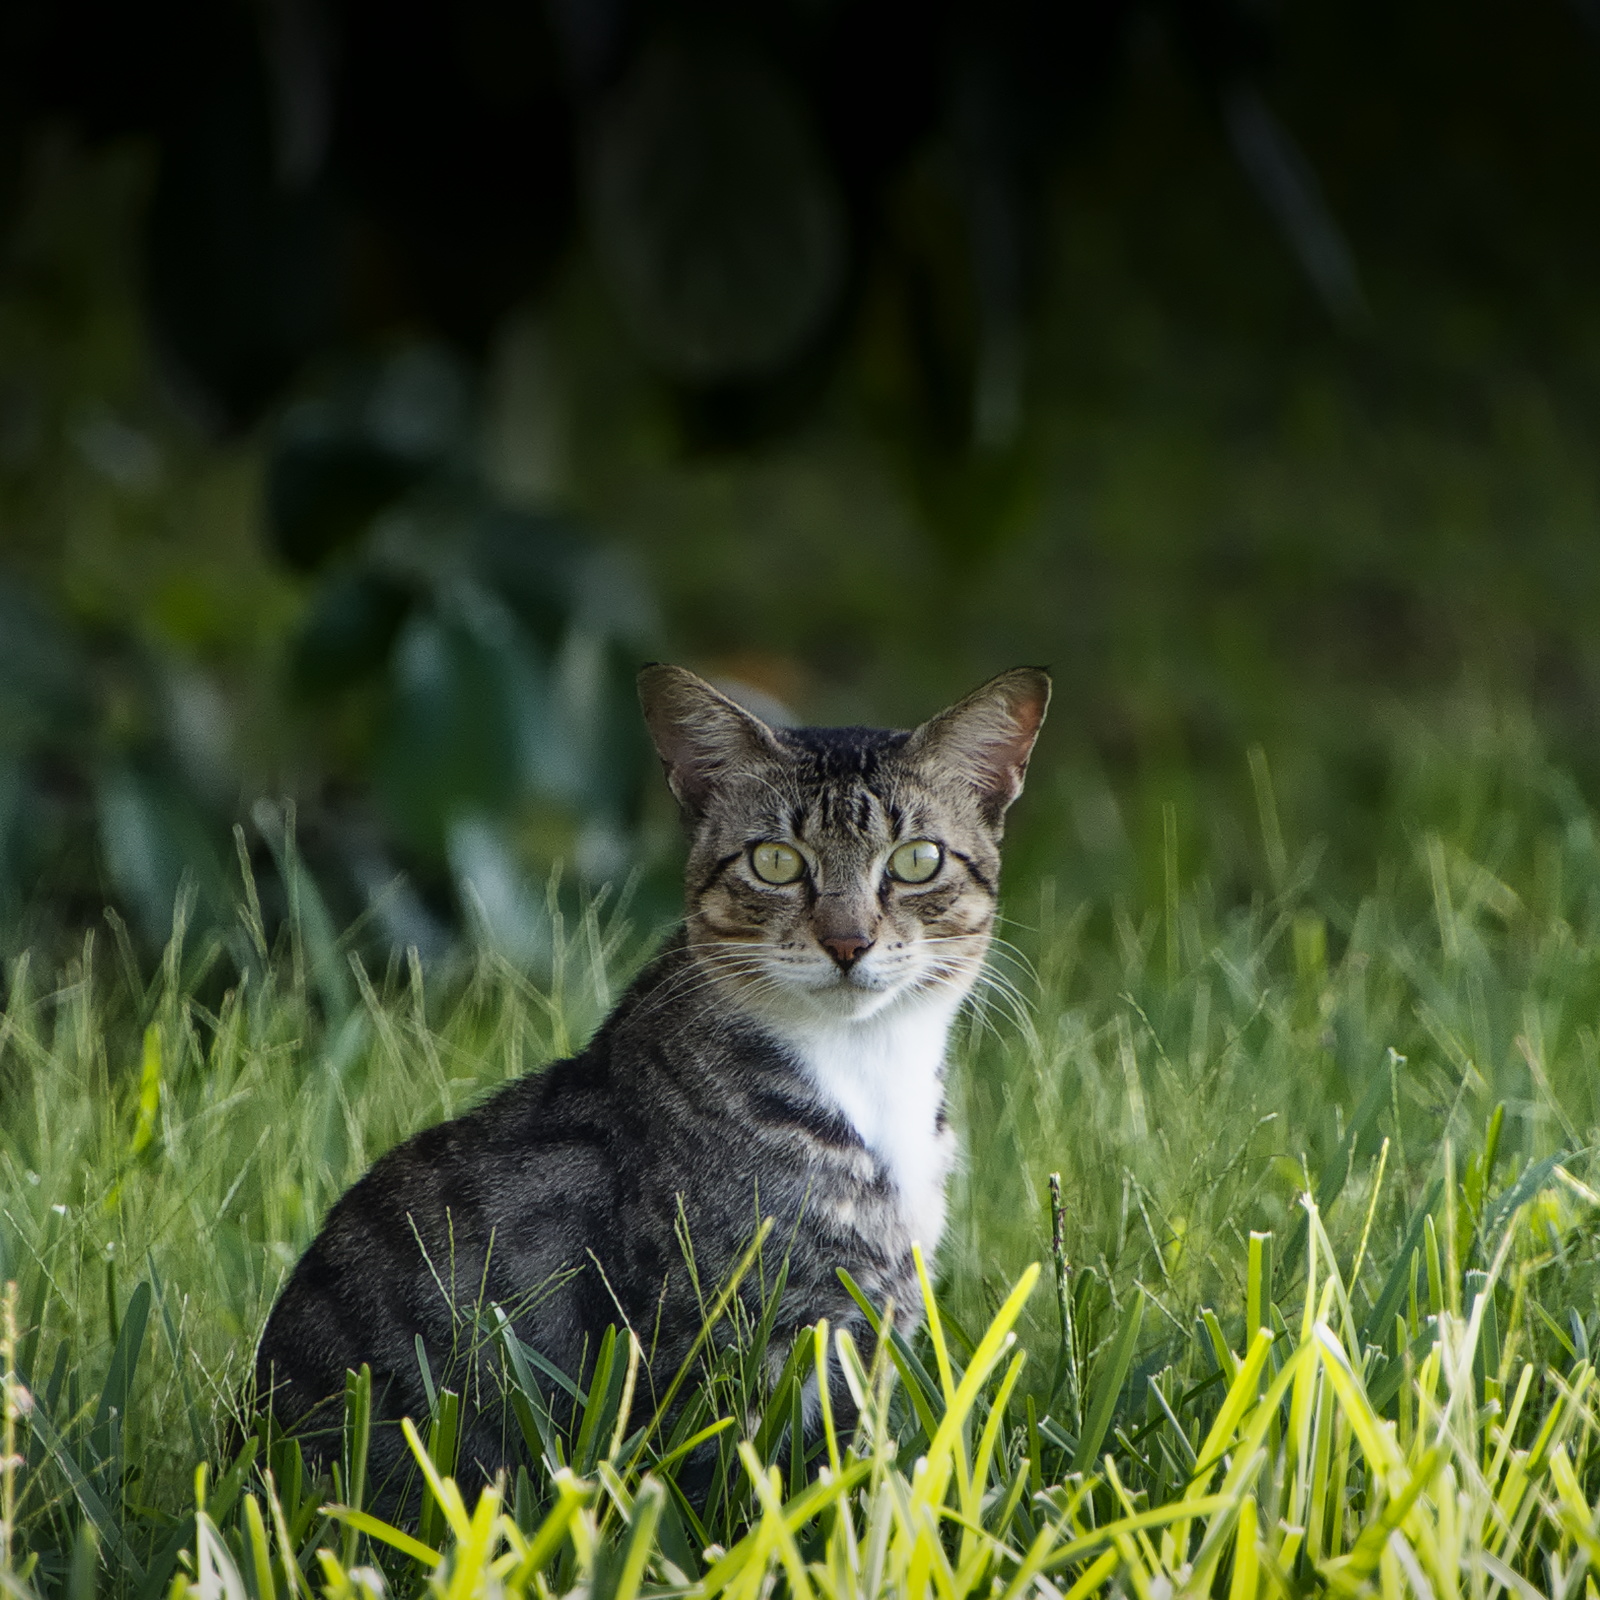
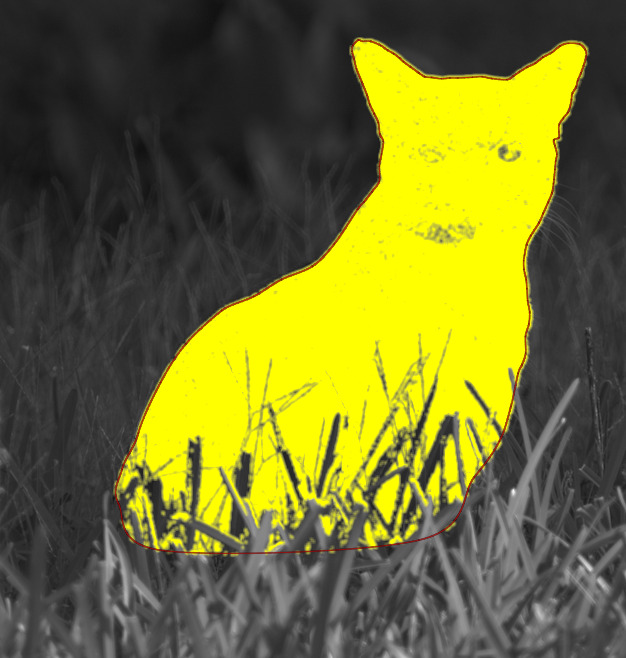
after making my weird and sloppy b&w cat I felt I needed to do a bit more tedious masking to be able to manipulate the cat independently of its surroundings.
So far I failed. What I tried is this: a) make a path closely following the contours of the cat on the inside including the grass behind which the cat sits and then b) exclude the greens of the grass.
This is fairly easy to do. But: a) the cat has greenish eyes which get excluded too and b) under the cat’s chin the grass is reflected greenish so this area too gets excluded.
I tried different feathering and blurring settings combined with mask opacity and/or mask contrast settings to no avail.
I do not know of a way to add to this raster… yet.
How would you do this?
Kind regards Jetze
What I get is this… the red line is the actual drawn path…
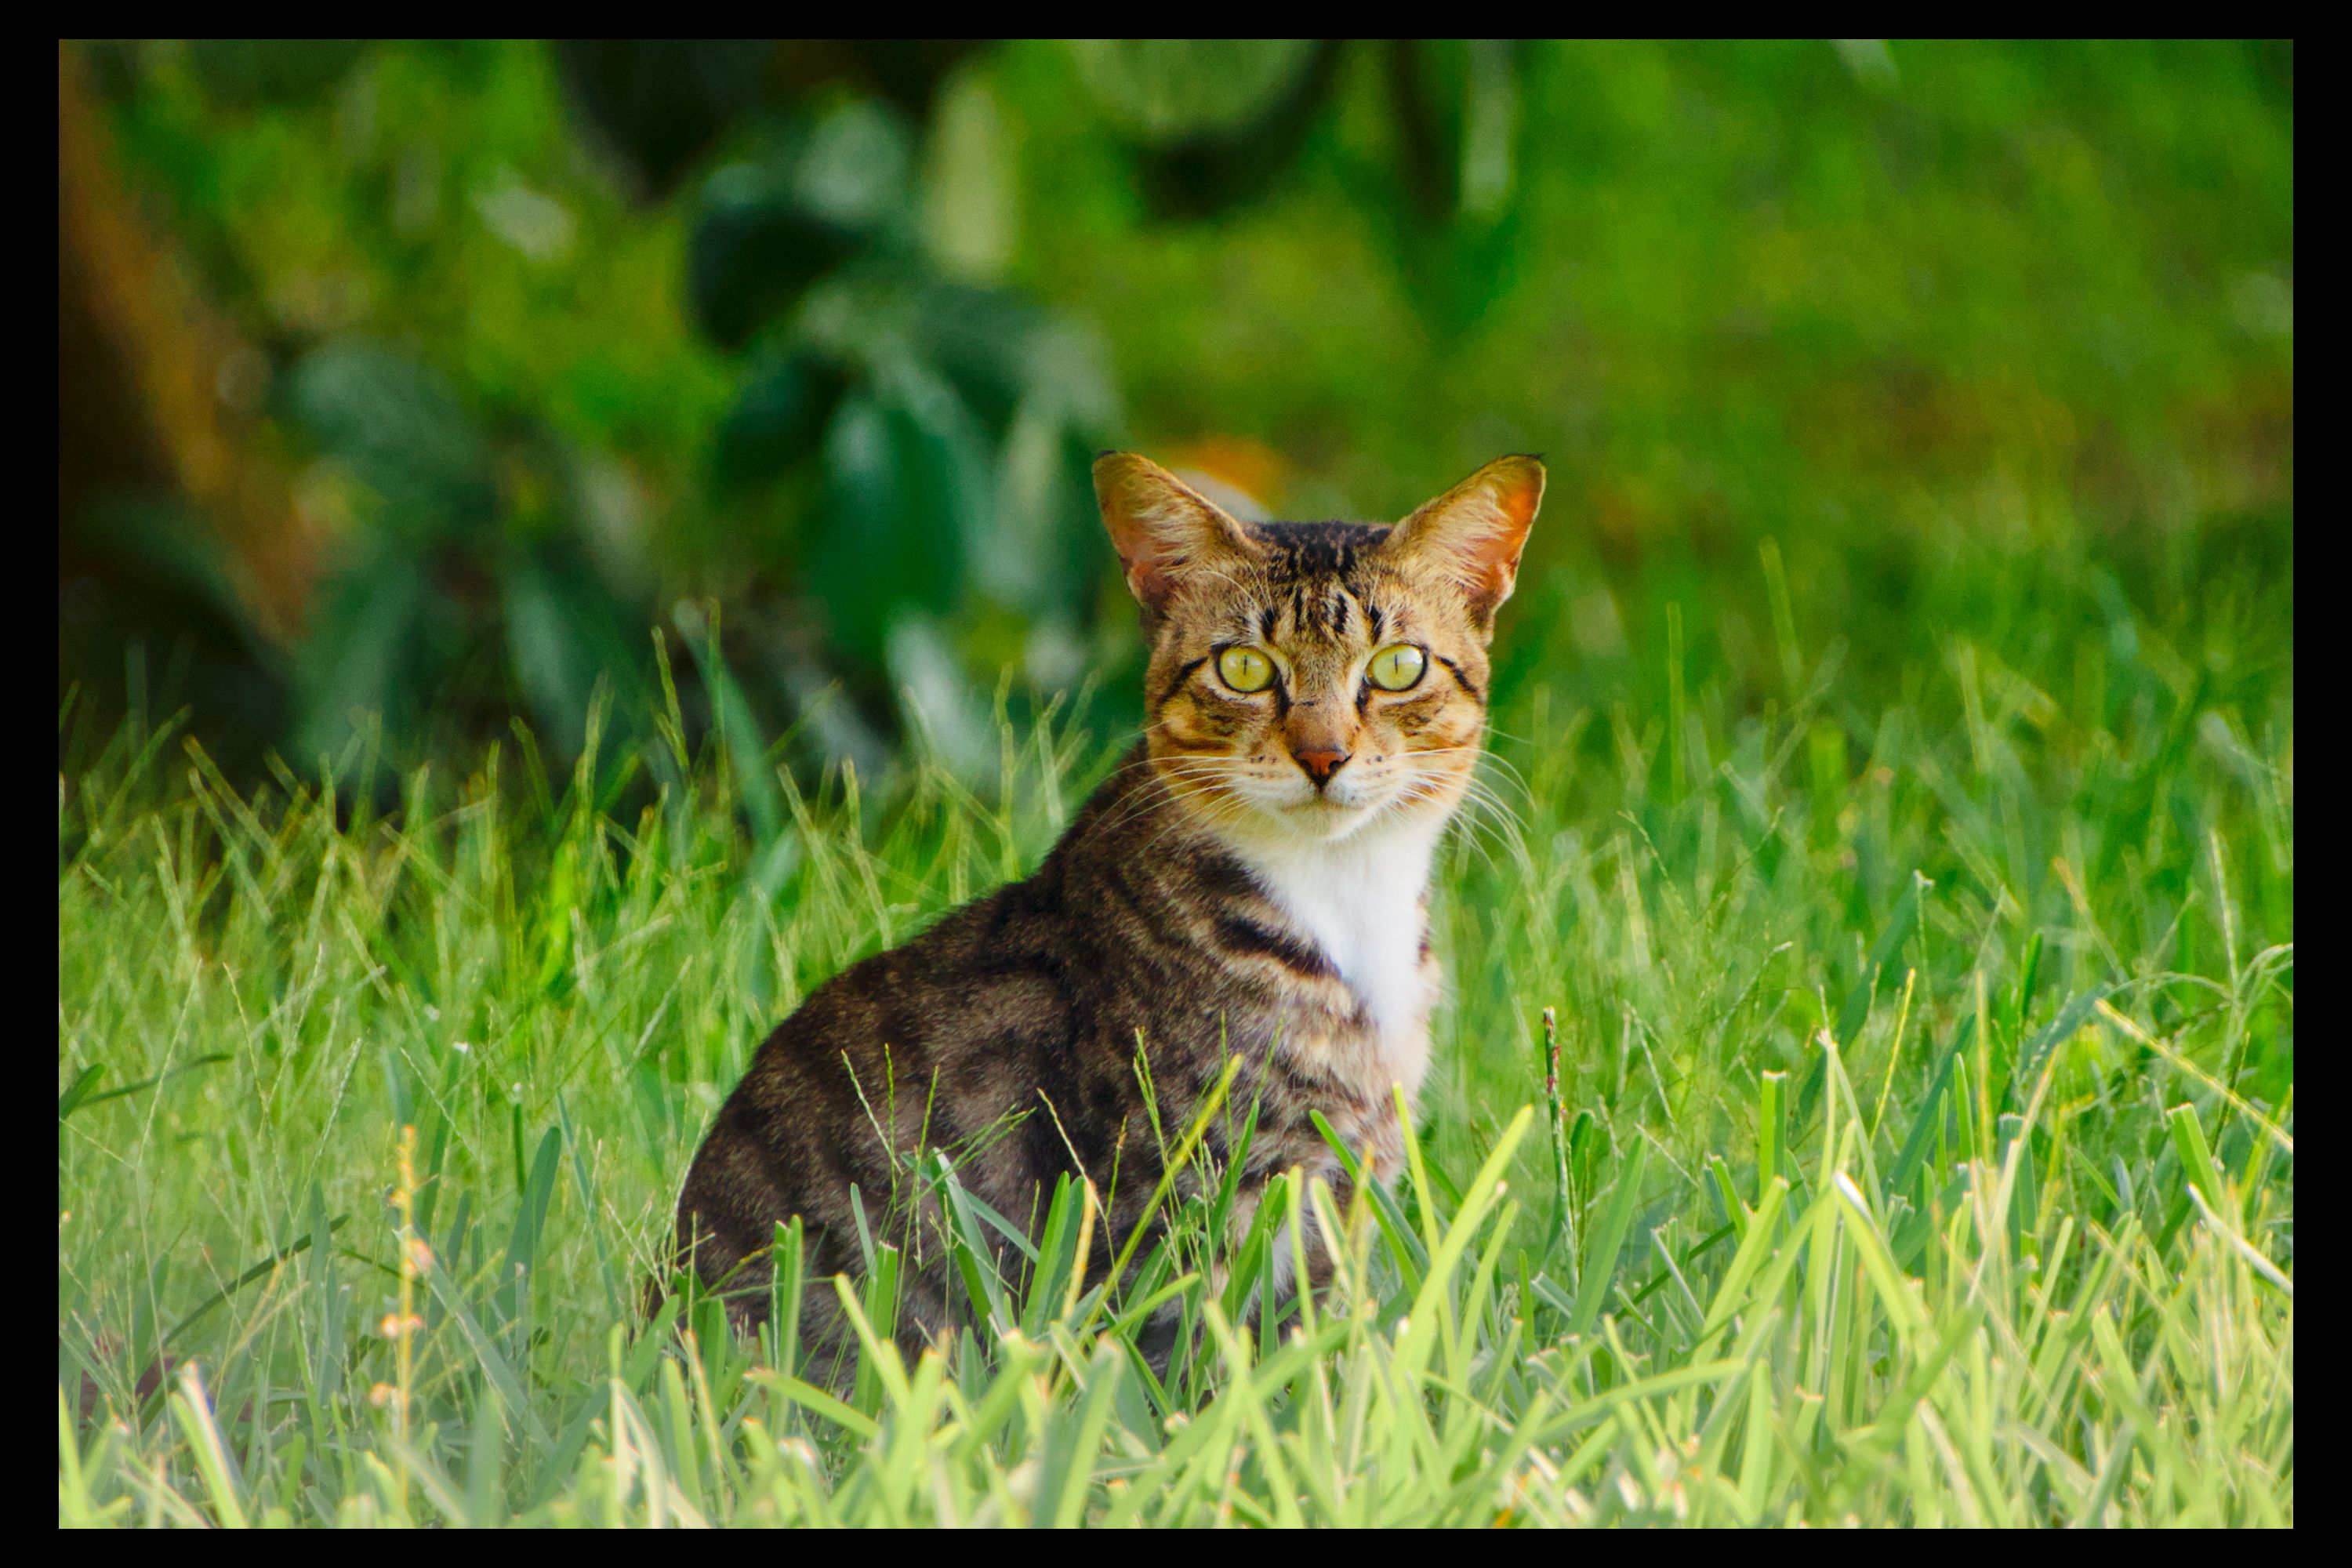
I usually try to tackle the not masked areas with a second instance of the module. Just like here. Guess what module I’ve used to show?:
7E4A3725.CR3.xmp (29,2 KB)
Not perfect, but a point to start with…
Thanks Uli,
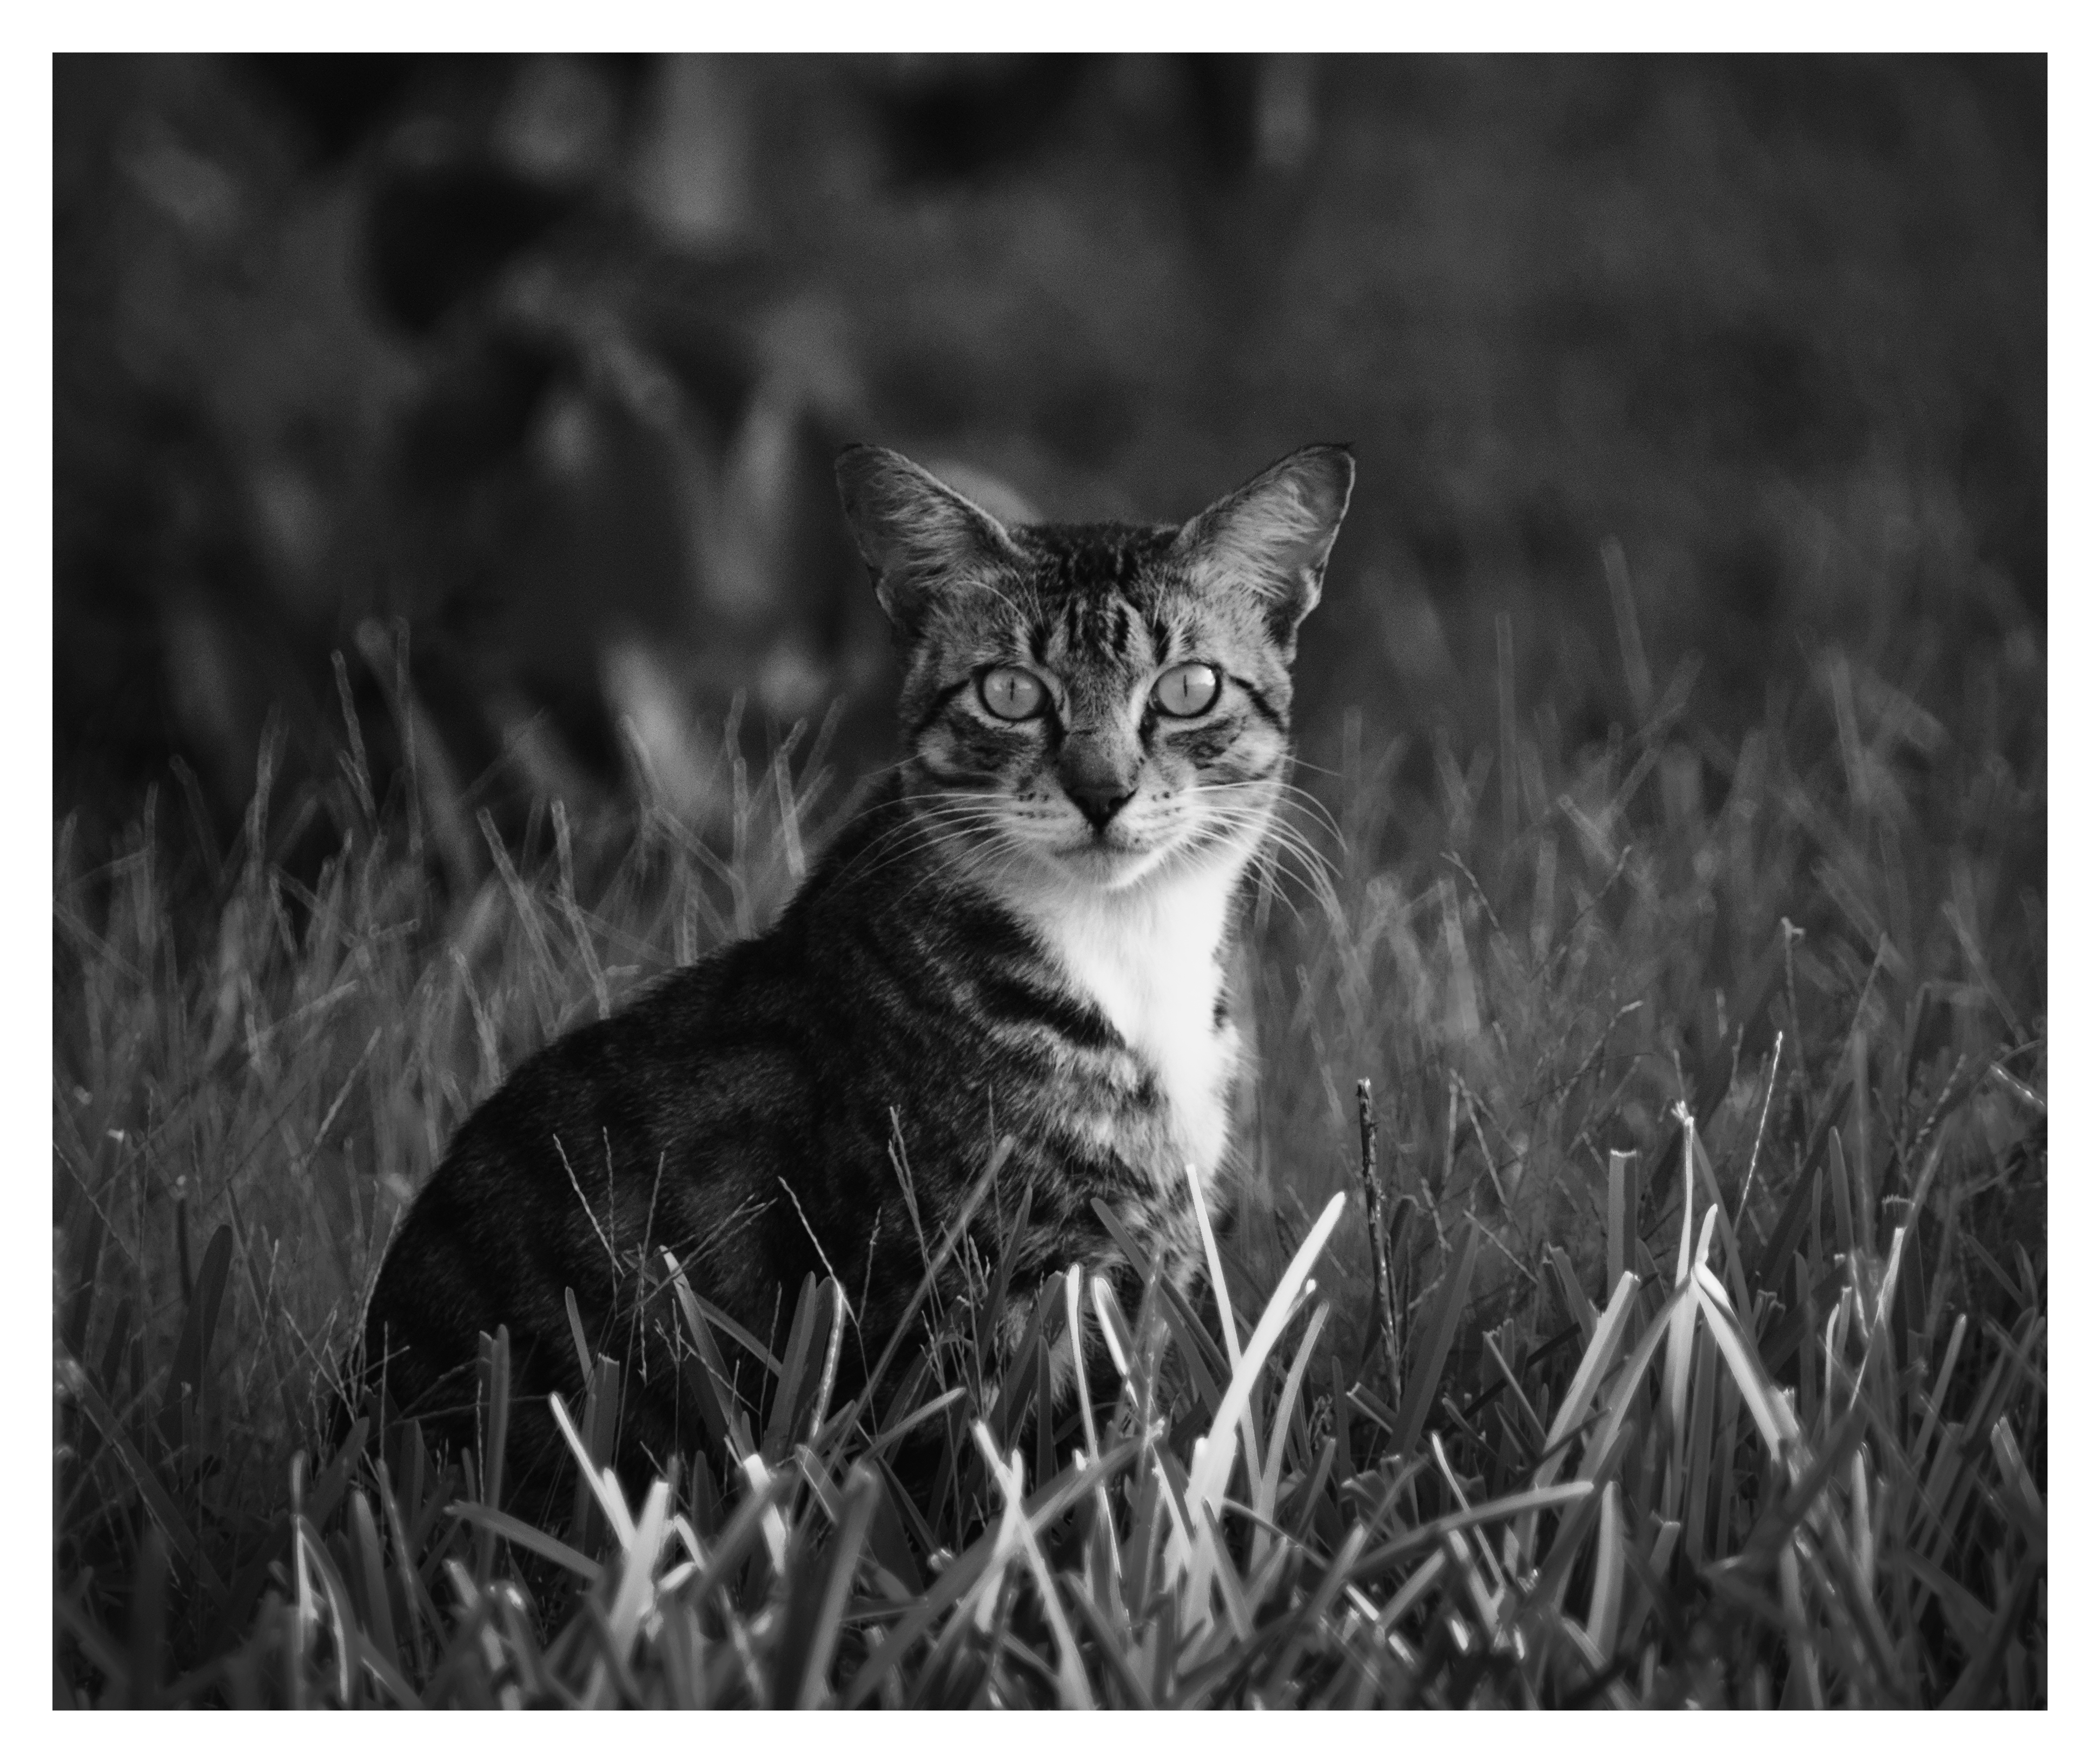
You’ve got me very much puzzled now… probably colorize module.
But… I see as a picture a nicely stylized purple cat, I would say well done!
I guessed that when switching of one module at a time from top to bottom I would get back @Reptorian’s cat, but not so… the image turns and remains black, leaving me puzzled ![]()
Kind regards, Jetze
Edit: I’m on dt 5.2.0 by the way
Edit2: When I go down the history stack the image turns black in the demosaic step…
Sorry I always forget to mention, I use latest AgX version from here: Blender AgX in darktable (proof of concept) - #1711 by kofa
Ha, ha, I should have known that!
I wanted to try AgX but was reluctant as I have no experience whatsoever on linux and darktable builds…
Do you know an clear info source on that subject for me to get started? And then let’s close this as I feel I’m hijacking this catty discussion too much now.
Regards, Jetze
There are Mac and Windows Builds as well.
Thanx to @priort and @MStraeten
On all platforms make sure, that you don’t mess up your standard config folder. For Linux appimages it’s quite easy:
On Mac or Windows I would simply backup the original folder.
Thanks! I’m on Ubuntu, found the AppImage and downloaded, still reluctant to proceed due to lack of experience…
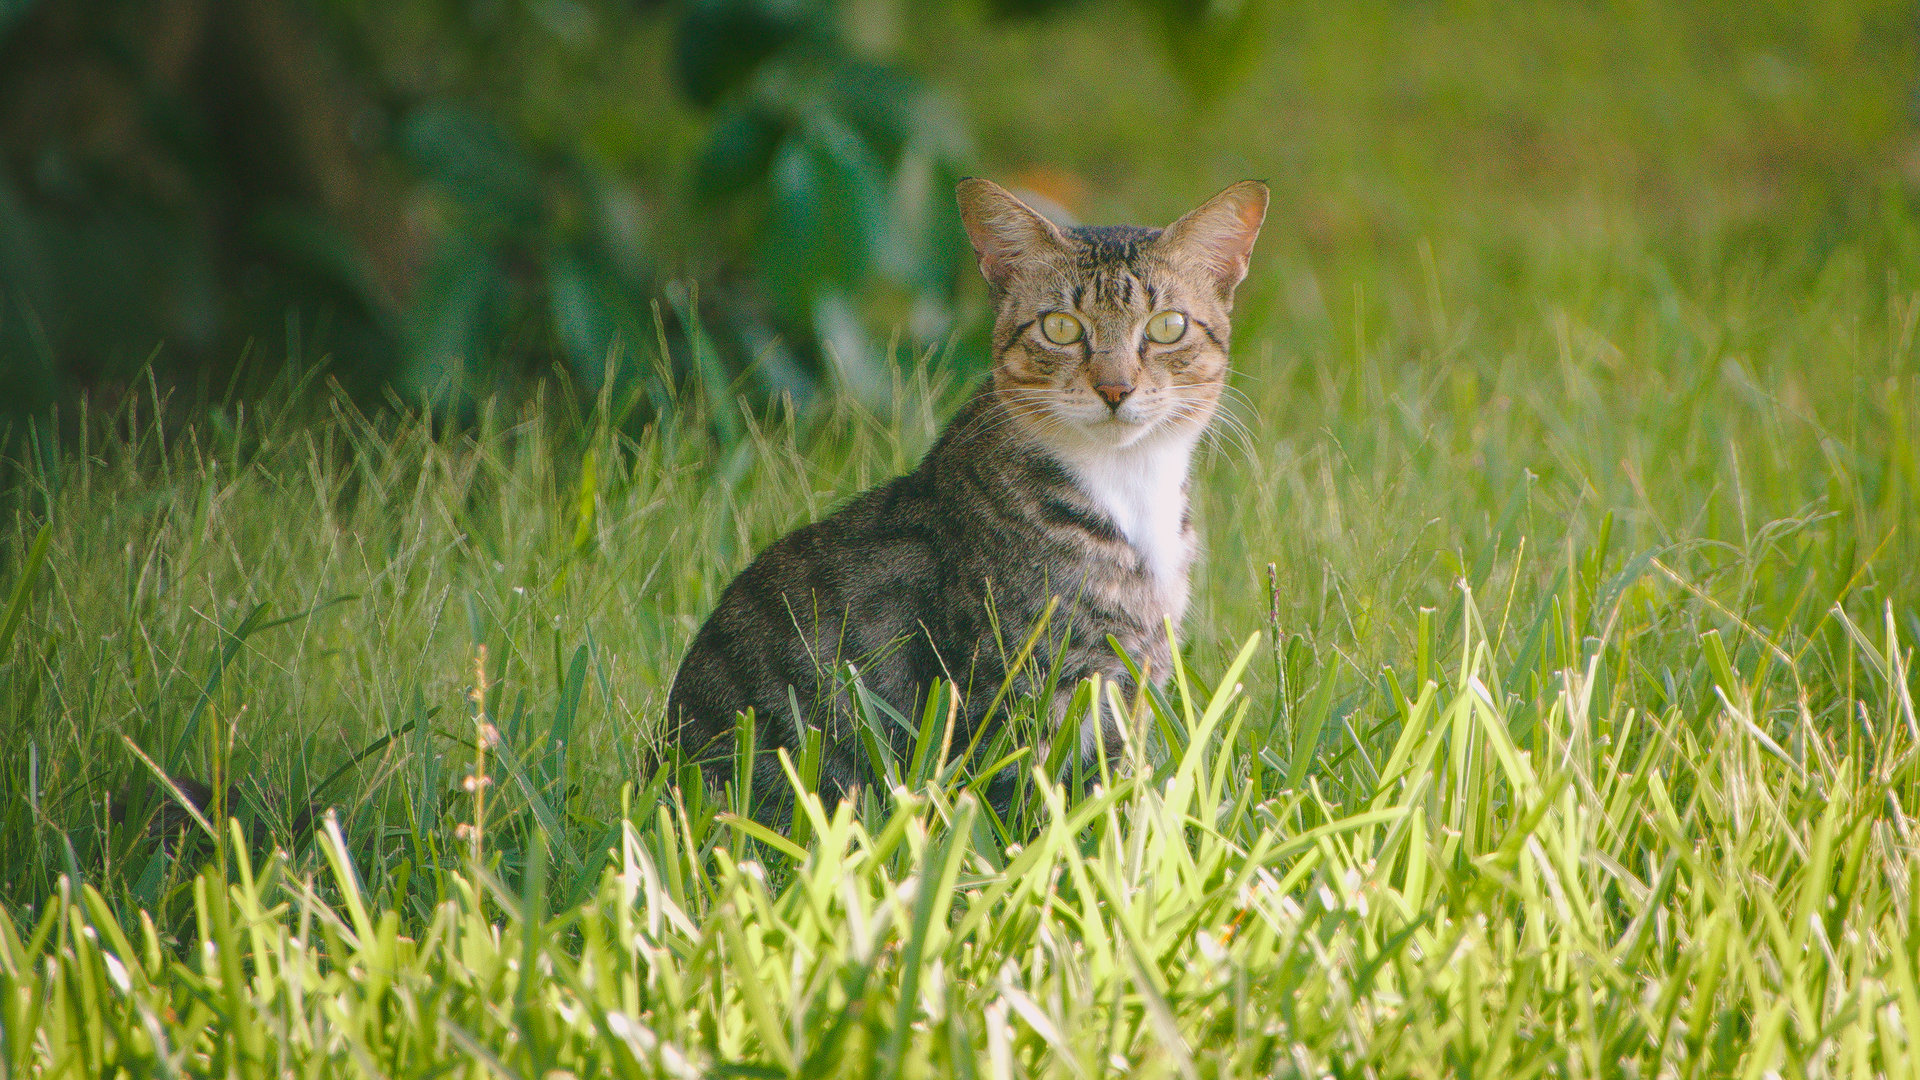
It’s not my cat. I do have a cat, yes. Foster dad to it.
Hello,
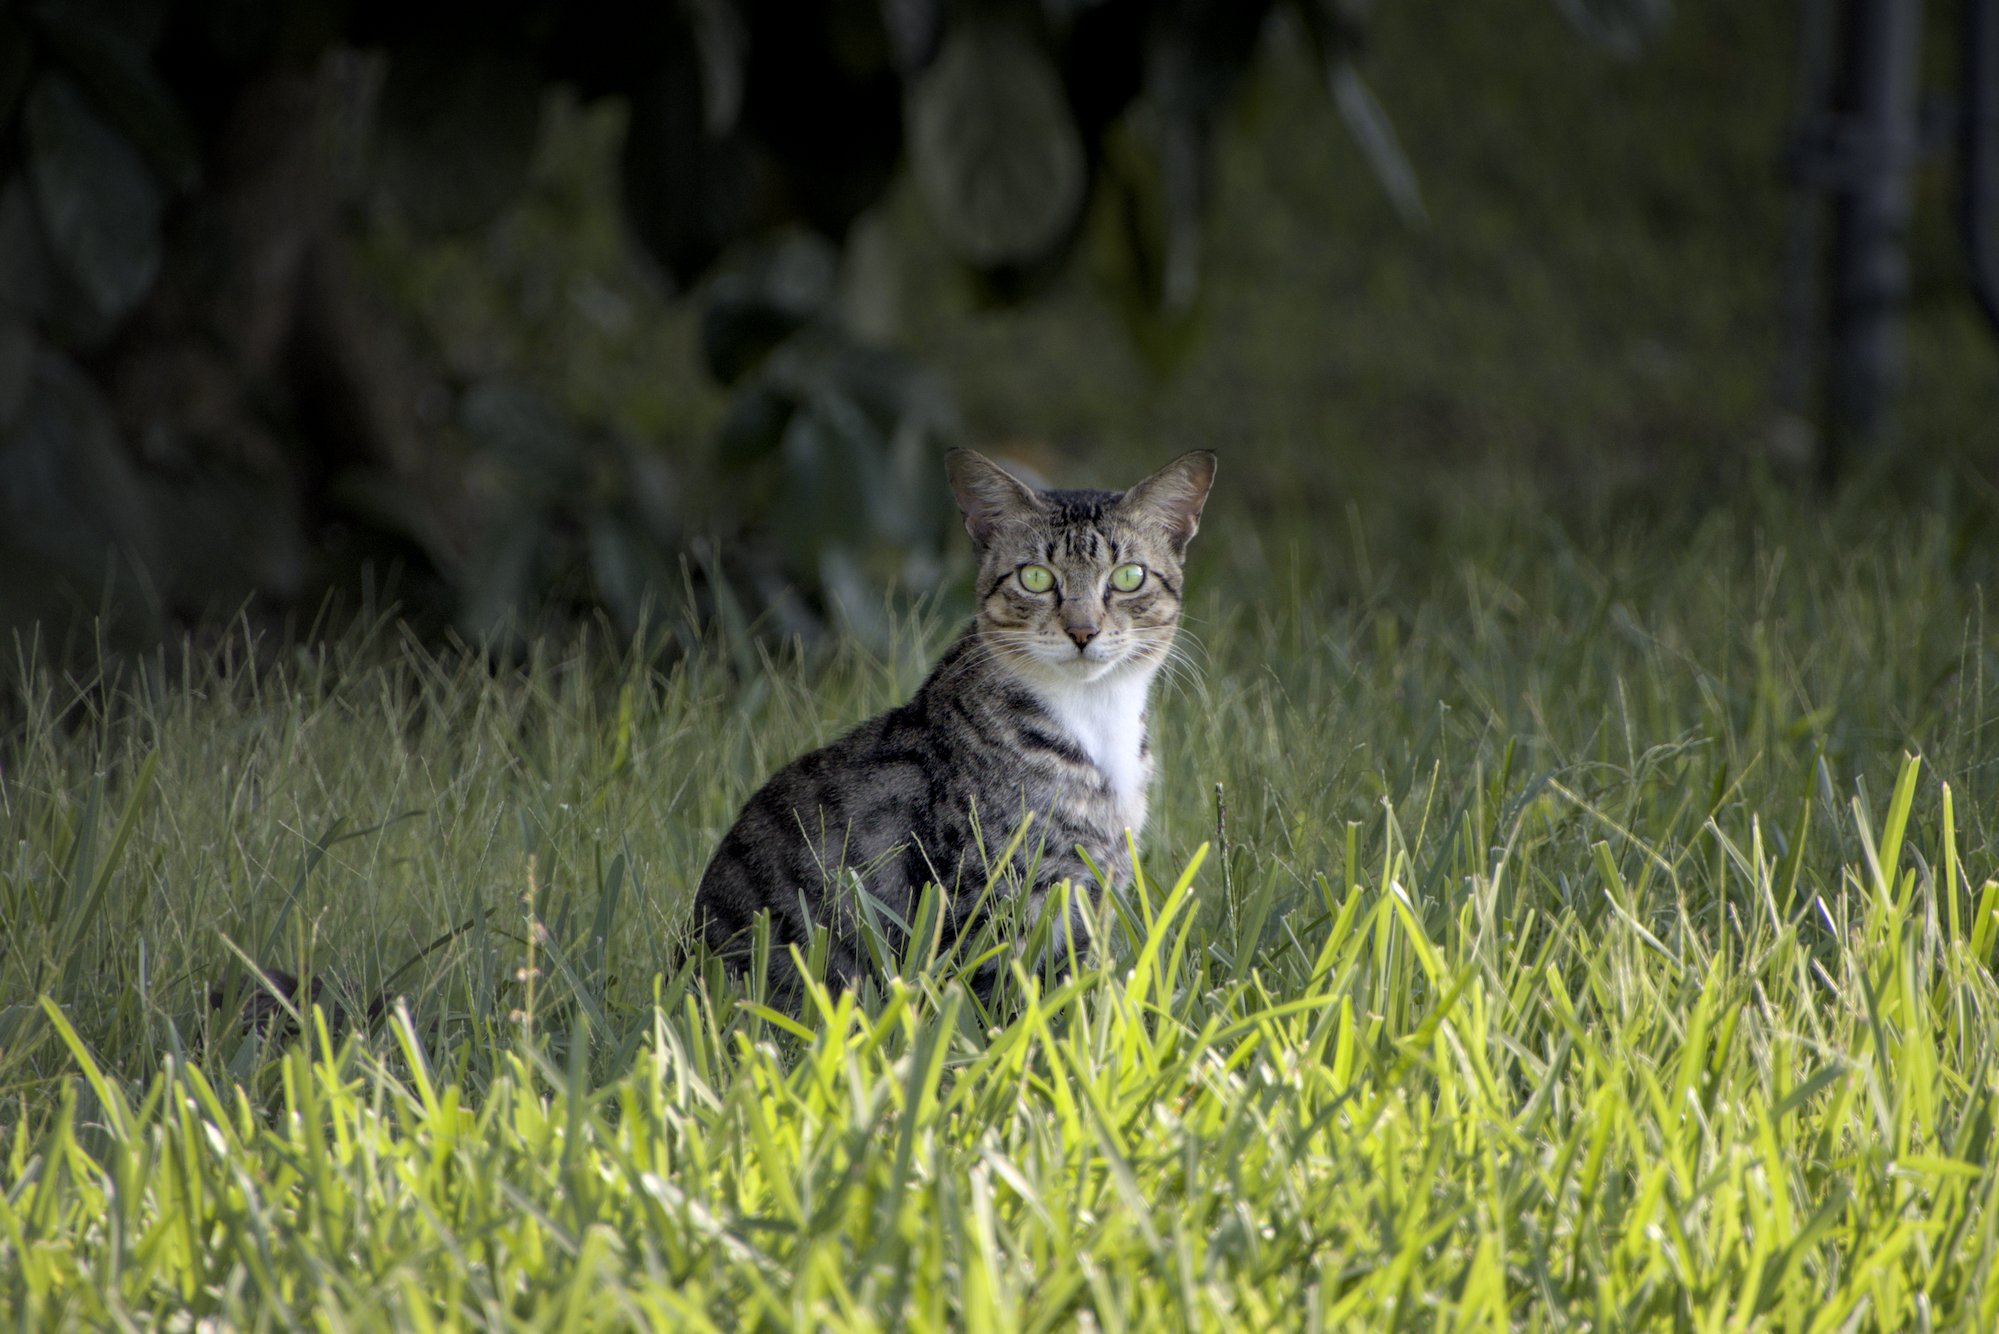
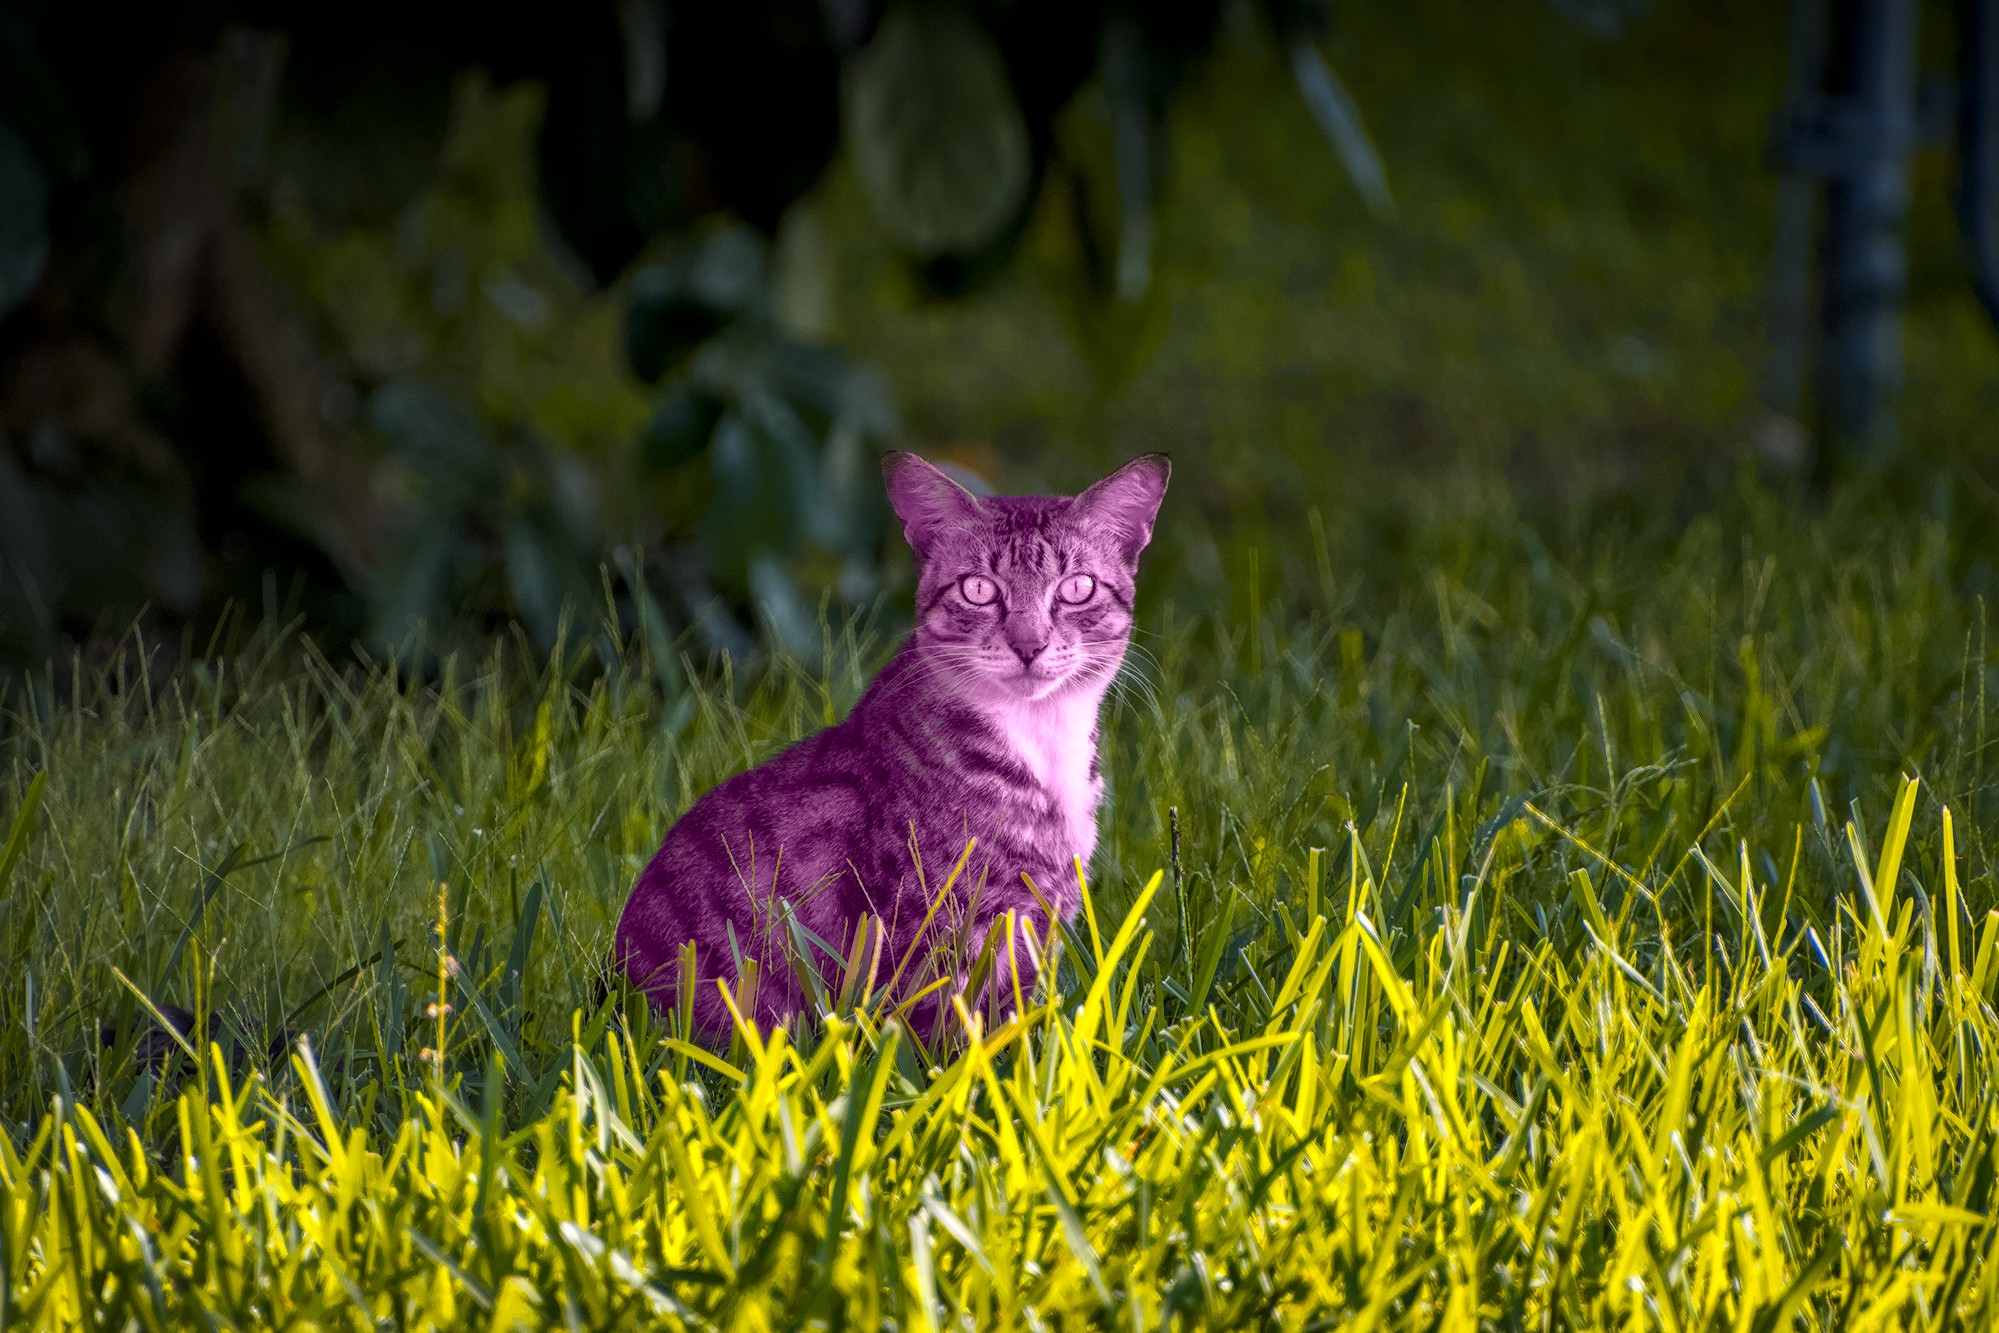
Here is a very simple interpretation. To deal with noise, I tried adding pre-processing before demosaicing and compensated with the new ‘Capture Sharpness’ feature.
Just to add I don’t have access to it now but I can share the shortcut I use with Windows…
For AGX I install using the windows installer and install to DT_AGX folder. With each update I just install over top of it…be sure not to check uninstall first as this wont know about this version of DT and will uninstall your main DT installation from the standard location,
I have a second folder AGX_config. I just leave it on my desktop. The shortcut points the agx install to use this for all the config files so that everything is separate… Then the only other thing I do is turn off xmp writing for agx so that if I lose track and edit an image that is not a test image separated to test agx that it won’t overwrite my standard xmp/edit…
That’s it…once that is set up I can just continue to update and continue to use that shortcut when I want to use DT with AGX and now capture sharpening as well…
Basically I have 3 versions at least running some times… release, dev and recently agx. Now its mostly me running the master and agx branches and I compile DT