@Thad_E_Ginathom There are two culling options in lighttable which you may access by the culling icons at the bottom or by pressing ctrl+x or ctrl+shift+x if I remember correctly (currently not on my PC).
I started using those features about a year ago and for me it works out perfectly. You are able to zoom and pan if your selection is at most four images. So you will be able to quickly sort out the “bad ones” by pressing “r” to tag as rejected and filter the lighttable view to just images rated from zero up (excluding the rejected ones). After culling I set my filter to the rejected only, mark them all and delete them immediately. That nicely speeds up the selection process.
Hope this helps and I wish you much fun with dark table ![]()
Split toning example is just superb! Thank you so much.
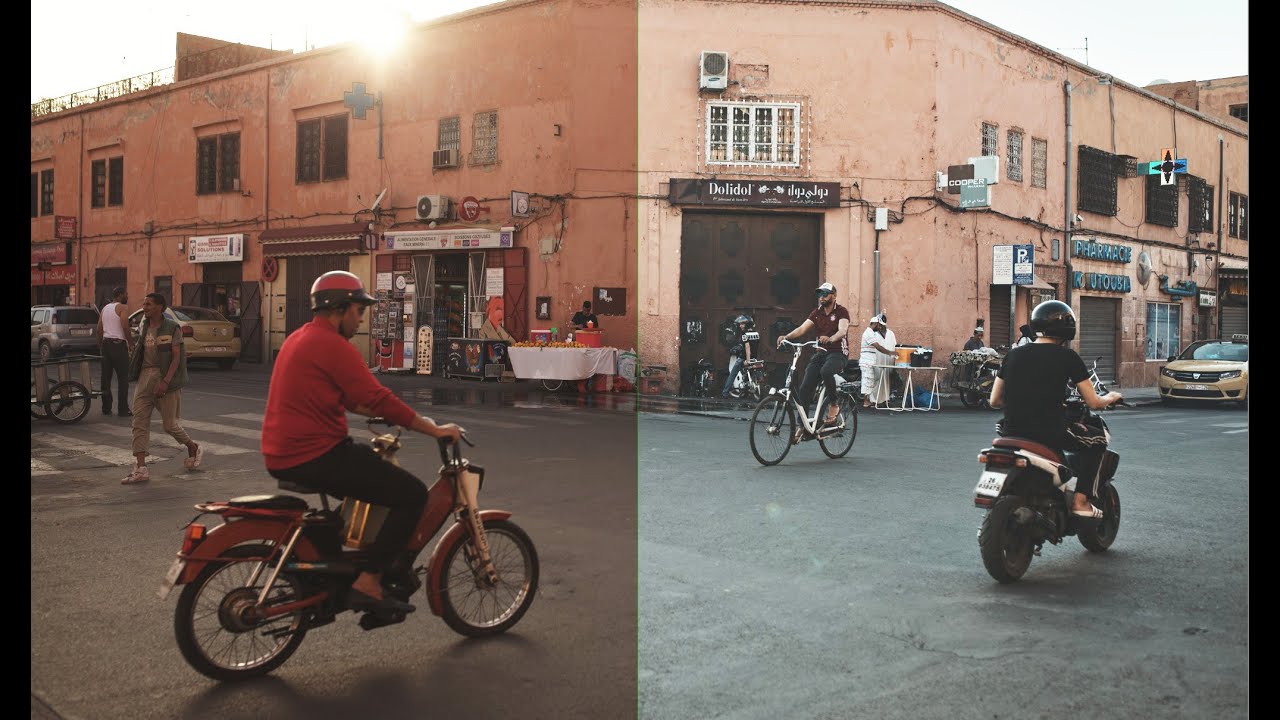
![]() That trick with desaturating and recoloring warm tones looks like a nice way to unify e.g. skin tones in portraits. Similar to using gradient maps.
That trick with desaturating and recoloring warm tones looks like a nice way to unify e.g. skin tones in portraits. Similar to using gradient maps.
Always learn something new from your videos, many a times its like discovering new ways to edit in DT.
Can you please post your presets of “diffuse and sharpen” and ton equalizer"
Thanks
Yesterday I held a session about open-source photography with darktable at my local club. My German being (mildly put) so-so, I asked @s7habo if he had anything in German that I could show. He responded, saying he did not, but created a video just for us! I have thanked him via a private message already, but I thought he really deserved public praise for his selfless, voluntary help. So here it goes: thanks Boris, once more! “Merci vielmal”, as they say in Zürich. ![]()
@s7habo Your videos have been such a great resource for me over the past 2 years. For someone who had never used post-processing software, much less darktable, they really helped me translate the “picture” in my head to the various modules I could use to achieve my goals.
I often screw things up and have to go re-watch your video to figure out why. I think I have watched your channel mixer video 4-5 times. ![]()
Thanks so much for all you do!
Boris, thank you for this masterclass video on image analysis and color grading. It’s always a pleasure to hear and see how you first analyse images and then use the modules in a way to mimic artistic decisions. This is so much better than just applying presets. I learned a lot about colors, grading and how to achieve a look that I want.
Thanks for sharing your thoughts while editing - you are a great teacher!
Great stuff again. Makes me more confident in being able to experiment more with colour and tone grading in my photos. Thanks so much
Another phenomenal educative video ![]()
Hello Boris
Excellent video and a very nice artistic analysis. You brilliantly demonstrate the power of modules such as “RGB color balance”, “rvb primaries” and “sigmoid”…
Thank you for your precious help.
Christian
I also appreciate the master class about the Diffuse&Sharp module. In my mind it was a contradiction to diffuse and, in another instance, use local contrast. However Boris produces great resulta with the appropriate combination of both effects. Brilliant!
You’re right, I’ll have to watch this video a second time to take it all in.
Hi @s7habo, I have a couple of ideas for future videos. I’ve just finished watching episode 86, so apologies if either of these have been broached in your latest video.
1: Techniques for localized contrast. Further to discussions in this thread and this one, I would like to see how you approach contrast in specific tonal ranges. For example, if you wanted crunchy highlights (while leaving the rest of the image alone), which modules would you use? I’m particularly interested in how you use Tone EQ for very narrow ranges of the image and/or the masks tab of Color Balance RGB to dial in contrast exactly where you want it (not globally). I envisage this as a more advanced tutorial for people who are already very familiar with Darktable but still looking for cool and/or unfamiliar techniques. Maybe you also know tricks with blending modes for this kind of thing or modules that are otherwise ignored?
2: Blending modes. I know you have already done videos on this topic, but maybe a new one exploring which are the most useful blending modes and when to use them. I particularly like the idea of a “cheat sheet” or way to know what to expect when you use specific blending modes, because the names of them don’t always give you much of a clue. I really like the trick of using a blur with the multiply blend mode to create soft contrast, so anything like this would be really great stuff.
Anyway, thanks for everything you do, and I hope this gives you some ideas for future videos!
New episode: sigmoid and contrasts:
This is partial answer from the first point from @europlatus’ request, as the response for the very important topic about contrasts.
Thank you, Boris, a very instructive lesson!
Although the question was framed as an “advanced topic”, this first part of an answer covers some very fundamental general aspects of image processing and should be a “must see” for all those who want to learn how to improve their photos (- besides the instructions on how to use darktable more specifically).
![]()
Wow, I only asked a couple of days ago! I love this community. I have no expectations (certainly no sense of entitlement) for things to happen, but somehow I’m still constantly bowled over by the enthusiasm and willingness to help.
As well as @s7habo’s amazing contributions, I also want to give a shout out to all the devs for their efforts to improve the software. I put in 3 feature requests on Github a few weeks ago, and within days one of them had already been implemented into the nightly build (side-by-side snapshots), and the other two are apparently being worked on by some students in France. Not to mention the bug fixes and other improvements being done behind the scenes.
When do you ever get such “service” from commercial software?
@s7habo, I have just finished watching your latest video. There were some really interesting techniques shown. I have a few questions:
-
Am I right that your use of the “linear invert” instance of Tone EQ is to first compress the dynamic range when the image has a high DR? Would you use it on any other images or just those with a high DR?
-
Do you tend to use Sigmoid with this neutral curve now? I have seen other videos where you keep the defaults and just adjust the skew and/or target white, which is what I tend to do as well. But would you now recommend the neutral preset and use other modules to create a more customized tone curve?
-
In the threads I mentioned in my previous post, I had talked about a scenario where you might want to work on perhaps 2EV of the dynamic range (e.g. just the clouds in the sky, or the ripples on a sandy beach). I talked about restricting Tone EQ to just these 2EV, and therefore having all nodes available for adjusting these 2EV. This involves quite “extreme” values for the Tone EQ mask, and is not always easy to dial in properly. Would you ever try to do something like this with Tone EQ, or would you probably just use a parametric mask to restrict the module’s effect?
-
How would you go about adding contrast at the extreme ends of the dynamic range (brightest brights and darkest darks)? Do you think local contrast modules are more suited to this rather than modules such as Tone EQ and Color Balance RGB?
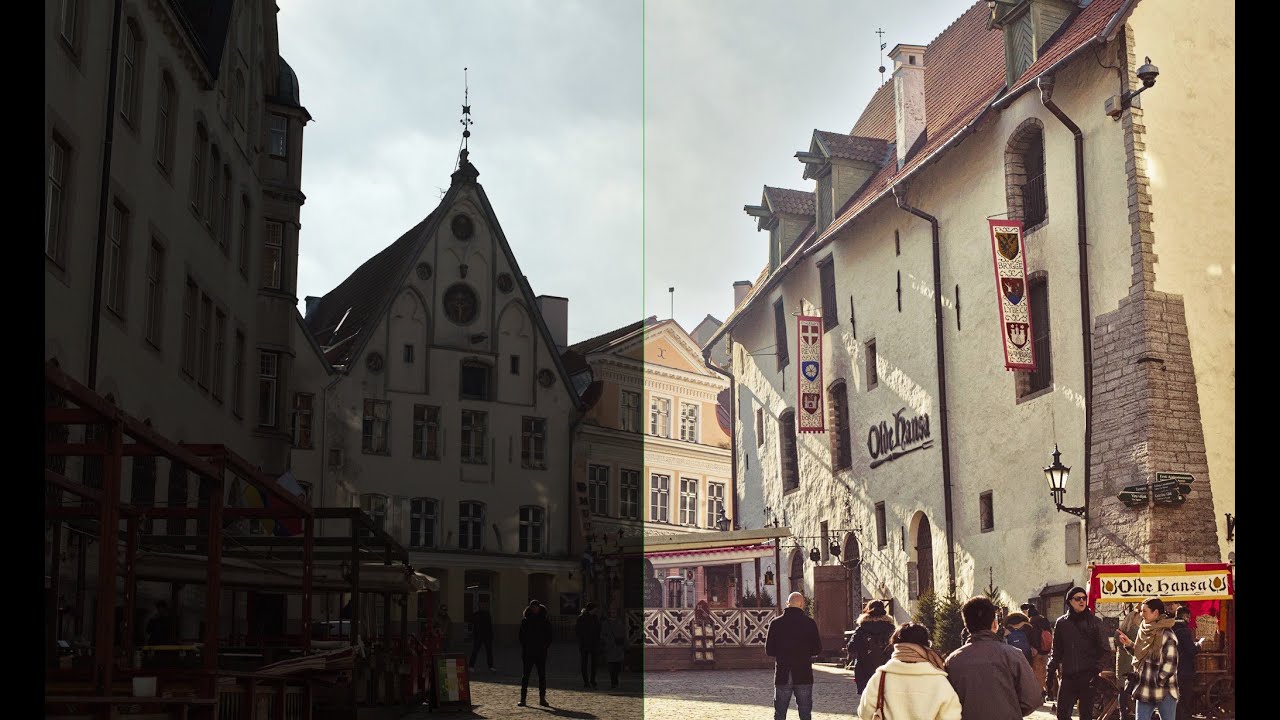
One thing I particularly liked about your video was the tip about creating contrast between colours. And you reminded me about Color Lookup Table, which has always been one of my favourites. But I often forget to use it because it’s not really well suited to the scene-referred workflow. But I love its hue patch selection functionality, and I still find it is probably the easiest module to use for colour work. It’s just that it really only holds up with micro adjustments. If only it could be adapted to work better for the scene-referred workflow! I submitted a feature request once to see if it could be converted to unbounded RGB, but apparently it’s too complex.
Anyway, thanks again for another great video and all the help you offer this community!
Thank you @s7habo
It might be interesting for some of us a video about Sigmoid presets, with different examples so that we understand in which situation each preset is the best choice, at least as starting point.
Many thanks again!
I’ve noted that in another thread some years ago Trying to figure out RGB (filmic) workflow Boris @s7habo said: “… this is the only thing I still miss in the darktable - especially after using Filmic RGB - a module that can improve and enhance the contrast and details in highlights. This can also be achieved by combining local contrast, contrast equalizer and haze removal, but it is very tedious and not always satisfying”.
Well, that was 5 years ago, but I don’t believe that we since then have gotten any new candy in the candy store that can extinguish this type of cravings … :-), but maybe Boris or others have developed some new method?

