Game changer: pp3 file update -New RawPedia - with Hugo

Hello

I’m currently preparing the Game Changer tutorials for the new RawPedia (Hugo).

This has led me to revise the tutorials, and especially the sequence of actions due to the new code.
I would like to reiterate that the goal is not to produce the ‘best images’, but to provide tutorials with an educational purpose.

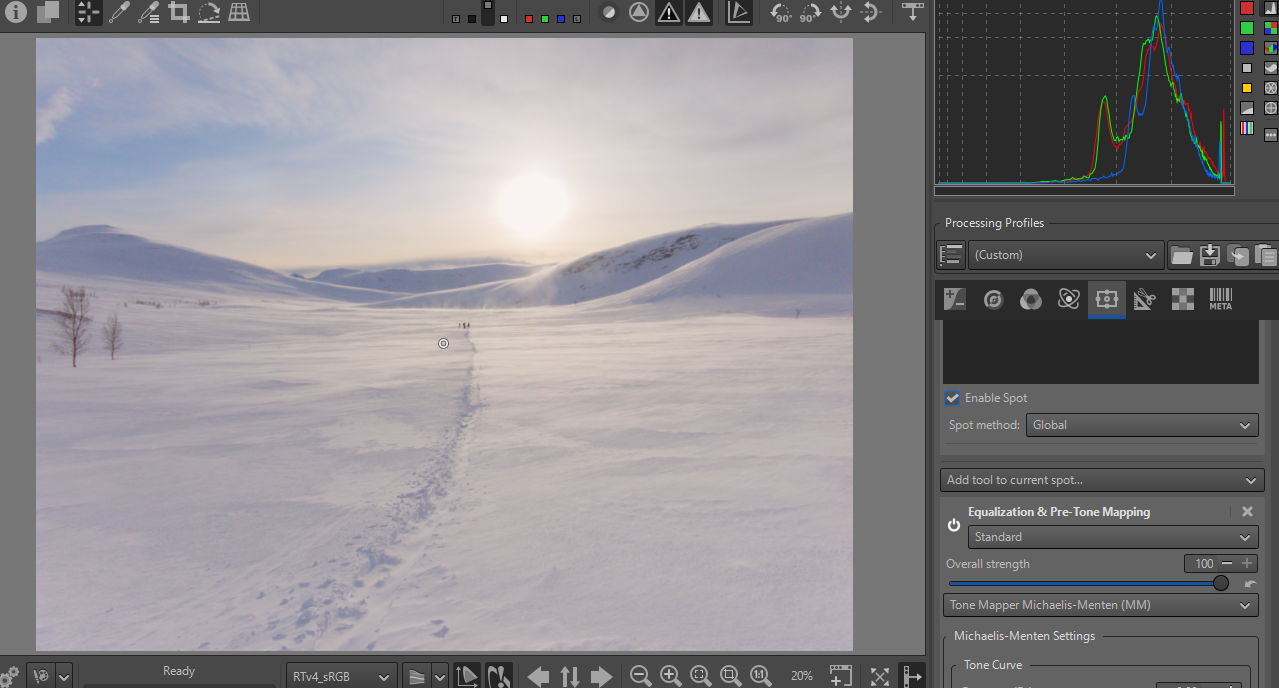
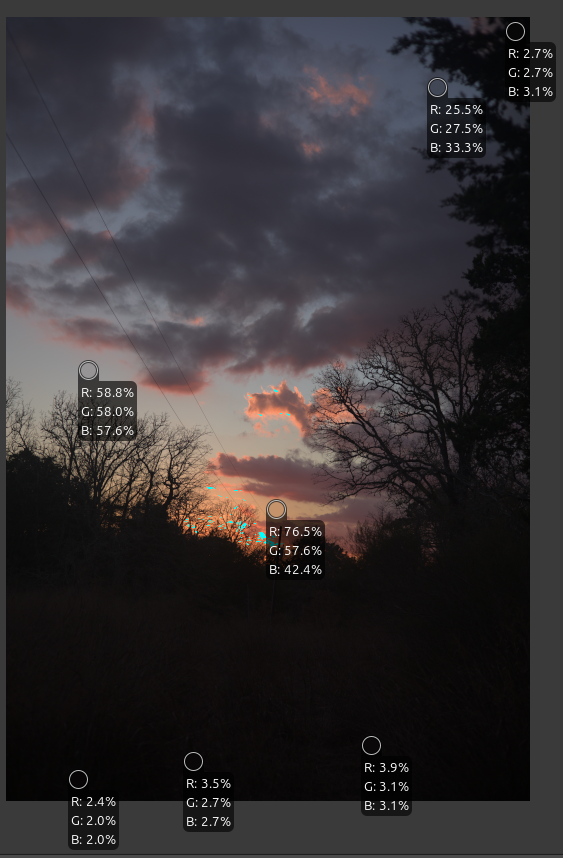
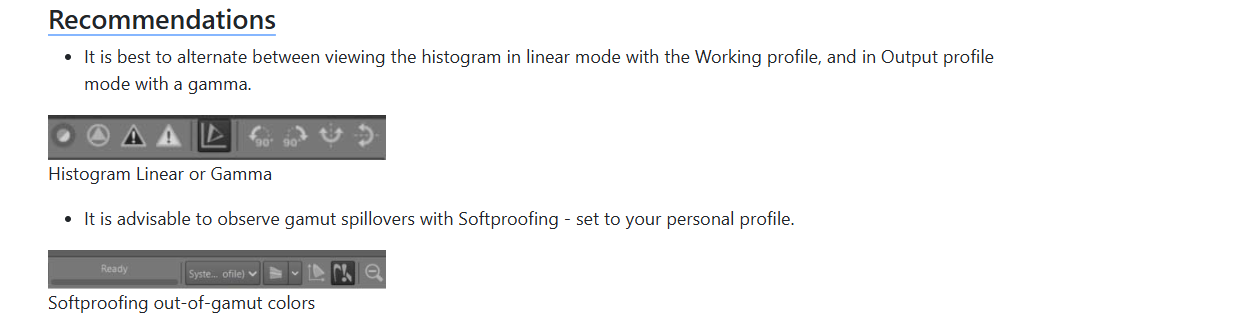
To ensure (and this is one of the essential goals of the tutorials) that you are not out of gamut, I recommend enabling Softproofing in RT, along with your output profile, which should very often be sRGB. It’s easy to create pleasing images… but beware of the color gamut.
image


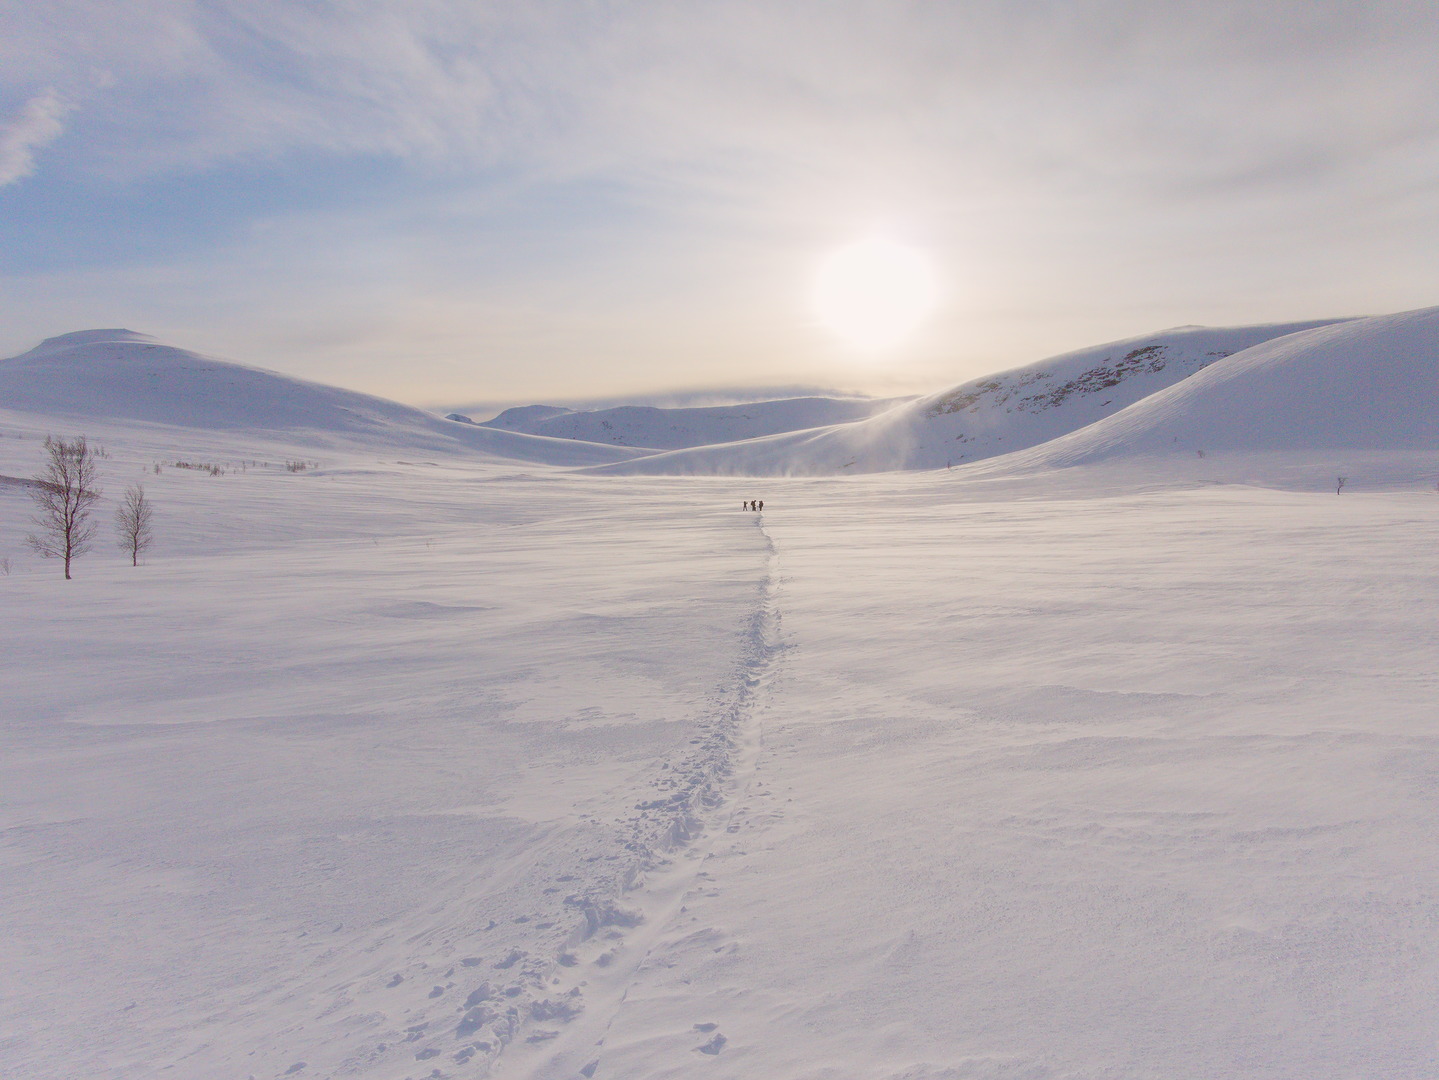
For the “Game Changer - How to procees a Sunset”
Raw file - Sunset

3 pp3 with several uses of Generalized Hyperbolic Stretch and Michaelis-Menten
i2426-mm.pp3 (20.8 KB)
i2426-ghs-lum.pp3 (23.0 KB)
i2426-ghs-std.pp3 (23.0 KB)


For the "Game changer : Mastery of Colors & Film simulation (You will not find AgX xxx)

Raw File - Blue Horse

pp3 :
2010_MONTR_033.NEF-film2.pp3 (19.0 KB)


For the Game changer - A complete process on a user Rocks image
Raw file

pp3
TZ5_1767.NEF-ghs-mm.pp3 (34.8 KB)
You can choose either GHS or MM


For the Game changer : Using Leds images…
Raw File
pp3
AT001219.DNG-ghs-mm.pp3 (22.0 KB)


For the Game changer - link with “Do you ever use the a* or b* curves”
Probably one of the most difficult images to process… while staying within the entire gamut
Raw image
Two pp3
The first using “Color propagation for very low lights”
The second, the same with “Color Propagation - blur”
1q8a5461.cr3-jd-std.pp3 (27.5 KB)
1q8a5461.cr3-jd-blur.pp3 (27.4 KB)

It is the only one that uses primaries to enhance the dramatic effect (Abstract profile)


I hope I haven’t made any mistakes with all the Raw and PP3 files…
It’s not certain that these are the final versions that will be found in RawPedia. Nevertheless, they are often different from those presented in November and December 2025.

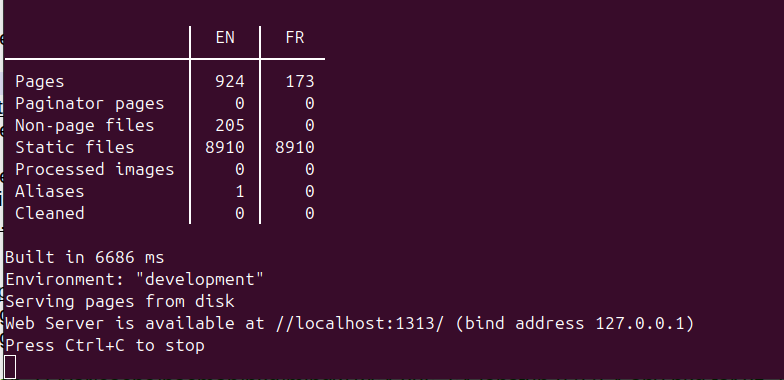
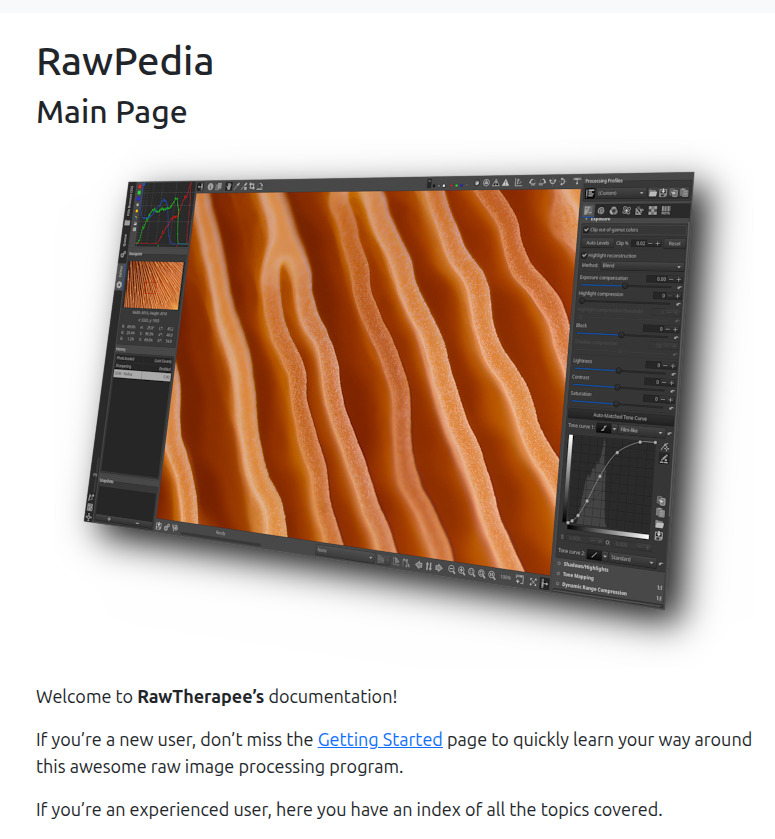
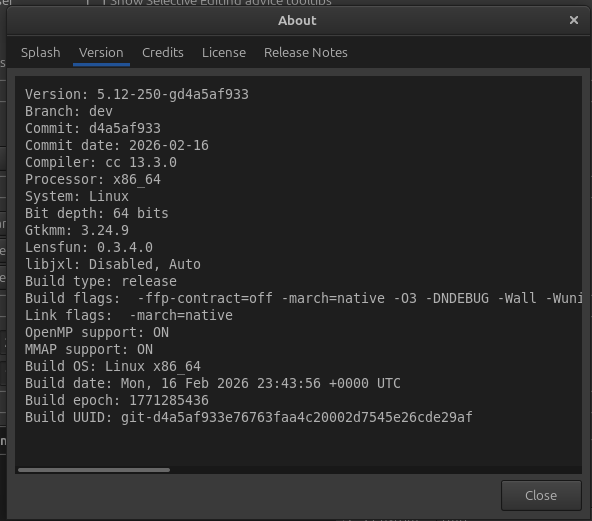
I don’t know when RawPedia will be available, but those who want to see it can do so if they know how to use ‘git’ (whether on Windows or Linux). It looks like this.

Jacques

7 Likes

For example, if you want to install and monitor the progress under Windows. I assume you know what Msys2 and MinGW64 are.

Open Msys2.
Load ‘Hugo’, ‘npm’

pacman -S mingw-w64-x86_64-nodejs
pacman -S mingw-w64-hugo

Uses
RawPedia

Then in MinGW64 - copy the ‘git clone’ found in the link above.
Copy : git clone --recurse-submodules…etc…

I have to use // and … because the system interprets my text as commands.
Then after : $ cd

// $ cd RawPedia/themes/hugo-bootstrap-bare/assets

In this folder : $ npm install

Then - tutorial2 is the current Pull Request

$ cd RawPedia

$ git checkout tutorial2

$ hugo server --disableFastRender

If everything is installed correctly, you should get it within a few seconds, something like that:

Now, in your Web browser (Chrome, Firefox…) , copy the link,
//localhost:1313/ or 127.0.0.1: 1313
you should get this

Look at the menu, and go for example to

And so on…

It’s essentially the same under Linux; check the Hugo documentation for your specific distribution. And loading ‘npm’ is different from Windows.

For example for Ubuntu
$ sudo apt-get install npm

Of course, not everything is working…far from it. Please understand, the work to be done has been very significant and remains so (translations, links, etc.). Thank you to @patdavid and @paperdigits and in advance to all those who will contribute

Jacques

3 Likes

Thanks @jdc Jacques, I’ll have a look through as soon as I get a chance… Hopefully this week. As always, appreciate your time and energy for these improvements. Salute.

1 Like

Hello

Good news

@patdavid has uploaded a provisional version of the new Rawpedia. The ‘tables of contents TOC’ aren’t working (or are incorrect), but it’s functional.

I merged ‘tutorial2’ this morning… So you can see how the links I tested work (all of them?).

Please bear with me, everything is still a work in progress, but at least you have a version.

RawPedia Hugo

If you want to have the ‘TOC’ (Tables Of Constraints), use the version for your personal use where it works, as described above. Staying in the ‘master’ branch (since I merged the pull request)

Some comments about the pp3 that I provided above… I only mention what seems important to me… The rest will be in the tutorials, but I can answer your questions.

For the "Game changer : Mastery of Colors & Film simulation, This assumes that HaldCLUT (which is very good but ‘fixed’) is installed. You choose a Film, and the “Red Green Blue” module allows you to change the rotations, saturation, and brightness curve.

For the Game changer : Using Leds images…
I didn’t use primaries, but rather “Gamut compression” twice (the second In Abstract profile), as well as Postsharpening denoise in “Capture Sharpening”, and the processing in 2 Spots: GHS + Michaelis-Menten, and Color Appearance & Lighting, and a lot of SE Capture deconvolotion, to compensate, somewhat, for the noise reduction in Capture Sharpening (I have update the pp3)

I merge tutorial 3, Image with LED’s

Jacques

4 Likes

I’ve just added some new tutorials. Now you can check them out (without TOC).

  • Best Shadows & Higlights techniques
  • How to Process a Sunset
  • Using LED’s image
  • Mastery of Colors & Film Simulation

I would like to remind you that these tutorials are for educational purposes, and not for finding the most beautiful image (although they can be the same thing).

RawPedia Hugo

Tutorials > Game changer

Jacques

4 Likes

Amazing work @jdc Merci Beaucoup. The tutorials are great, well explained and full of good technical information.

So I’ve had a play… and go from this, albeit not particularly difficult shot (Neutral only selected):

to this with Michaelis-Menten in a global spot:


P1100428-2.jpg.out.pp3 (18.4 KB)

with limited user intervention… just great tools. Again, Merci Jacques

Edit: thought I’d also add this… for comparison only

2 Likes

@SCHA

Thank you very much… :grin:
But in all these tutorials, you have to be tolerant of my English. :wink:

I just added tutorial 5 : a complete process on a user Rocks image.
RawPedia Hugo

I’m going to make a little joke (I’m perfectly entitled to, I’m almost 79, and in poor health). You’ll notice that we’re managing to get things done, even without masks, even without using primary (just one time… Just to make it look nice.)… but of course, we could do it with that.

Jacques

3 Likes

Hello @jdc

You’ll notice that we’re managing to get things done, even without masks,

Believe it or not, at work as a plant pathologist I have never ever needed the urge to work with advanced masks with RawTherapee.
If necessary, I edit the exported images (Tiff) with GIMP.

More precisely, I take shots pretty much every day. They are samples of plant diseases and insects. Since they are in a laboratory all lights are carefully positioned and all setup is checked thoroughly.
Therefore, in the end, there are not big shadows, noise, sharpness left to correct.
In conclusion, RawTherapee fits my needs beautifully :slight_smile:

Thanks again for your update on RawPedia!

2 Likes

Hello

I’ve just added the second-to-last tutorial, based on an image taken by @Andy_Astbury1

‘The Harvest mouse’

In this case, the processing is no longer solely based on colorimetry, but also on certain noise reduction techniques.

As a reminder, almost all of the methods and tools used in ‘Game Changer’ are innovative systems, such as:

  • Abstract Profiles.
  • Wavelets (even if you don’t see it), with “Contrast enhancement”
  • Pre-tone mappers: Generalized Hyperbolic Stretch & Michaelis-Menten which I have significantly modified, particularly to take into account (and this is extremely important) the Linear White Point and the Linear Black point.
  • White balance auto - Temperature correlation
  • Gamut compression - adapted to real out-of-gamut conditions
  • Color Propagation - which, when needed, can recover lost data (and by a long shot) in both bright and very low light conditions.
  • Capture sharpening, which allows noise to be taken into account… and that’s no small thing. It is accompanied by its mid-process version (Capture deconvolution).
  • Selective Editing, which allows you to do in ‘positive’ what other software does in ‘negative’.
  • etc.

How many criticisms have I received ? It’s useless, complicated, incomprehensible, and better with “kkkk”. Seeing other free software developing in the same direction today pleases me. For example, all the Wavelets tools started in 2011 and were almost finalized in 2017… Only the latest version, “Contrast Enhancement,” which combines several Wavelet processes, dates from 2024-2026.

Thank you for your feedback and objective criticism. I will try to take them into account.

RawPedia Hugo
Jacques

2 Likes

Hello

I just push, the last tutorial… big job.

A very noisy images “The young girl”

For your remarks, comments, requests for changes, etc.
RawPedia Hugo > Tutorials > Game changer

Jacques

1 Like

I am trying to replicate the results of the first tutorial, but I cannot seem to find the same starting point as @jdc does in Neutral mode. When I set my version of RT-dev to ‘Neutral’ the histogram and locking colour pickers differ significantly from the those provided in the tutorial, despite my best efforts to match the histogram type and colour picker locations. My softproofing profile is set to RTv4-sRGB.

My RT-dev version:

My Profile Selection:
Tut1_Neutral

My histogram:

My colour pickers;

Any suggestions on why my Neutral mode should differ so much from that portrayed in the tutorial? Thanks.

Terry

@tbransco

Thank you for testing. :grin:

The answer is simple. Like all processing, before the end is done in linear mode, and with the Working profile (what some call ‘scene referred’), you have to look at the data as seen by the algorithms.

So we need to switch the data and histogram views to ‘linear’ mode (without gamma) and with ‘Working profile’ - which is not incompatible with Soft proofing.

RawTherapee has the advantage (or disadvantage) of allowing both.

The Output Profile + Gamma version should be used to check the histogram towards the end of processing. Everything displayed as RGB data in Gamut Compression, GHS, MM, and Abstract Profile is linear data, and it uses Rec2020.

Just one detail, I corrected (I don’t remember when) the way this change in the display of data and histogram worked, which was incorrect (5.11 or 5.12…)

It’s listed in RawPedia - Game Changer

Jacques

The sound you hear is my hand slapping my forehead. :face_with_open_eyes_and_hand_over_mouth:

I knew it was something basic I missed. Thank you!

Terry

2 Likes