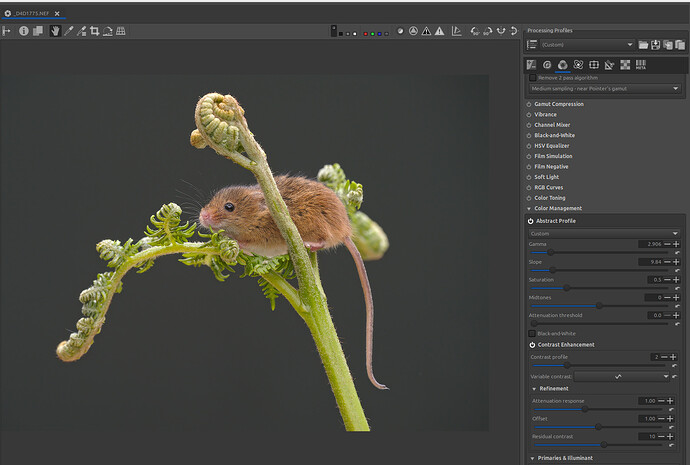
This second tutorial aims to explain the concept of a ‘Game changer’, with an example using Andy Astbury’s harvest mouse image. @Andy_Astbury
In this tutorial, we will see how to use ‘Capture Sharpening’ and ‘Selective Editing > Capture Deconvolution’, ‘Selective Editing > Generalized Hyperbolic Stretch’ (GHS), and ‘Abstract Profile’ (AP) together. Of course, other tools are necessary, which we will cover later.
Image selection:
Raw file : (Copyright Andy Astbury - Creative Common Attribution-share Alike 4.0)
Harvest mouse
Thank you to him for this very beautiful image.
For your information, I’m including the pp3 file that was used to build the example included in Rawpedia. This will allow you to see the significant differences in both process and results.
Learning objective:
The user will have assimilated the ‘Game changer’ concepts presented in the first tutorial:
First tutorial - Sunset
Rules of game
-
the role of GHS, in the linear portion of the data, which can be considered a ‘Pre-tone-mapper’, and the role of Abstract Profile, which prepares the data for use in the output (screen, TIFF/JPG).
-
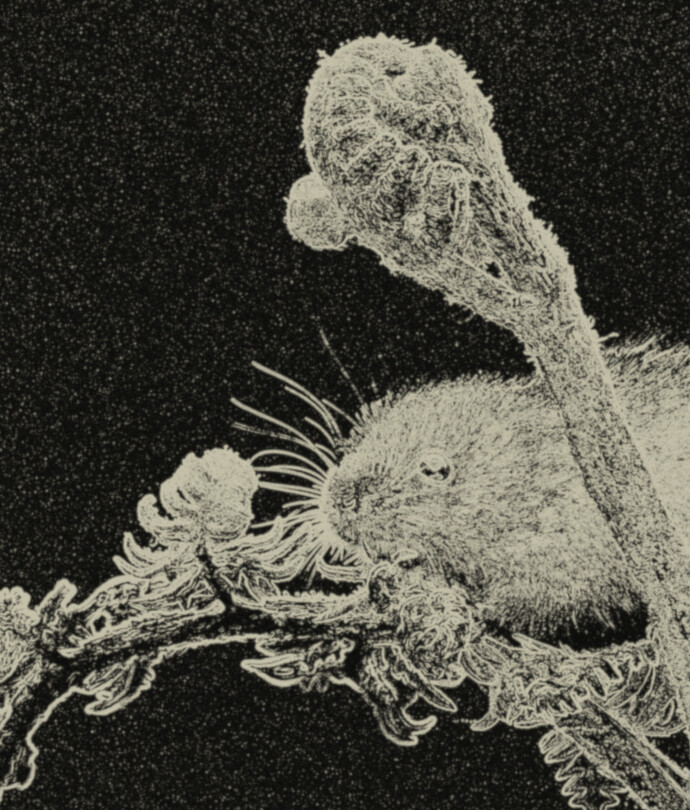
The main objective is to demonstrate (at least partially) the use of the new ‘Capture Sharpening’ algorithm to denoise the background; GHS to balance the overall contrast of the image; Capture Deconvolution to restore sharpness to the image after denoising; and finally, ‘Abstract Profile’ to both better balance the image and increase local contrast.
Teaching approach:
-
The lack of easily accessible and up-to-date documentation hinders this presentation, but we will manage without it (or almost).
-
I will attach a single (pp3) containing all the settings provided as a guide (at the end).
First step: Capture Sharpening
-
Disable everything, switch to ‘Neutral’ mode
-
To make the settings easier, set the ‘gamut’ knob so that the data and histogram use the same values as those – linear + working profile. During the process, you will regularly switch to viewing the histogram in gamma + output profile mode to see any overshoots caused by these changes and try to correct them.

-
In the ‘White Balance’ (Color Tab), enable Automatic & refinement > Temperature correlation.
-
Enable ‘Capture Sharpening’ (CS) (Raw tab).
-
Verify that ‘Contrast Threshold’ displays a value other than zero, normally 25.
-
Zoom in or out in the Preview; you will see that this has no impact on the result. The processing is performed on the entire image – with the drawback of being relatively slow.
-
At 100% or 200%, you will see noise appear in the background.
-
Enable ‘Show contrast mask’, which is also insensitive to the Preview position. The noise on the black background becomes clearly visible.
-
Still in the ‘Raw tab’, go to ‘Demosaicing’ and change the default method ‘Amaze’ to, for example, ‘Amaze + bilinear’ (Thank’s to Ingo). These methods with ‘Double’ demosaicing use a similar contrast mask (before demosaicing). The advantages are: a) less aggressive action on the background (the black areas of the mask) while preserving the main subject, thus reducing the impact of noise; b) a slight reduction in processing time. Of course, this assumes that this mask (not the one you see in (CS), but the one for demosaicing, which isn’t user-accessible) is working and therefore that the image isn’t too noisy. I left the setting on ‘Amaze’ in PP3.
-
You can, if you wish, disable the ‘auto’ settings of ‘Contrast threshold’ and ‘Radius’ to adjust them to your liking.
Remove background noise
-
Disable the mask.
-
View the image at 100% or 200%, then adjust the ‘Postsharpening denoise’ setting, which will take the mask information into account to process the noise. Adjust this denoising to your liking. It’s clear that even with a mask, the denoising action isn’t localized pixel by pixel but rather applied to areas of pixels (here, 64 x 64). Therefore, you will inevitably see denoising in the transition areas.
-
Note: In the case of this low-noise image, I haven’t enabled ‘Presharpening denoise,’ which is only useful for making CS usable by performing denoising before CS.
-
For technical information – the denoising uses wavelets with a vanishing moment of 20 to minimize artifacts. This process takes place in three dimensions (horizontal, vertical, and diagonal). The ‘Noise reduction’ function (Detail tab) uses a vanishing moment of 4 in all three dimensions. By comparison, ‘Contrast by Detail Levels’ (which is not used for noise reduction) uses Haar’s method with a vanishing moment of 2.
Daubechies wavelet - Wikipedia
Second step: Generalized Hyperbolic Stretch - GHS
The goal of this step is to adjust the White Point (WP linear) and Black Point (BP linear), and at a minimum, to adjust the image contrast.
Go to ‘Selective Editing > Global > Shadows/Highlights, Equalizer & GHS’. Choose GHS.
-
Click on ‘Auto Black Point & White Point’ and examine the values. You should see BP = 0.0048, meaning the image’s black levels are not optimized, and WP = 0.9287, also indicating no optimization. Adjusting these values to the range [0, 1] will result in an image with greater contrast and deeper blacks.
-
The (somewhat arbitrary) settings are ‘Stretch factor (D)’ = 0.488, ‘Local intensity (b)’ = 1.442 and ‘Symmetry point (SP)’ = 0.0342. Of course you can change these settings.
Step Three: Activate a second RT-spot, GHS in Global mode – Capture Deconvolution
The goal is to restore sharpness to the transition areas of the image between the (noisy) background and the main subject.
-
Select ‘Add tool to current spot…’ > Sharpening > Capture Deconvolution
-
The major problem – not specific to this tool but generally due to RawTherapee’s pipeline – is the sensitivity to the zoom level and the preview position. So, you have to make do. Ideally, you would have a screen large enough to see the details in ‘fit to screen’ mode (which is definitely not the case for me). In most cases, choose a reasonable zoom level of 50%, 100%, or 200% to see the area in question (here, the mouse’s nose). Activate ‘Show contrast mask’ with ‘Contrast threshold’ in ‘automatic’ mode. When you are satisfied with the resulting effect, uncheck the ‘automatic’ box; the setting will be retained for the entire process (including Output).
-
‘Capture Deconvolution’ uses the same algorithm as ‘Capture Sharpening’ (Raw Tab). Some adjustments (to put it mildly) were necessary for it to work further in the process and on non-raw images (TIFF/JPG, etc.).
-
In ‘fit to screen’ mode, you have the option (not very useful in this example) to increase or decrease sharpening based on the position relative to the center of the image. The area where changes are applied using the main settings is defined by ‘Central protected area %’.
-
When ‘Capture Sharpening’ (Raw Tab) is enabled, the ‘Capture Radius’ value in ‘automatic’ mode within ‘Capture Deconvolution’ is set to 90% of the ‘Capture Sharpening’ value. Of course, you can disable this and adjust it manually.
Step Four – Adjusting Tones – Increasing Local Contrast
This step is very similar to the one covered in tutorial N°1. So I won’t go into detail…
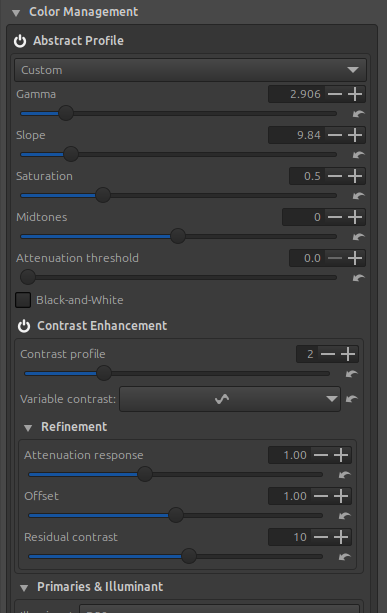
In principle, there’s no point in using the ‘Primaries & Illuminant’ module here.
I arbitrarily chose the following settings:
pp3 file of the entire processing
Final pp3
And the image
Excuse my bad english, the bad links…And I had forgotten, along with the translator, the “learning objectives” that I just added.
Jacques


