Are you shooting a color chart of some sort for your training data?
No, just exposure brackets of regular stuff in my neighborhood. In total, currently 35 images, with six brackets each (making 210 images total). It seems to me that the LUTs actually work well for colors I’ve seen in the training data. But uncommon colors are an issue.
1 Like
Yesterday I reimplemented sacredbirdman’s LUT building program in a different programming language. Not that it needed rebuilding, but that’s my way of figuring out how it works.
It really is a remarkably simple process, once you understand it.
With that done, I’ll try my hand at adding some fancy extrapolation and smoothing.
2 Likes
Forth?
The programming language? No, python.
What are the next steps for your training set. More images then re-evaluate
Next, I’ll implement some interpolation and extrapolation and experiment with different kernel sizes/smoothing constants. That should get rid of the graininess that currently plague the LUTs and make them reasonably usable.
However, the LUTs are currently rather incomplete, especially in the highly saturated parts. That’s simply because the real world is only rarely heavily saturated, so collecting sample images of that is rather hard. The good news is that these colors in fact are rare, so lacking them isn’t a huge issue. And they can be reasonably extrapolated towards from covered colors.
I think collecting more training samples is actually a fool’s errant. Taking sample images is annoying, and I’d always rather spend my time taking useful photographs with real lenses instead. So instead, I’d write an adaptive pixel mapping procedure that should correct for lens distortion and allow me to use my existing library of pictures. This should also fix the need for the extreme subsampling we’re doing at the moment, and make more pixels available per image.
An alternative approach is to manipulate an existing raw file to contain fake data that iterates through all permissible colors. In the end, this might be easier than doing the pixel mapper, and probably more robust as well. And I wouldn’t have to convert hundreds of images to get a reasonable result.
3 Likes
Wouldn’t it be easier to borrow/rent/buy a color checker or something similar?
Sure. I have one. Two, even. But they don’t provide data for highly saturated inputs, either.
Get a legacy manual lens and a dumb adapter? That’s the only way to completely disable all corrections on a Sony.
Fuji will allow you to “develop” a RAW into a JPEG after capture like Pentax does?
It’s one of the Pentaxisms I REALLY miss since switching to Sony. I wouldn’t have to resort to crap like Robertson’s algorithm to reverse engineer Sony tone curves if I could re-develop RAWs after capture in-camera.
It should be possible to translate an identity HALD CLUT into a raw image by re-mosaicing it, although you will not have it shaped EXACTLY like a normal rectangular HALD unless you sacrifice some resolution. Also it’s sometimes easier to arrange the LUT a bit differently so that it looks more like OBS LUTs (which are basically HALDs but with the red/green/blue values traversed in a different way such that the image is full of small squares with gradients)
It might be desirable, in addition to remosaicing, to try and fudge some colorspace transformations so that you don’t make the camera choke on unrealistic out-of-gamut stuff… OTOH that can indeed be helpful for figuring out exactly what the camera is doing!
thanks for reminding me I need to push some changes to xphase_hacks/create_jpeg.py at master · Entropy512/xphase_hacks · GitHub so I don’t lose them - I was going to refer you to that as an example of an “alternative” arrangement similar to a HALD, but the actual good stuff is on my laptop back home! Will push it this weekend.
Same with Fuji. That’s what I’ve been doing so far.
Better yet, they provide a desktop app that connects via USB to the camera, so you can use your real camera firmware to batch-process RAWs from your computer!
I was thinking it’d probably be a good idea to re-mosaic each color to largeish patches, so as to avoid any demosaicing weirdness. Given that the X-Trans mosaic is 6x6 pixels, I’d try to write the same color to at least twice that area.
But I haven’t even tried that yet. So that’s all just theory at the moment.
1 Like
Yup. I did something similar with my xphase stuff - I had pixels at least 2 wide, maybe it was 4, to avoid chroma subsampling being a problem.
A level 16 HALD CLUT is likely asking waaaay too much, and xtrans means even a level 12 will be a problem, but you might be able to, instead of doing a proper HALD, generate a set of images that each cover part of things. Possibly in addition to a HALD-ish thing, you might want some basic gradients that focus on smoothly going through all possible luminances to tease out luminance transfer functions.
1 Like
Well, a cursory look at an uncompressed RAF file only lead me to crash darktable, and nothing else. Evidently pixel modifications in the RAF file are at least not entirely trivial. But I literally only spent five minutes on this.
However, smoothing the LUT cube actually worked surprisingly well. Just adding a σ=4px gaussian smoothing to the LUT removes the egregious artifacts seen above. Of course this doesn’t fill in any of the missing highly saturated LUT entries, yet.
I also played around with extrapolation for filling in the missing values. My initial approach didn’t quite pan out as intended. But then I modified the smoothing routine to weigh sampled colors more highly than neutral filler colors, which works reasonably well.
Another problem were spurious black pixels created by the mapping procedure, for as of yet unknown reasons. They were easy to filter out, however, and the smoothing takes care of the rest. Still, this is something I’ll probably need to investigate some more for perfect results.
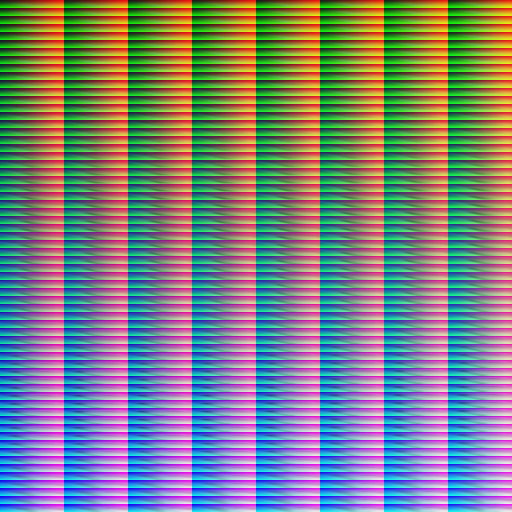
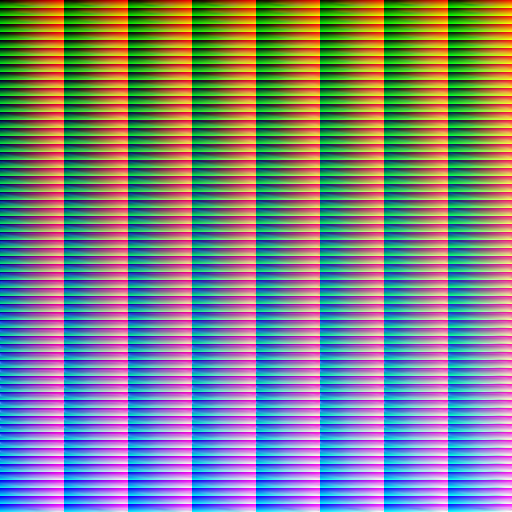
Regardless, the resulting LUTs work really well already. Here they are:
No more obvious color cast, no graininess, no weirdness with highly saturated colors. These actually seem usable.
As I said, I reimplemented the LUT extraction program in Python. In particular, this gave me the opportunity to do all the image preparation (cropping, downsampling, rotation) in-app, such that the script now just takes two directories full of same-name JPGs. Building one LUT from my 180 images takes about six minutes, which is reasonably quick.
The repo is super bare-bone at the moment, as I haven’t had time yet to make it into a proper project with a license and examples and stuff. That’ll come later.
Next, I’ll get back to actually editing pictures, and see how my LUTs perform in the real world. For the moment, the LUTs seem to be good enough for that. And then it’s probably time to expand the training set somewhat, and possibly implement the pixel mapper.
(While doing the above, some driver conflict crashed my linux box so hard I lost all images from the last month. Bummer. Thankfully, I could just reload them from the SD cards, and darktable had cached all edits in its database. But man, did that get my heart pumping!)
4 Likes
Yup, these look wild. Haven’t tried that kind of test myself but I suspect this might have something to do with the fact that there are so many colors that it leads to few samples in segments… so these samples might get filtered out. Anyway, looking forward to your own experiments 
I saw this
So is the input now the in camera jpg along with the raw??
Not quite, it’s the camera JPEG and the Darktable-standard JPEG.
Darktable standard means only the necessary modules in their default state. Such that they represent the image in sRGB after filmic, mimicking what the lut3d module sees in the pipeline.
Which is to say, these LUTs are specific to Darktable 3.8 in Filmic scene referred mode, and do not encode a screen transform on their own! I’ll probably need to re-render them when filmic v6 releases, or for alternative screen transforms such as a base curve or sigmoid.
I’ll try to post some comparison pictures tonight.
1 Like
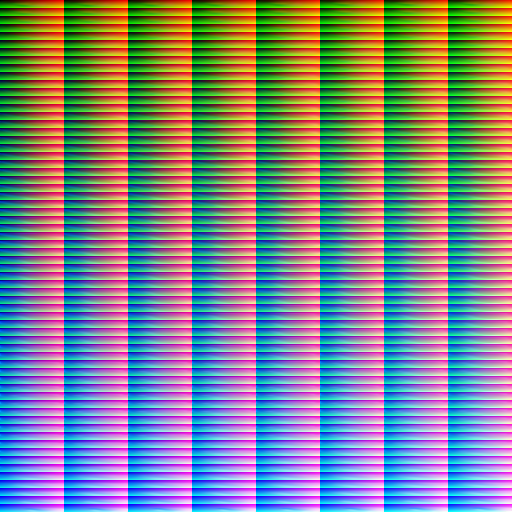
It seems my new LUTs have a problem: White never exceeds 235 or so, and black never goes below 15 or so. Which is to say, the color smoothing I’m doing needs some adjustments to allow extreme values.
1 Like
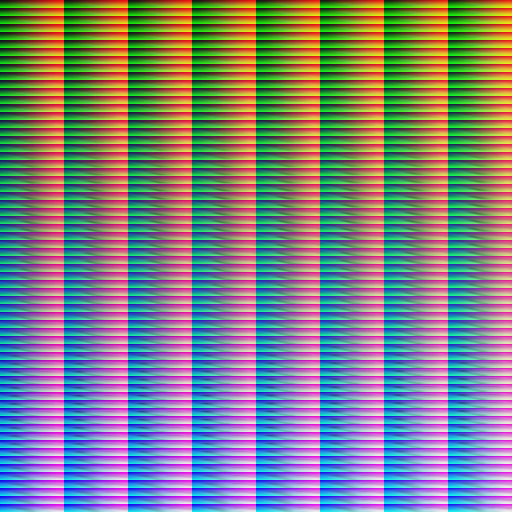
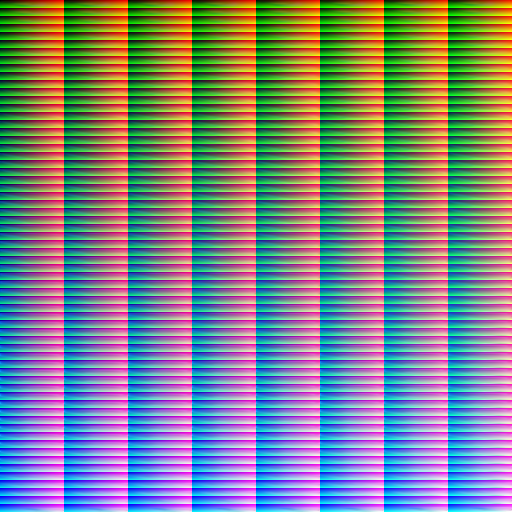
Another day, another set of LUTs.
This time, I fixed the contrast issue by modifying the smoothing procedure. Now the smoothing kernel shrinks near the LUT boundaries, such that extreme values on the boundaries remain extreme. I also further reduced sampling artifacts by excluding more obviously incorrect samples.
Once again, these LUTs look good at first glance, but I’ll have to use them for a while to discover their problems. A good indication so far is that provia in particular looks fairly subtle, as it should.
3 Likes
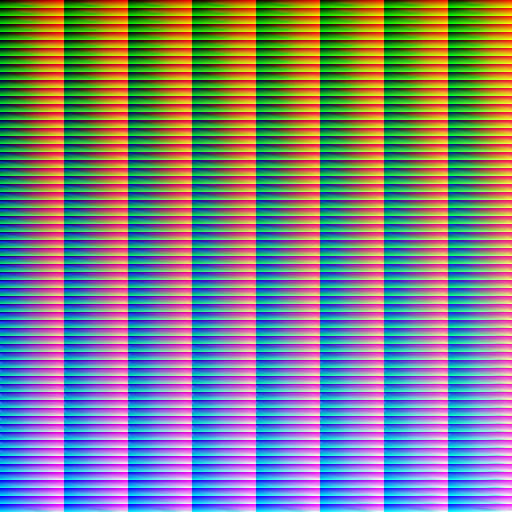
I know of one remaining problem:
Whenever one channel goes to zero, a discontinuity appears in the current LUTs (provia in this case):
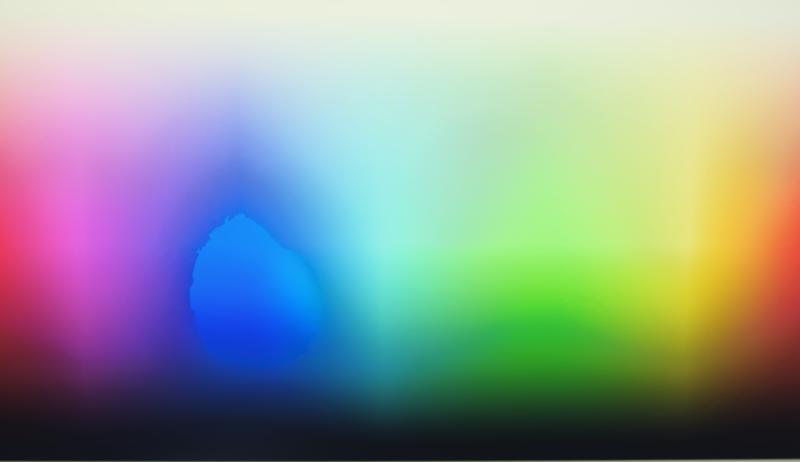
In this image, the weird blue area is where the red channel plummets to zero. Strangely, the transition happens rather quickly in Darktable, so this might not strictly by a bug in the LUT, but sort of expected behavior?
I can lessen the effect by exaggerating the smoothing weight of boundary pixels, but as of yet I can’t quite make it go away. I’ll experiment some more with this.
1 Like
