Another picture with haze. This time in daylight conditions. Haze removal tool is of very little use in this case too. It works only on lower part of the image and doesn’t make any improvement in the most problematic, top part.
Just to make myself clear, I’m saying that haze removal tool is fixed to certain lightness region and this is not adjustable. Probably someone could address this issue to our beloved developers )))
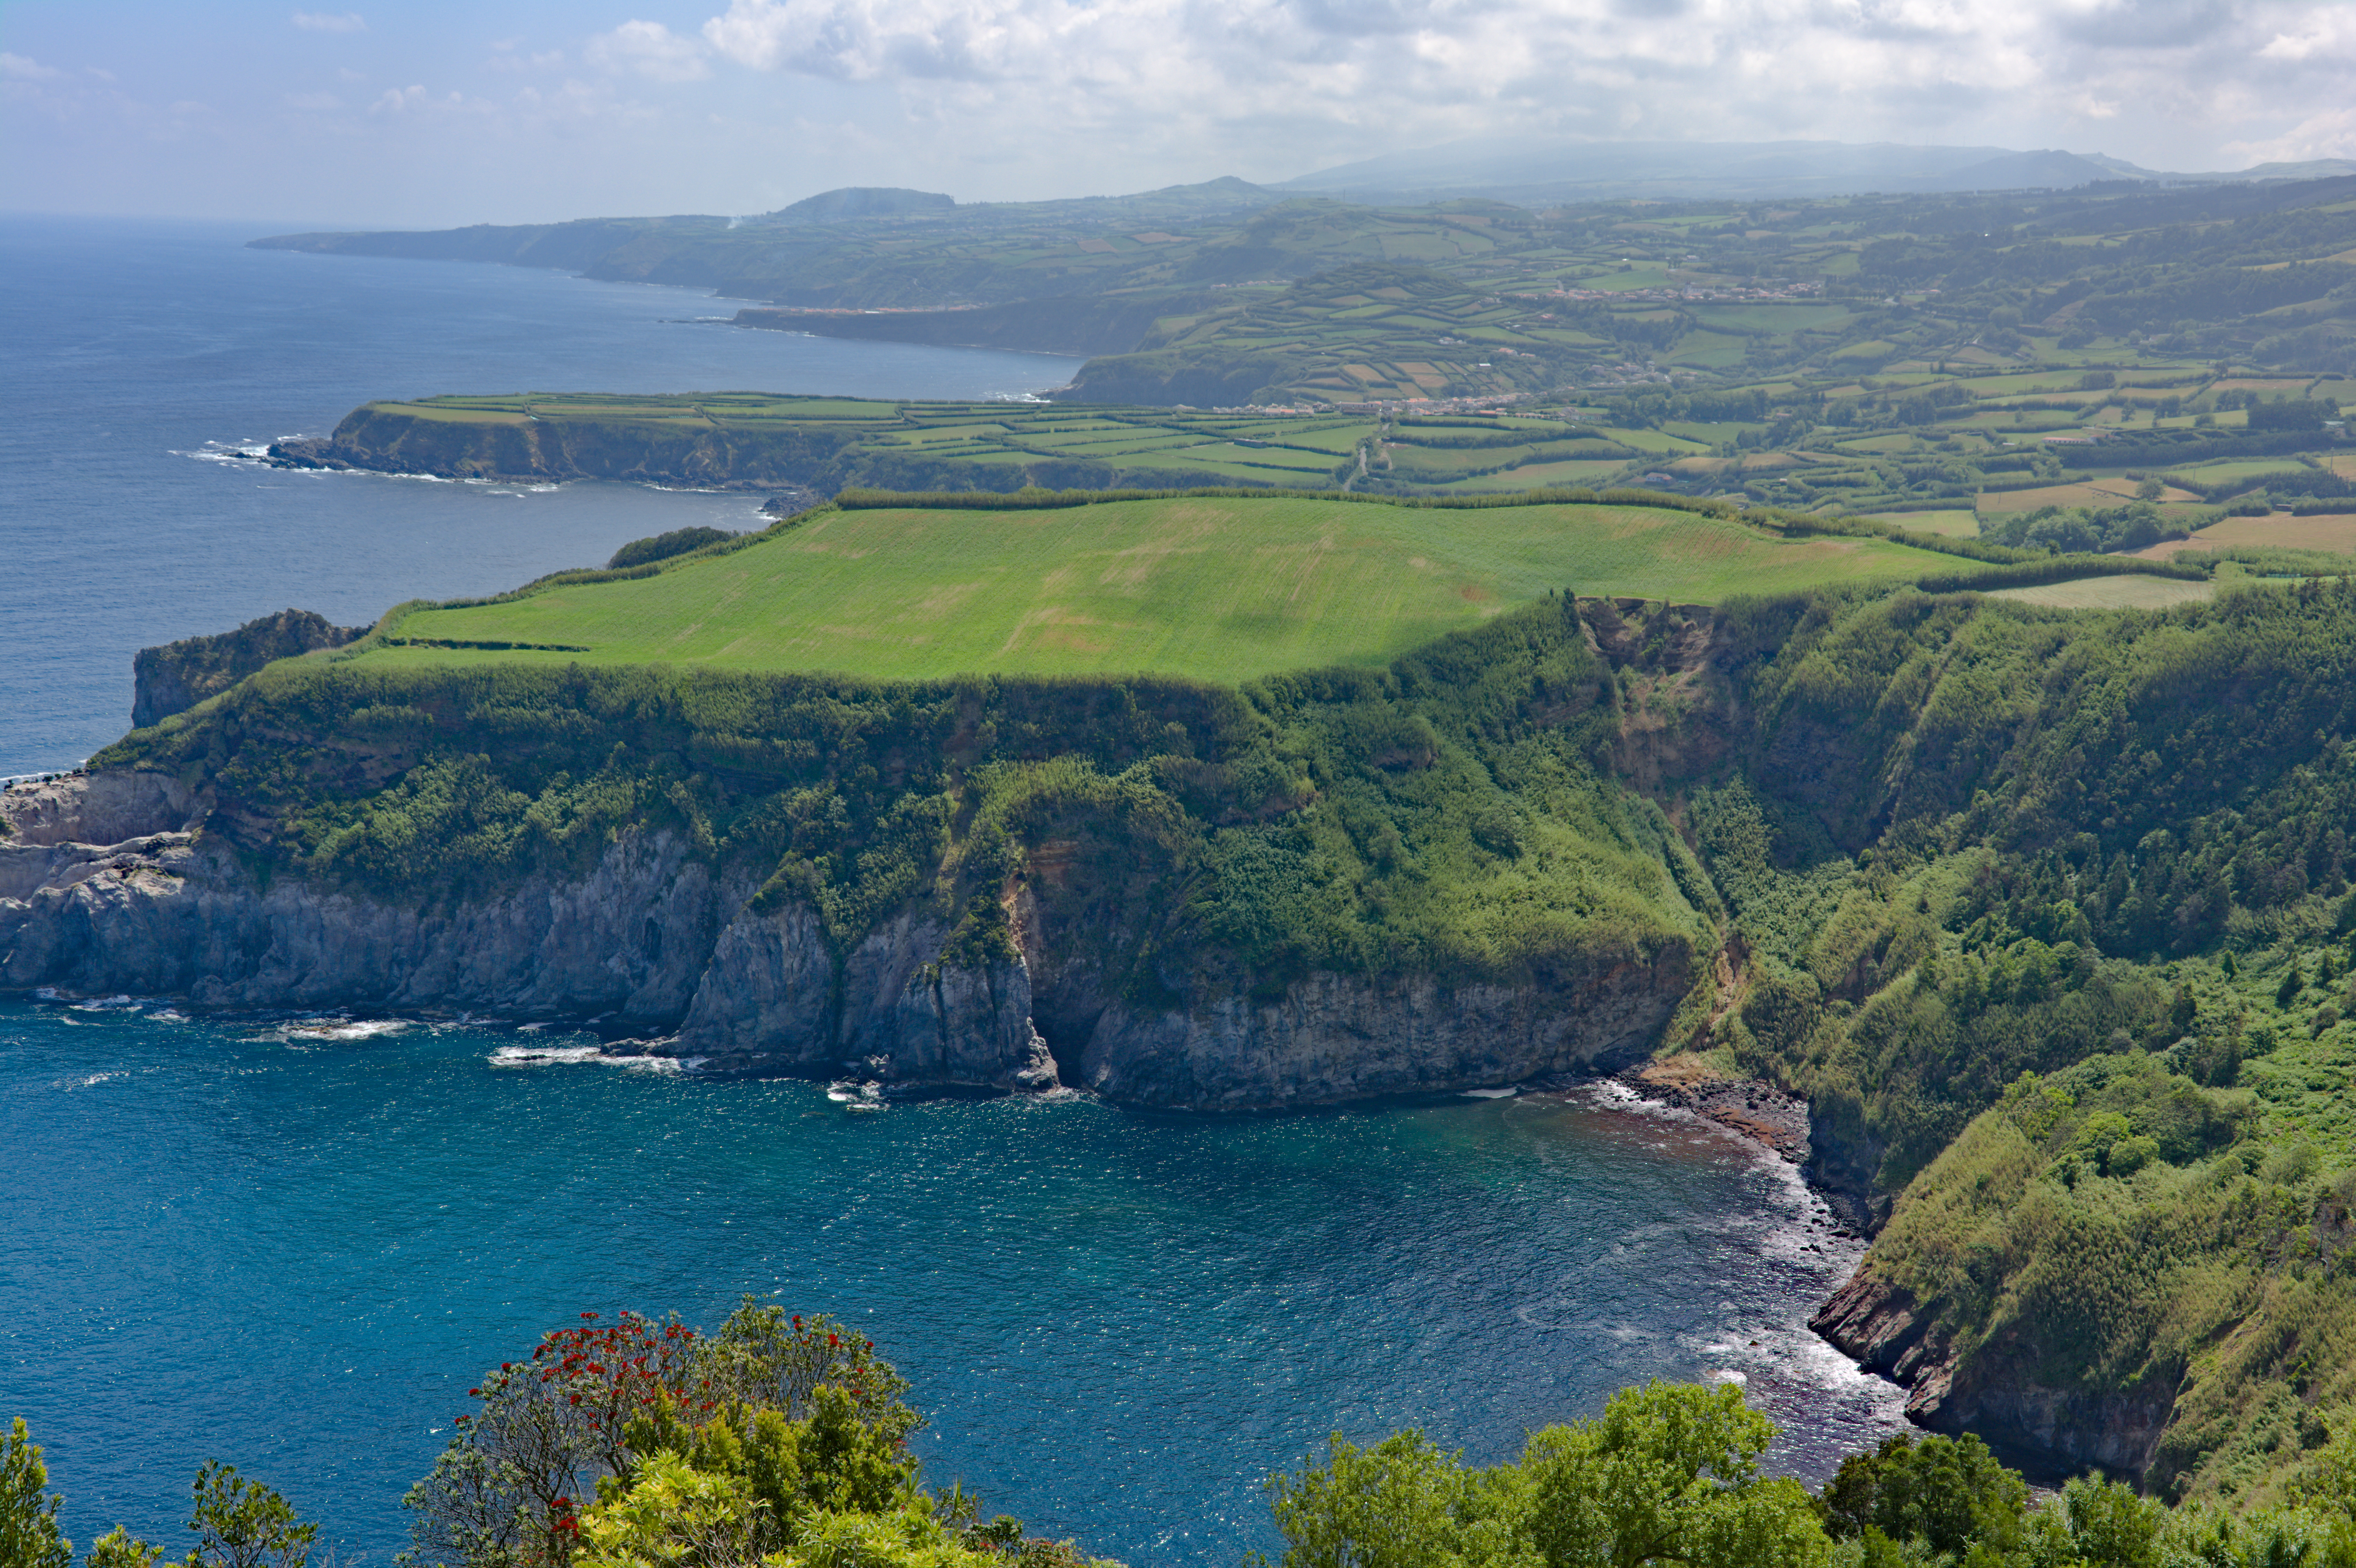
I just made a swift play in darktable v2.7.0, where I just concentrated on the far-away-haze. (Which is just an excuse for not fixing the blue channel &c).
Darktable 2.6
As @Claes, I had to triplicate an instance, but instead of dehaze, it was filmic. The last two filmic layers were masked only to the top of the image. After that, I enabled a tone curve to reinforce the dehaze effect.
@Claes very colorful saying, I like it. But here in Russia we say: No matter what (and how) you do during first wedding night, only one (good) result is expected of you — haze removal is expected to remove haze )))
@gadolf, I’m not sure that second instance of your tone curve module can be considered as haze removal ))) It brings back some details in sky but reduced contrast in shadows remains the same. Nevertheless I do mostly the same way (with parametric mask) and tone curve settings like this:
But it requires a lot of fiddling with sliders of parametric mask
I’m not either, but since I came to this post from @shreedhar, I started to use the LAB lightness curve to remove haze instead of the haze removal tool, which I find too aggressive. Then, after the filmic tool arrival and its underlying theory about keeping the RGB proportions unchanged, I started to use an RGB curve instead of LAB, for that purpose.
PS: I’m delighted to learn about northern cultures through their sayings
In RT 5.5, I used the LAB module, Haze removal module and Final Touch Up module together with edge sharpness of Wavelets to get this. _DSC0653.jpg.out.pp3 (12.0 KB)
EDIT: The photo was flat in lighting, colors were washed out and there was haze. Hence, used L, A, B curves to set the colors right (according to my monitor), the rest is to remove the haze and add contrast.
EDIT 2: I forgot to add that on top of what I did, you can also use local contrast module to further remove the haze (experiment with high radius and low amount) but it looked a bit artificial to me.


 — haze removal is expected to remove haze )))


