The DL address is what’s there WO the dot
http://chymera.eu/debug/rawtherapee/mountain_detail.zip
Contents:
13M camera.JPG
30M camera.NEF
10M from_jpg.jpg
12K from_jpg.jpg.out.pp3
11M from_nef.jpg
12K from_nef.jpg.out.pp3
64M total
The DL address is what’s there WO the dot
http://chymera.eu/debug/rawtherapee/mountain_detail.zip
Contents:
13M camera.JPG
30M camera.NEF
10M from_jpg.jpg
12K from_jpg.jpg.out.pp3
11M from_nef.jpg
12K from_nef.jpg.out.pp3
64M total
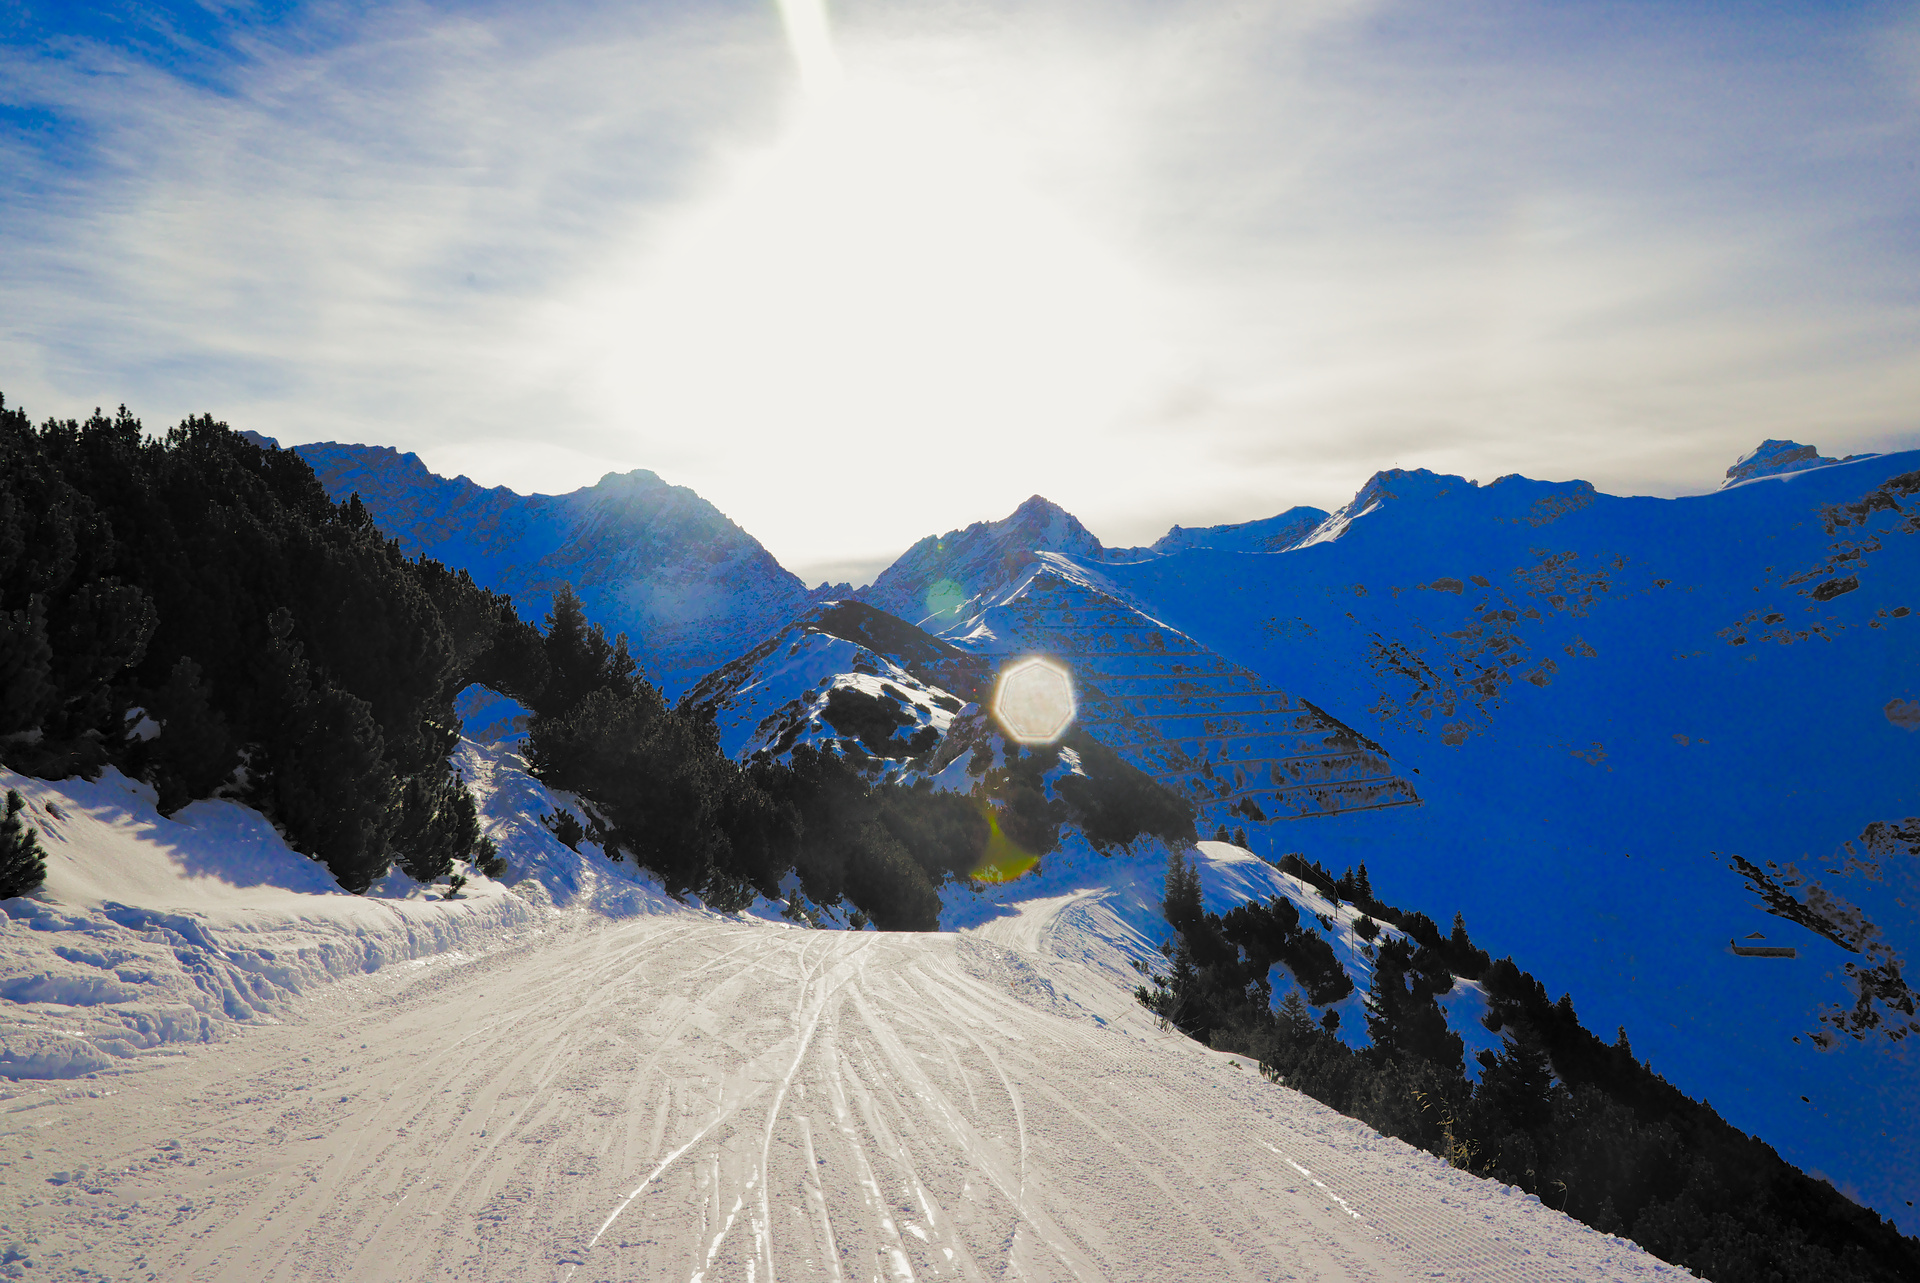
Those were the days, going skiing…
Here’s my effort mainly using a Lab tone curve.
Here’s the curve -

@Chymera, this may be of interest -
https://paulsphotopalace.wordpress.com/2-tone-curve-your-single-point-of-success/
I see the Nikon jpeg has managed to suppress the lens flare rainbow top centre whereas the rest of us haven’t.
Indeed i’ve noticed too the lens flare rainbow suppression, this is the first time i see such a feature!
My first edit in RT was difficult. Was hardly able do improve it at all.
I also tried to erase unwanted reflections in the picture. Where is the spot removal/healing brush tool ? I can’t find it …
Then I tried to do some edit in DxO , and realized it is possible to restore the sunny green color in the trees.
DxO
Then i tried for more than one hour to do the same in RT. This is what I could do in RT 5.5
I guess a more experienced RT/dt user could do a lot more than me.

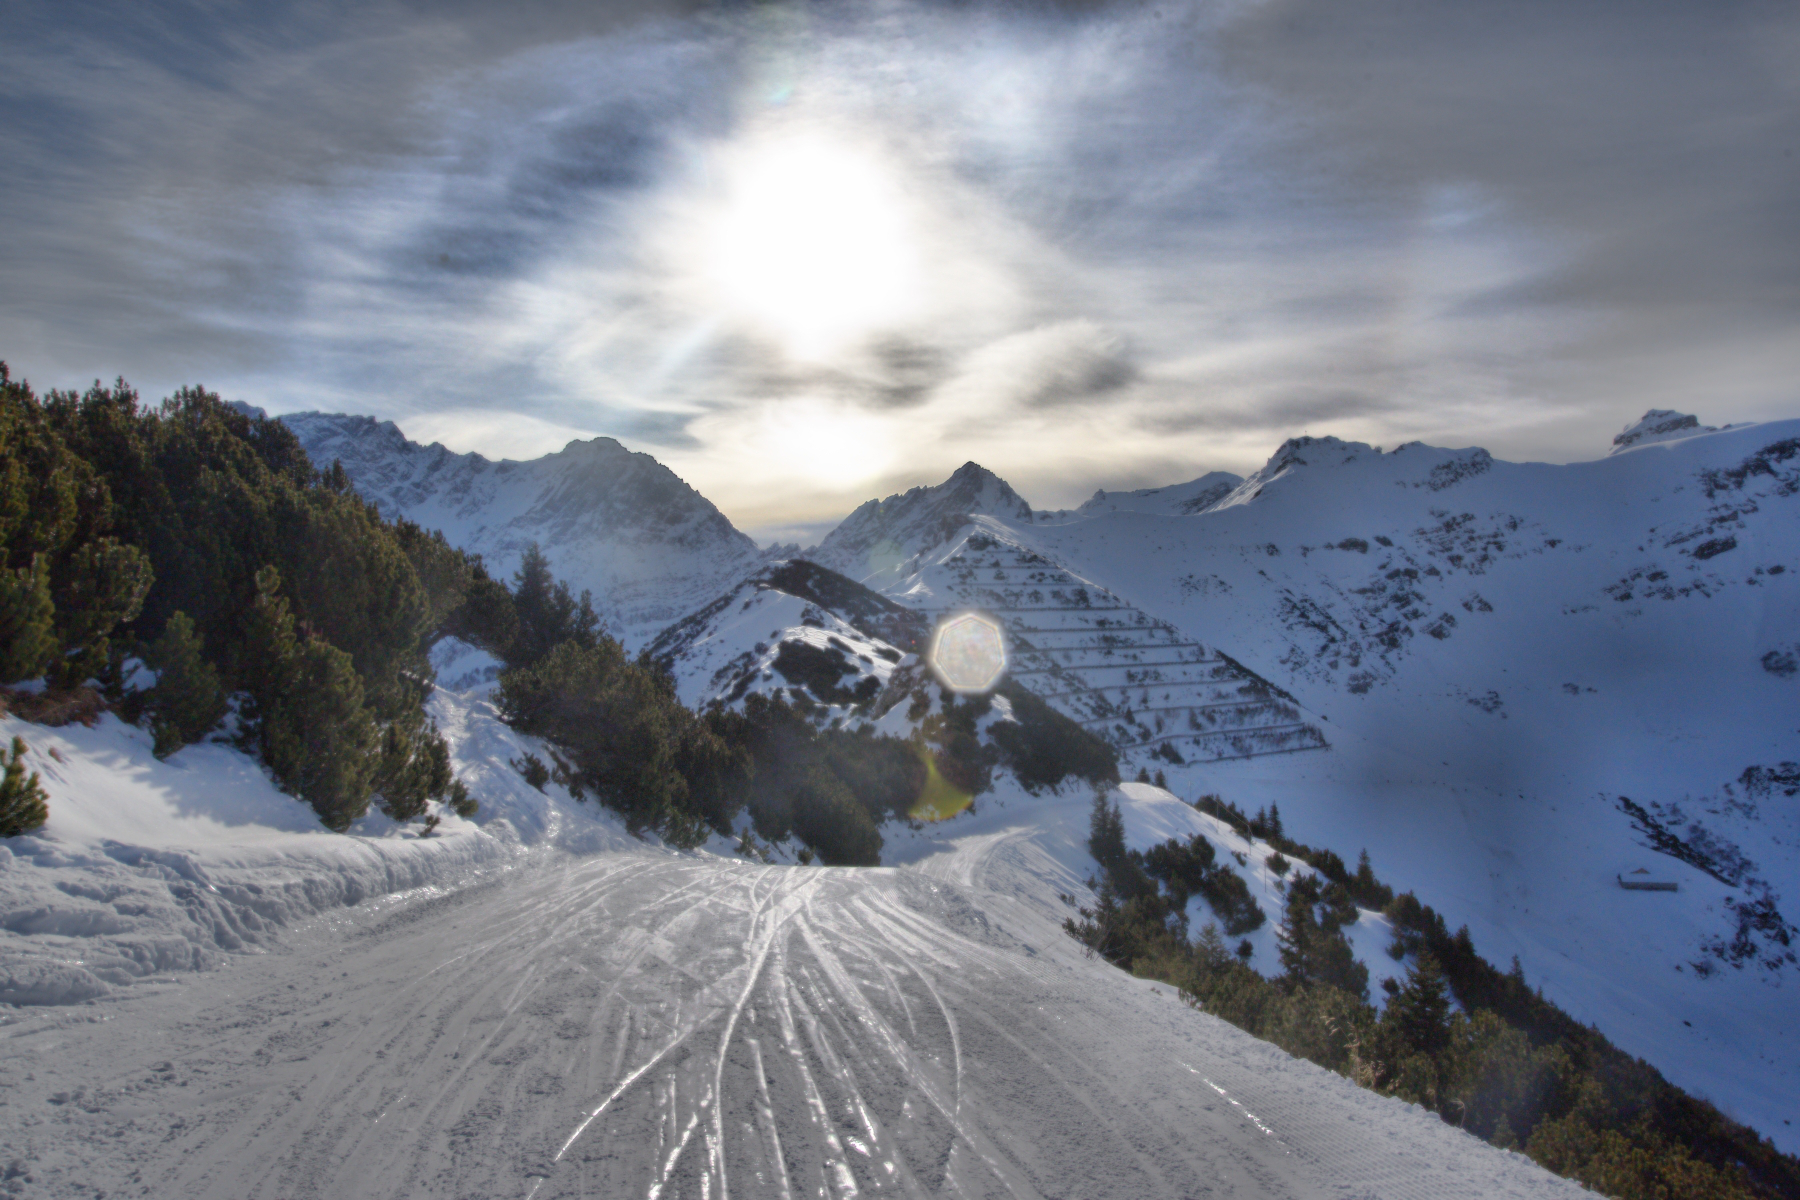
Yeow, that was tough. The “thing” seems to be to get the halo around the sun to blend, rather that just blob out.
I tried RawTherapee first (don’t code on me, @Claes…  ), but I’m not color-managing it yet so what looked okay in-program didn’t look the same exported.
So, I reverted to rawproc, opened it with dcraw ProPhoto colorspace and gamma, and build a rather challenging curve to do the “thing”. Bit of saturation, then resize/sharpen for output to sRGB colorspace. Let’s see how it looks out there:
Here’s a screenshot to show the curve it took:
Ok, this was a challenge…
I’m aware this isn’t a PlayRaw and the thread is actually about rawtherapee, but I just couldn’t resist giving it a try in darktable. Sorry! 
Here is an attempt with darktable and a bit of gimp:
I think one of the problems in your attempts is that you lose a lot of detail to noise reduction. Curves + a bit of local contrast should get you pretty far already. With that said I always struggle with the local contrast in RT. 
Didn’t do anything to it, from all I can tell it’s still there. And looking at the image again a bit after editing, I guess I went a bit too crunchy and contrasty but oh well. It was about enhancing detail after all.
I just curve-dragged it into clip oblivion. Above a certain point, everything is just white… ![]()
Seriously, I’ve found that images with saturated pixels require such treatment if you do your processing “by hand” - white balance, in particular, separates the saturated channels, and the only realistic way to corral it is to set the white point at the lowest of the histogram spikes.
I noticed that this thread has been tagged #play_raw. If this is something that you want @Chymera, could you also supply a license for your images? (Unsure, since you weren’t the one who added the tag…) See: PlayRaw stuff to keep in mind.
I meant the bright colour has gone, just wondered if you’d used a healing brush or clone tool etc. in gimp.
Ah no, I didn’t do that. I guess they were just clipped out as Glenn suggested.
Tough one. I did use a Nikon camera for a while. A number of people use Nikon’s raw converter and export as tif for further work. Nikon use an unusual method of converting raw files.  So having been there before and not being able to get a conversion I liked from RT I used Ufraw as it has the same facility Nikon use and exported a 16bit tif. Light into the lens has fogged the shot so used Fotoxx for further editing. Lastly add a bit of chroma via RT.
Sorry it’s not an RT solution but without the facility the first curve from the left in Ufraw offers I don’t think this sort of result is easily possible.
My take.
1. PhotoFlow → HL mode (blend) → AMaZE → linear Rec2020 (no clipping) → tone mapping → linear sRGB 32f
2. gmic → filter pixels → crop (1.5:1) → wavelet split (residual [A], detail [B])
3. pnmclahe → enhance (A)
4. gmic → wavelet merge (A B) → adjust brightness, contrast (curves) → local contrast, sharpen (guided) → increase chroma (curve) → sharpen (LoG) → resize
5. GIMP → clone out flare above sun
Zoom 100% and enjoy!
Edit: correct version
My take
tonecurve, dynamic range compression, Lab LH and CH for trees, dehaze, Wavelet local contrast
camera-4.jpg.out.pp3 (13.5 KB)
Very late to this challenge.
I used RT and starting with Automatched curves - ISO low profile I only did few things:
After a first export and shifting directly between the out of camera image and mine it was apparent that the camera is adding some local contrast. So i experimentend with the radius until I got a similar result. The radius can kinda be seen at the transition sky to mountain on the mountain part.