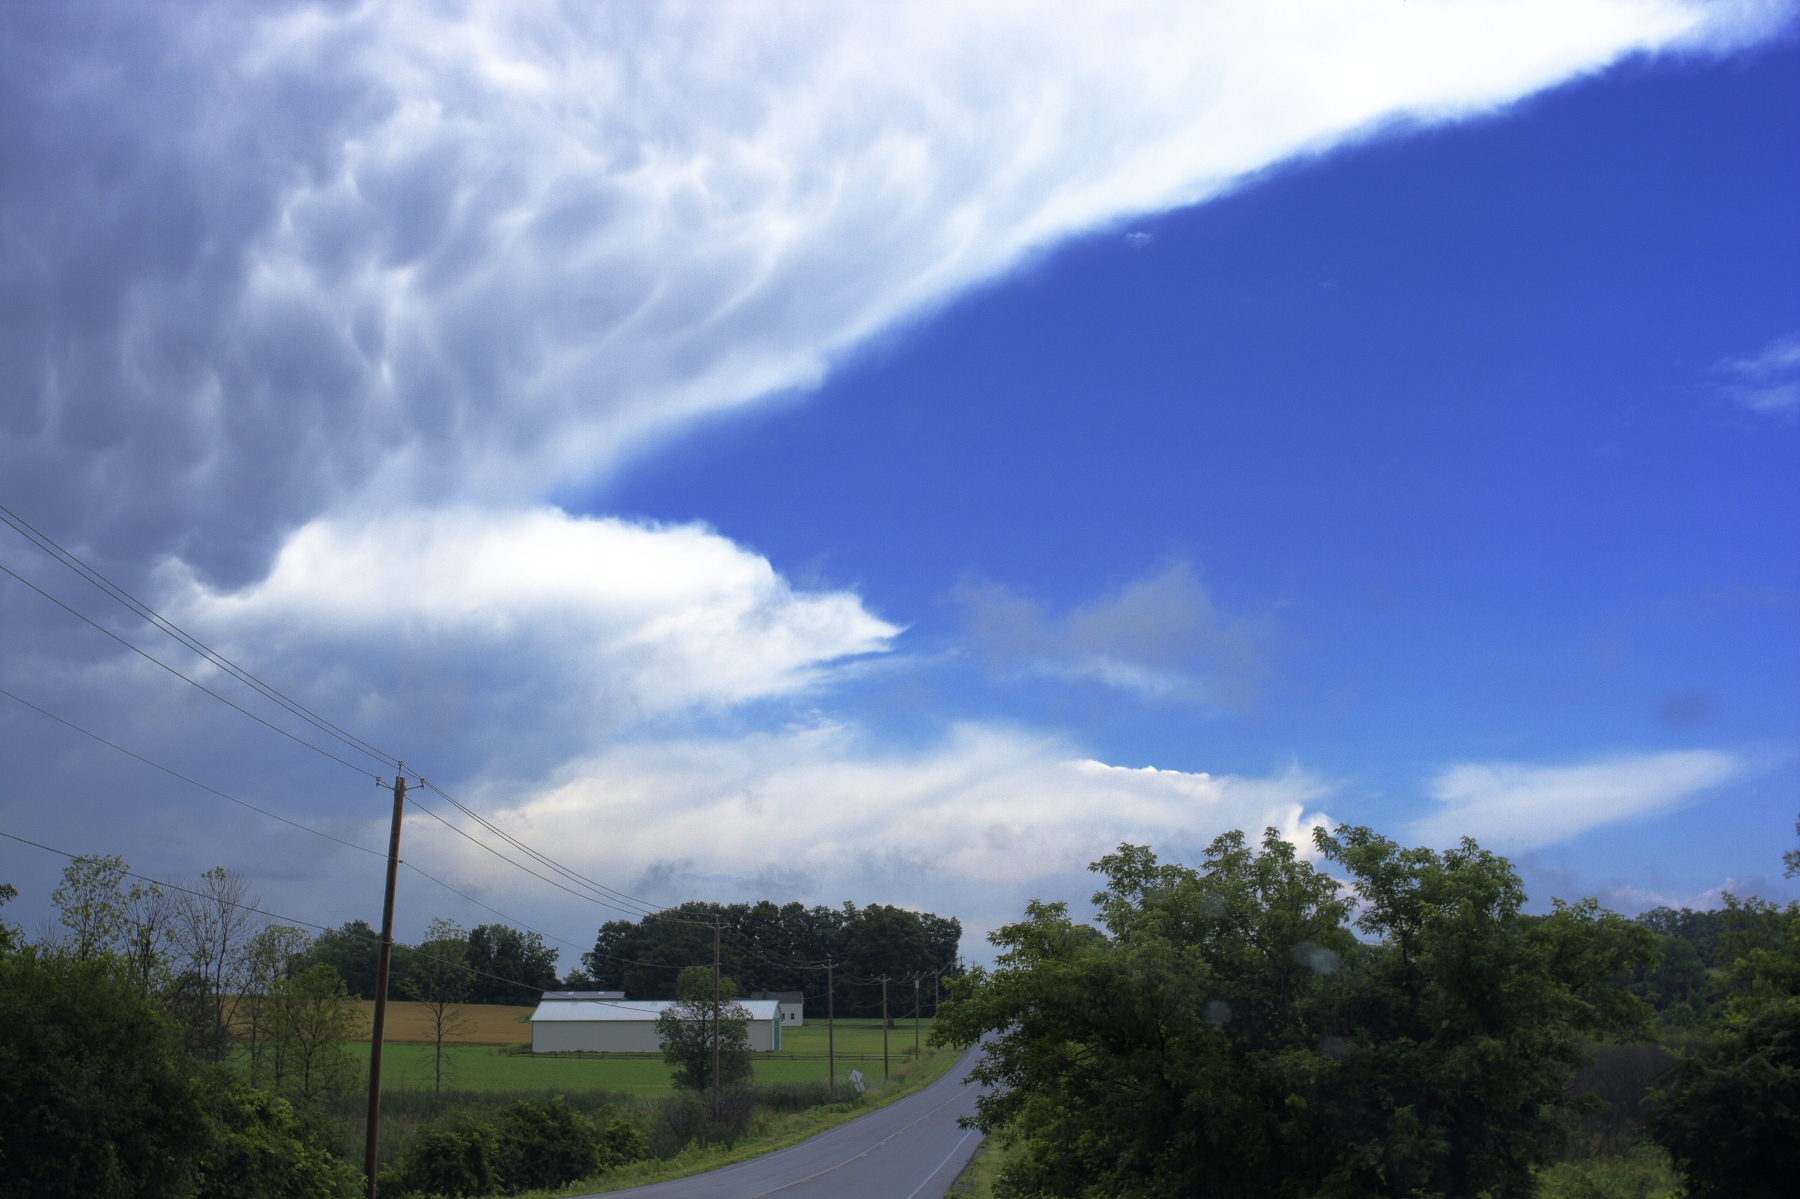
Great image @Elle and I feel your struggle to make it into something convincingly likeable. My take using the great new Lab regions tool in RT.

080724-1822-100-1479.jpg.out.pp3 (12.9 KB)
Great image @Elle and I feel your struggle to make it into something convincingly likeable. My take using the great new Lab regions tool in RT.
080724-1822-100-1479.jpg.out.pp3 (12.9 KB)
Just tried another approach I call fake hdr. I used ufraw for 2 images. One for clouds forgetting the foreground and another where that was correctish. Clouds minus 4 stops and raw mapped with a curve. The manual colour balance “tear drop” removed a lot of the green cast.
Then merged with macrofusion. Reduced and sharpened in fotoxx and as the green in the fields looked a bit pastel used one of it’s utilities to select the field green in rgb and knocked back green by 10 from it’s original value and blended it.
Other raw processors can be used also macrofusion alternatives.  I’ve no idea what clouds like that should look like. Brightness levels in various area could be adjusted more if needed.
I remember thinking this was a very good exposure with no clipping according to the Raw histogram in RT.
They look a bit pink or mauve on my screen. Are others seeing that please? (Wondering if my monitor is ok…) Whereas Thanatomanic’s look very neutral to me (at least the main bulk of them).
@RawConvert - I see the same colors on my screen - @Ajohn’s clouds look pink/mauve on my screen, and @Thanatomanic’s colors look pretty much as I expect. In the actual scene and to the extent that memory can be relied on, the clouds were white in the highlights, stormy-looking in the shadows, and the sky was “clear blue sky on a sunny day” blue, which is what made the contrast with the cloudy area so compelling.
Regarding traditional art, lately I’ve been spending more time with oil pastels than with photography.
Did you ever wake up one day and realize you weren’t seeing photographs in the world around you any more? That happened to me awhile back. Oddly enough, after starting to draw and paint again (which I hadn’t done in years), suddenly again the world is full of photographs waiting to be taken.
Regarding major museums in DC with modern art, it might have the East Building of the National Gallery of Art (connects to the West Building via this amazing underground tunnel), and also might have been the Hirshhorn Museum.
Thanks much! for the reference to Bierstadt. I hadn’t run across that name, though I’m much enamored of American landscape artists. In case anyone else hasn’t heard of him, here’s the Wikipedia link - many of his paintings show sunlight breaking through clouds/storms/dark:
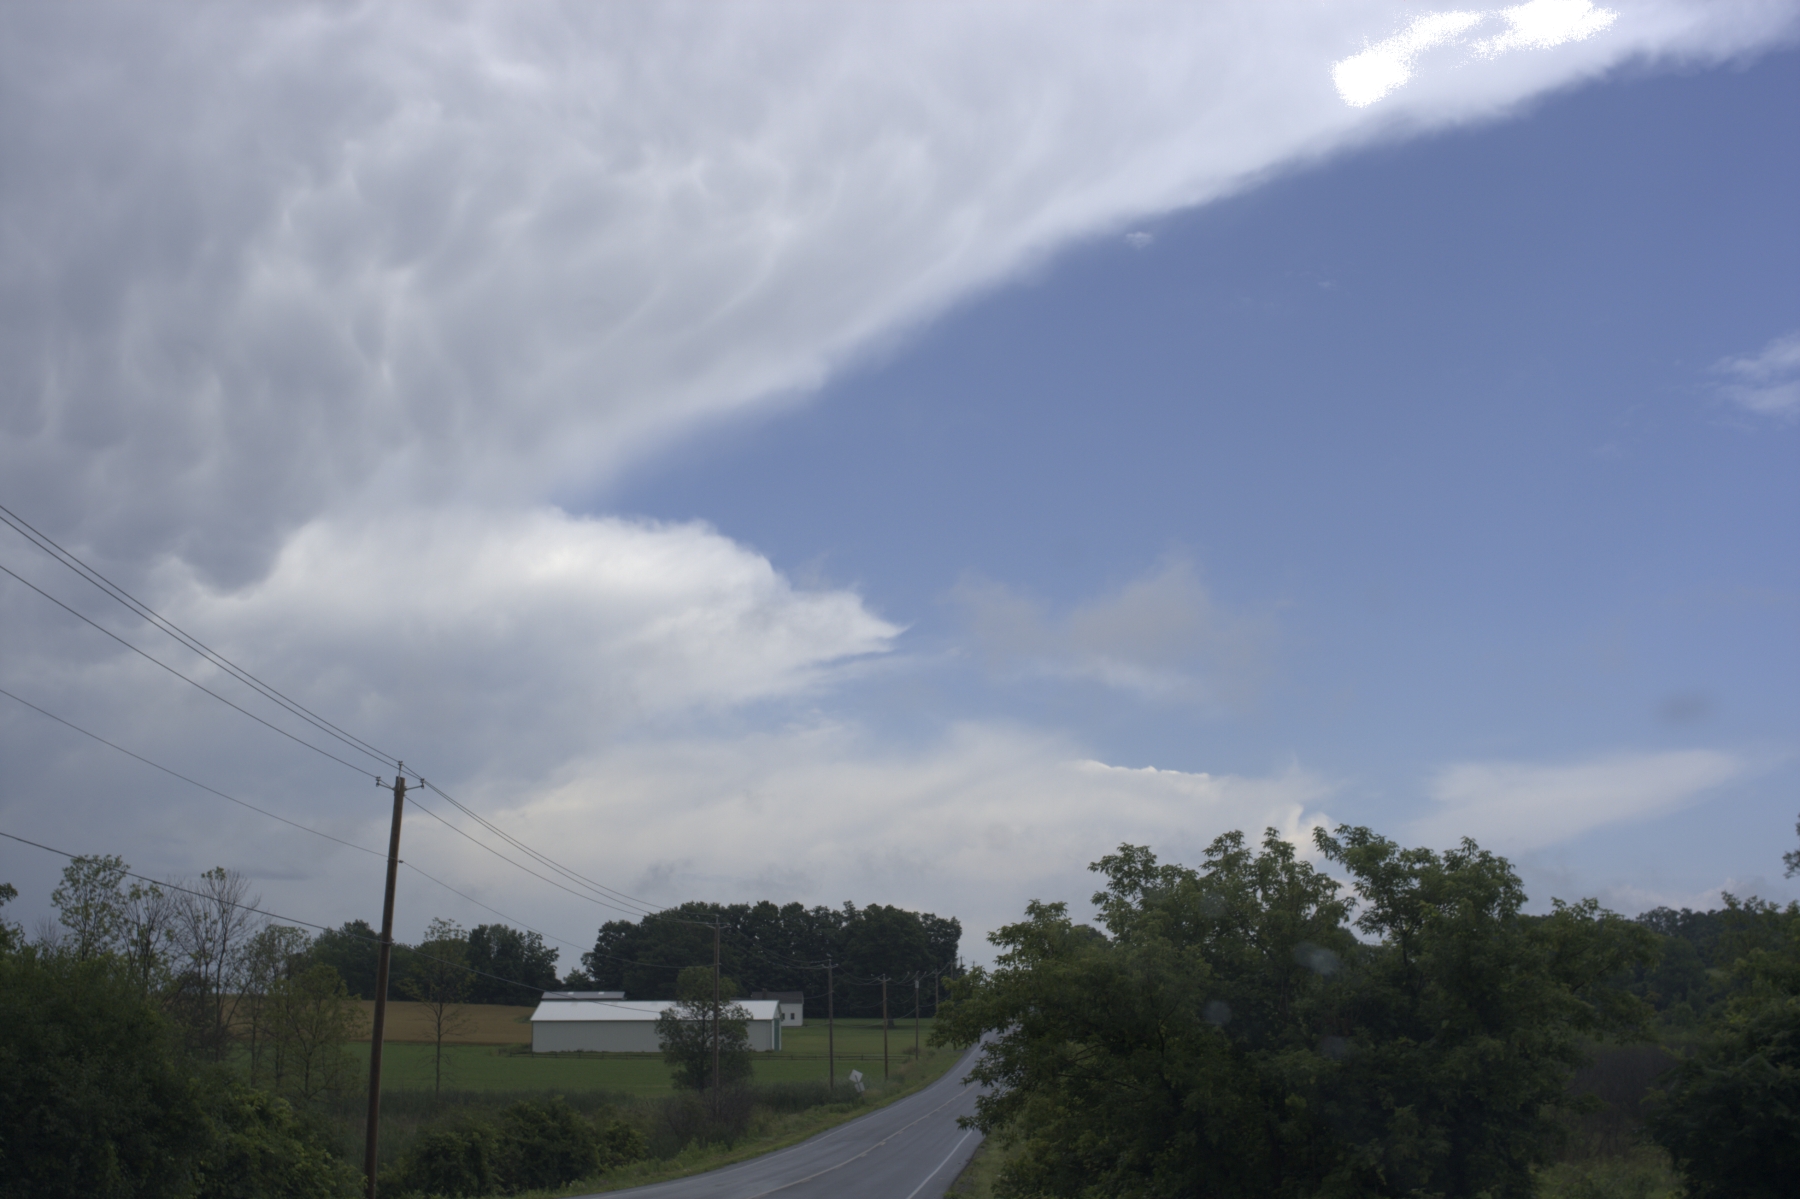
This one should be better. For your convenience, I split the gmic processing to two parts: #2 for brightness, contrast and detail adjustments without using the upper stop and #3 to reduce the brightness separation between the sky and ground.
alt2
1. PhotoFlow → WB Area (cloud HL) → HL mode (blend) → provided ICC → linear Rec2020 → 32f A
2. gmic → make mask (my filter ludic A) B → extract_region (A B) C → add white pixel C → gather stats C → adjust brightness, contrast (curves A) → sharpen (high freq contrast)
3. gmic → HLG (curve) D → blend (A D) → HLG (inverse) → adjust brightness, contrast (curves; x2): E (ground), F (sky) → blend (E F) → reduce chroma → sharpen → resize
Zoom 100% and enjoy!

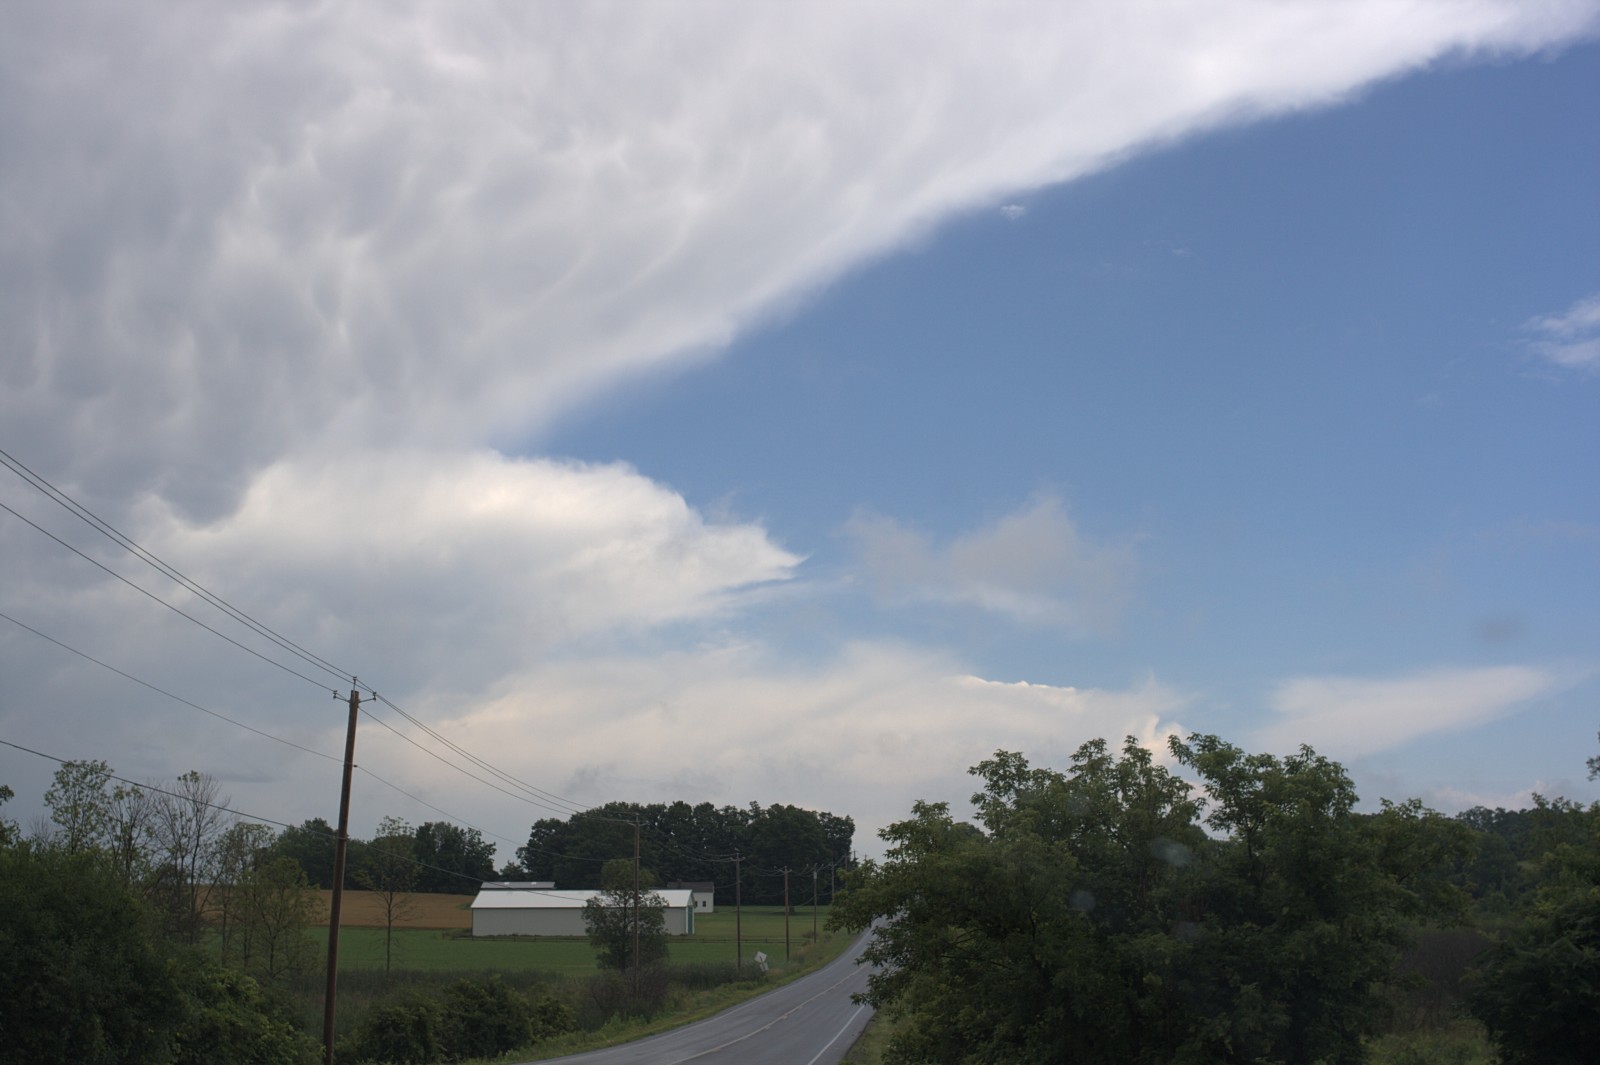
These are the areas that I am speaking about, the highlights in the clouds, there was very little detail and I had to layer masked them into the image to gain back the detail, in clawing back the detail there is a slight colour shift which I could have fixed spending time and I freely admit that it is a little ‘burnt in’ in my example again given time it could be fixed. Again the shadows the bottom corners had very little detail and as you can see a little ‘washed out’. I prefer multiple exposures so I can blend sky’s and land as the stop range for the highlights to the shadows are so extreme.
I’m not an expert, and there are much better people here than me, I struggled to get the detail I would have liked out of this raw image in the highlights.
I’m using a Dell hardware calibrateable monitor as it arrived so wont be far out. Just haven’t got round to calibrating it. I see pink/mauve tint in places mainly between the dark patches in the clouds, top leftish. It mostly seems to down to changing the pastel green grass I had.
However I wouldn’t have used this approach if I had loaded the raw into RT. The hd comments in the post caused me to use this approach. I needn’t have used ufraw for that anyway. It turns out that in RT a bit of shadow recovery and a white balance on the roof of the building removes some dark end red channel clipping, and gets rid of the green caste and leaves a histogram with some room for further work. This what comes out with just those adjustments.
It lacks the vivid blue sky that one exposure via ufraw gave but I’m not sure these can be found these days as all seem to be a bit misty especially when photographed.
Take 2 with RT. Colourful style tone mapping. Greens adjusted back somewhat to what they were, sky blue went this way but augmented a little.
080724-1822-100-1479.cr2.pp3 (11.0 KB)
There was an odd brown area bottom rightish. Not sure why. As I resized and sharpened in Fotoxx I cloned it out. Gimp could do the same easily. Also made a small curves adjustment. Straight line. Dragged the highlight end down a bit and the dark end a bit more. Just a small contrast increase.
Looking at it on here I might make it a touch lighter.
@aka_andrew Could you please mention whose edits you are using to mark the shadows and highlights, and from which posts? That way they would be easier to find. I think the first one is my alt2 but I am not sure about the second.
Discussion on my alt2 edit
Yes, the dark and bright areas were difficult to tame but I don’t know any higher dynamic image where I don’t encounter this difficulty. The issue with my brand of processing is that I do mostly global edits. Editing by hand is physically painful.
In alt2, I didn’t even do any tone mapping or contrast enhancement. If I did, I would definitely be able to recover some details from the upper stop, but I only exposed for the other stops and made the edit with just curves and two blends.
I also need to reevaluate the curves that I use. While mathematically simple, combined they do flatten the two ends of the histogram every time I use them. Such details don’t survive the final resizing and rounding step.
it was your version alt2 but I only used that to illustrate the blown lights no other reason. The other was my second edit.
Following up with @aka_andrew’s post, I would consider the following patches problematic. The other areas are recoverable.
Highlights (top right corner)
Shadows (mostly bottom right corner)
I just went back to the raw file, opened it as the raw measurements without any processing, including demosaic. Reviewing the histogram:
I don’t have the blackpoint/saturation values for @Elle’s camera to anchor this, but I see meaningful data in those clouds, not saturation.
It all depends on how your define things. For me, there isn’t enough there to constitute meaningful data. When I pixel peep, the areas that I have marked are so low in resolution that the noise and artifacts overtake the actual detail.
I would agree with @afre the amount of tweaking to get the detail is high, if the data was there it wouldn’t surely take as much effort to gain the detail back ?
@aka_andrew and perhaps @afre, I feel you are being too keen to show detail in these areas. Clouds are often plain white! There’s no law against having some white areas in a photo! As the raw is not clipped, I presume these near-white areas with little detail are pretty much reality, and also, this was the theme of the topic surely.
@RawConvert fair point, I like to get as much detail in highlights and shadows, I tend to multi-exposure and blend, not so much HDR today as I prefer the more natural look than what HDR images produce.
Not me. I just like to discuss pixls. @aka_andrew started it. ![]() Look how confidently ugly or different my entries are.
Look how confidently ugly or different my entries are. ![]() I wonder what @Elle is thinking…
I wonder what @Elle is thinking… ![]()
Oh, I bet she concentrates on your profie…
Have fun!
Claes in Lund, Sweden