Dark table chart is pretty easy and it gives you a tone curve and an LUT in a style either to your matched jpg or your color card specs so color accuracy vs jpg match…https://www.youtube.com/watch?v=LufwQZx01gk https://www.youtube.com/watch?v=11nInNWJHWk&feature=share Harry uses a trick and applies the default basecurve before running darktable chart and so he claims this give a better match…he is rather meticulous and these are old videos but essentially you can both create your own basecurve and profile using DT chart to get a tone curve/LUT combo…PIXLS.US - Profiling a camera with darktable-chart
1 Like
I think it’s like a lot of things, where you learn an approach and then you optimize it for your use and it becomes second nature. The contrast equalizer may be worth checking out due to its versatility. If you look at the presets you’ll find effects for clarity, sharpening, and de-noise as well as some effects you wouldn’t expect like bloom.
From my perspective, there are a few tools that do similar and even equivalent effects, so I run the risk of over doing something by using multiple modules for the same purpose. It’s like baking… add some sugar in this step, a little more the next, and then more again, and pretty soon the cake is just cloying. At least, that’s my experience.
I did check out the contrast equaliser. Definitely worth the effort, even thought it takes a few more clicks. Very refined control of contrast, rather than the broad strokes of the highpass.
Like a Rolls Royce, all bells and whistles of contrast management.
I am reminded of the different levels of photographs and their purpose, in the good old days when people like me did not own a camera, and most people I knew did not (was born and lived in West Africa where only the really well heeled had these things), you either got a photographer to take a Polaroid pic, instant, or went to a proper studio paid some more money and had to wait at least a week for the results. Typically you went in a group of friends, actually got dressed up and posed and took individual snaps as well as group photos - it was an event in those days.
Darktable modules remind me of the effort required for different photo targets, some are really quick broad strokes, and others are quite involved for very fine control.
Nice to have options. Thanks for introducing me to the contrast EQ. Appreciated.
If there was one wish, I wish that the more complex controls in darktable had a way to turn off each section, cos toggling off/on an entire module does not give you an easy way to evaluate the contribution of each section within the module.
Even simple controls with only three sliders like Contrast, Brightness and Saturation, makes me wish I could turn off and on each of these individually, while keeping whatever values I had set unchanged in each slider. The current work around is to set up three instances, and in each of these I tweak only Contrast, only Brightness, and only Saturation.
But seriously - as darktable is open source, maybe one day, I’ll dive in and create a version with such enhancements, for personal use, who knows maybe… That would be such a cool thing to achieve…
1 Like
Have you tried using the snapshot feature? On the left panel you click “take snapshot” and it’ll copy your photo at that point in time. Then you can make adjustments and click on the saved screenshot to compare before and after. Plus, you can take several snapshots to capture different point in edit
I think many of us don’t realize how lucky we are and take things for granted. It’s good to have a reminder every now and then.
1 Like
Thank you for suggesting the snapshot feature.
I did use the snapshot feature extensively for a while, when learning darktable, great feature.
But now I prefer to either :
- Create a duplicate, which is easy in darkroom, and make changes in the duplicate, then compare them side by side with the original, in lighttable - click the images you wish to compare and use key X to enable side by side comparison.
This way I can also compare more than two versions at the same time, and immediately go to edit further the version I prefer.
OR
- The other benefit of the duplicate approach is that also as a quick comparison method, while editing version A, quickly view version B, by holding my mouse on version B in the darkroom duplicate management window on the left of the screen and momentarily the image displayed will be version B, until I release the mouse click. Advantage is if i do things like zoom in, the view of any other duplicates also follows my current zoom in the current edit, unlike snapshots which are a static snap in time… Furthermore when you have toggles like over/under exposure enabled in darkroom, the snapshot includes these highlighted areas in the snapshot.
Both of the aforementioned approaches I now use, instead of the snapshot, as described above, allow me to compare edits, and have the image in all versions compliant with the current zoom.
3 Likes
Definitely the ability to capture images and see them almost immediately in camera or on a computer, and have such enormous editing power over these images is one I can never take for granted. The current tools, and especially darktable and digital cameras, has made photography so much more approachable., in time, cost and quality of results.
2 Likes
As the Americans would say - the CE module is dope. I do not think I could avoid using it in most of my images. It adds that final clarity, that makes it look like I shot the image with a higher quality lens and nailed the focus even more accurately, than the physical optics could permit.
Its on my list of favorites modules in darkroom. thanks for introducing me to this.
Definitely shows a lot of promise cos the results are very pleasing if used judiciously.
3 Likes
I missed quite a few things here. I won’t be able to answer to every post, but I read them all and they all give new hints and I am very glad for what I learned. So thanks again to everyone.
Yup ! Thanks a lot, I’ll try to dig into base curves. To be honest I kinda abandonned them since they are not recommanded with filmic. As a newcomer (both in darktable and in photography) I had to chose a workflow, and scene refered worflow seemed to be the way to go.
In that cas you use both filmic AND something that is similar to basecurve. Is this still a not-recommanded workflow ? (even if it works for you, it may be confusing for someone else)
EDIT : I guess this will be addressed in this post Darktable - Workflow approaches - Custom Base curves, LUTS, Filmic my bad
Yes, I can see why you feel that way. As other stated : sometimes OOC are just baselines. They seems “Ok” and you want to master your editing software to at least match that (even if the real goal is to make it better). That was my case, especially in the field of sharpness (I felt that in term of dynamic range, noise reduction, contrast, colors, … i was at (or above) OOC jpegs quality).
(This was about why contrast equalizer could be stacked)
To me this felt like that the first instance would increase the sharpness of small elements. The second instance will more easily detect these small elements (as they would appear bigger). All of this have to do with the wavelets and the frequency-space. This is just my intuition to help understand why it works, it might be wrong !
When I tried this I just decreased the mix on one of the instance (the second), not both.
More of a philosophy, than a scientifically accurate opinion.
in the same vein that, depending on who you listen to, you get the impression that certain lenses, or certain manufacturer’s sensors or their “colour science”, contributes a certain slant to images, especially as there seems to be only one defacto editing tool - Lightroom/Photoshop used by most, I feel that darktable’s workflow or rather the individual workflow that each of us adopts with darktable’s features will tend towards a specific look, from the strengths and weaknesses of its imaging tools. Ultimately those who view our images, do not care what tools were used.
I want to think of darktable as a lab, a photo lab, where beyond the common practices associated with each tool, we are able to use its flexibility to go a lot further than these common practices and discover new techniques of our own, as we try things out in novel ways. I have not yet gotten down to learning the details of approaches like scene referred or display referred, but will in due course. My point is outside of any “standards” darktable opens up ways of editing which are not found in exactly the same combination, in one tool.
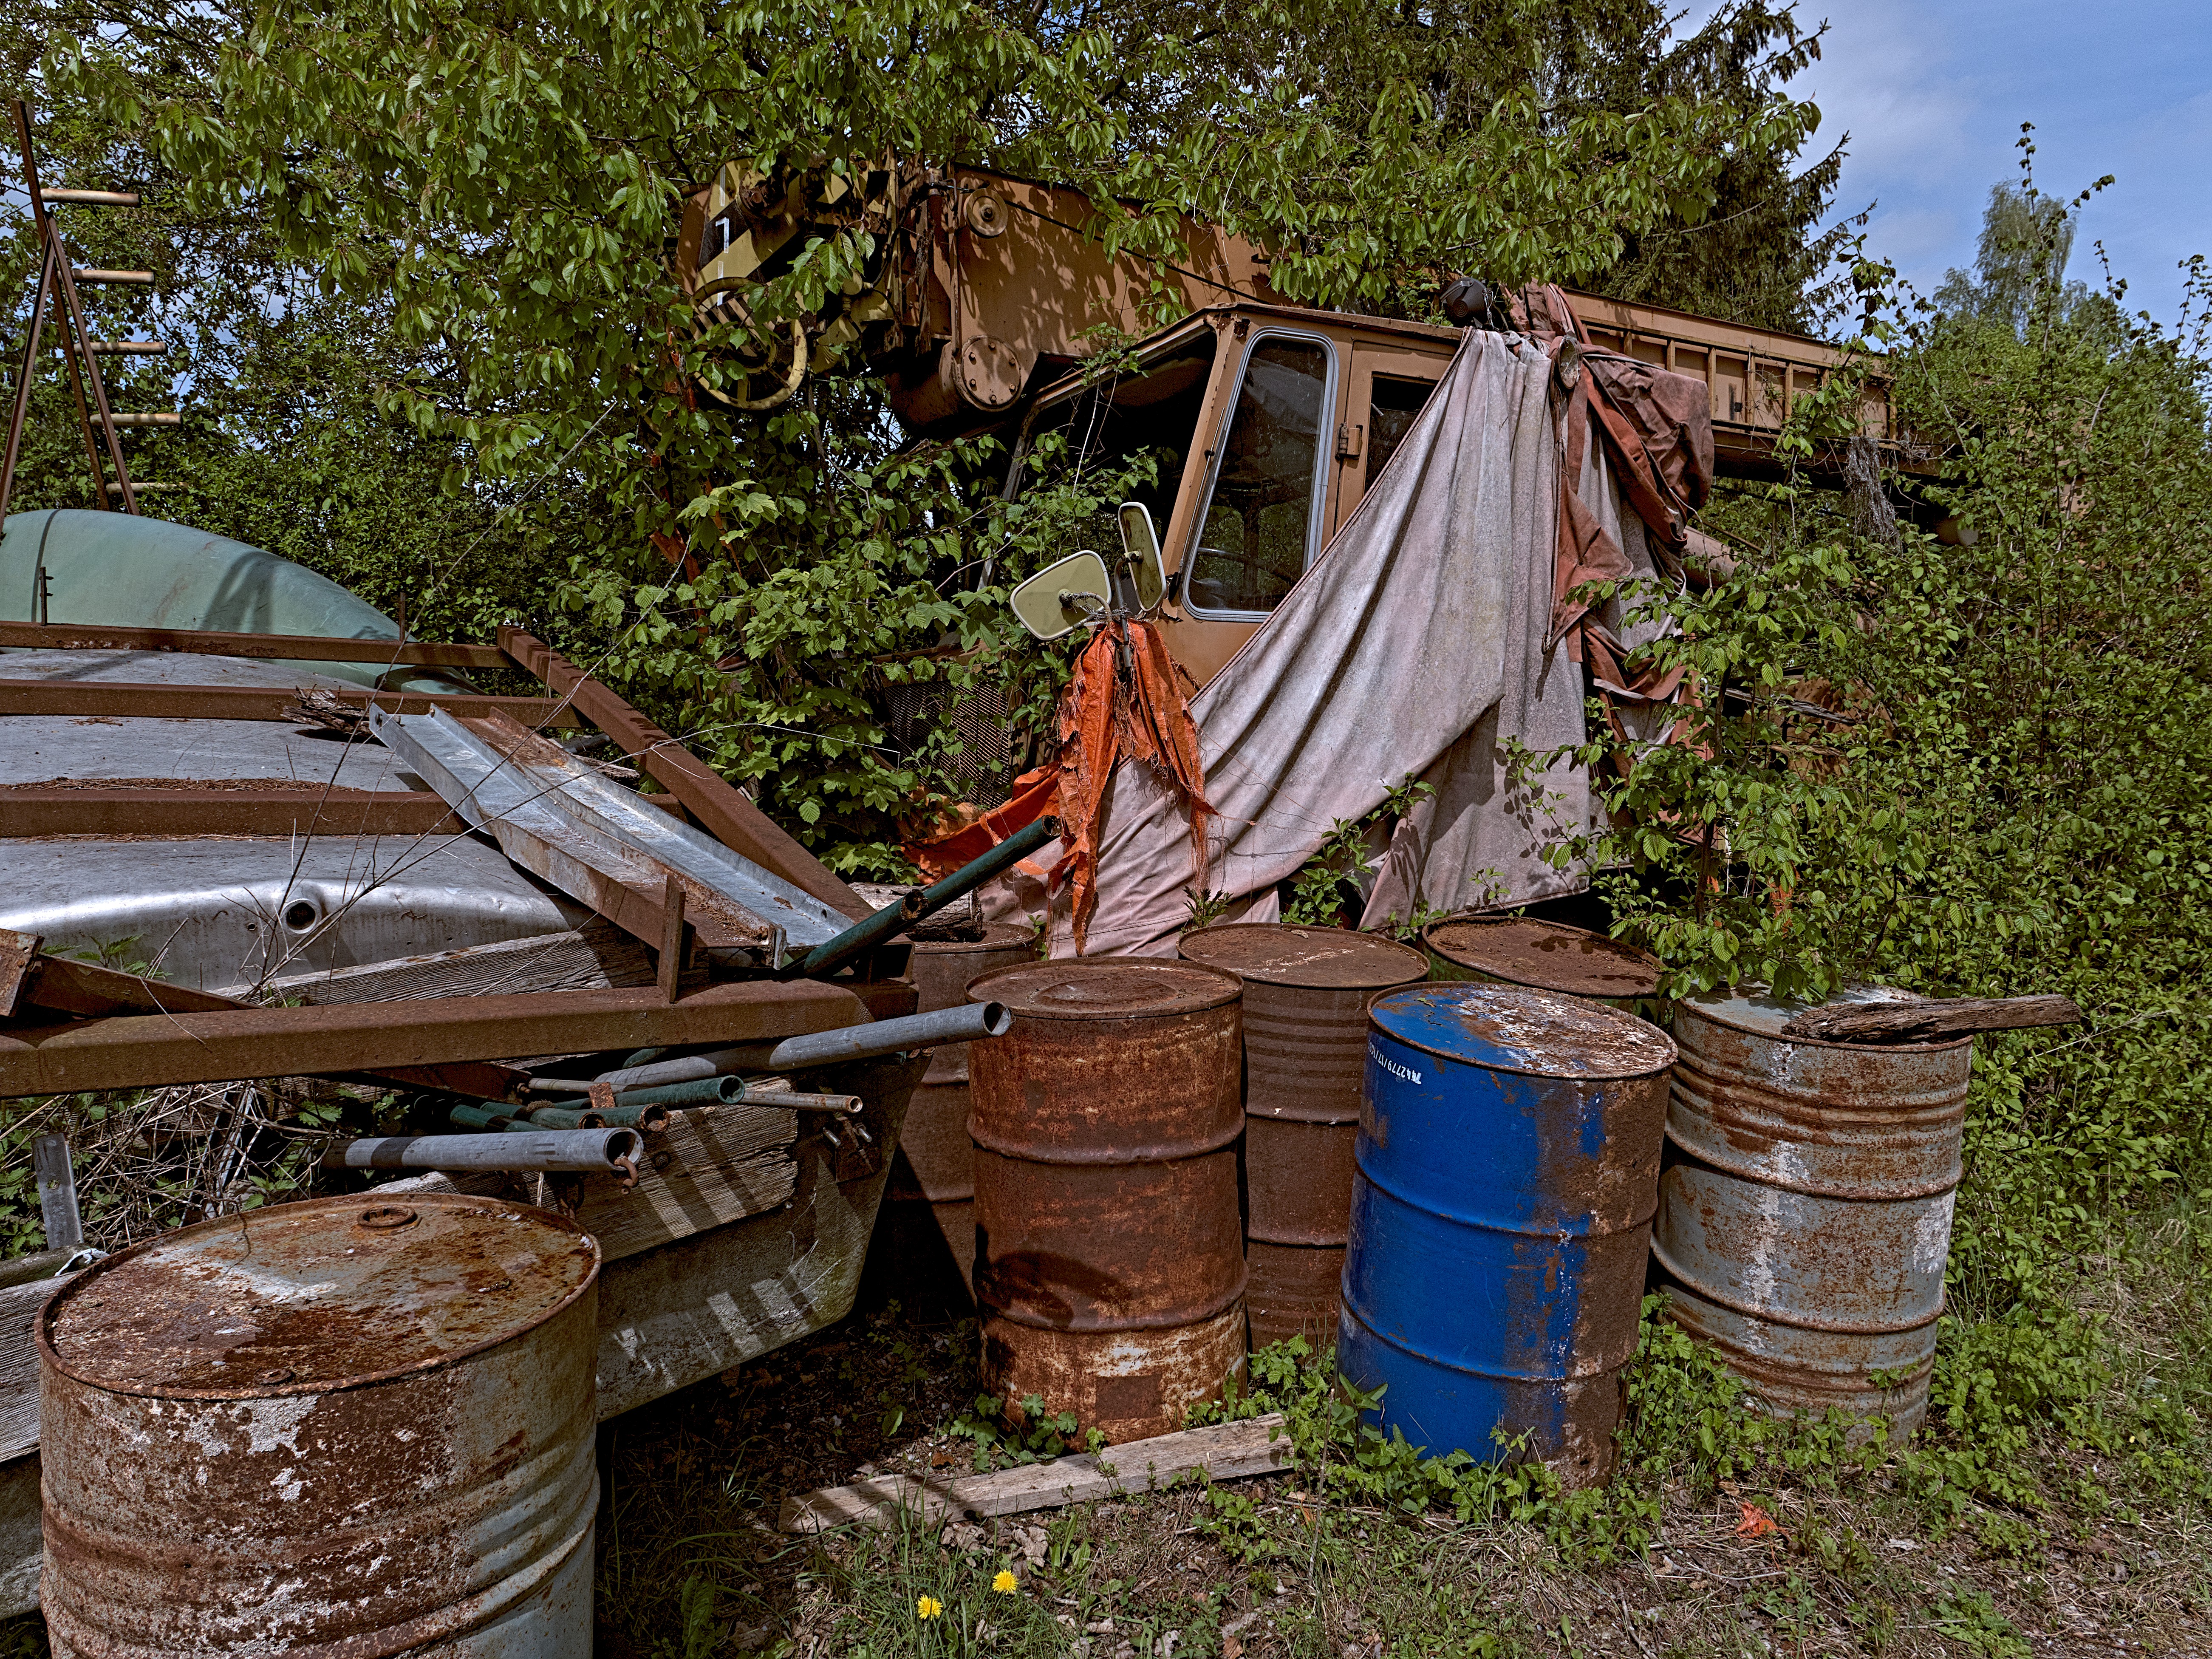
I was, in another thread following up on a suggestion for sharing some of my custom base curve presets, with others in the darktable community, by using multiple base curve instances in the same image edit, and purely not by intention, I happened to stack two base curves and what I saw, was such a surprise, opening up a new way to process images, which I had never thought about. Yielding an image that my camera definitely did not take, but is an image that represents what I wish to convey, but before this lucky accident, had no way of knowing how to achieve it.
This I think is also the beauty of darktable, those uncharted waters, which it allows us to freely roam, and retreat from, if we have gone too far. That history feature is such a digital editing miracle.
Using basecurve fusion and color preservation modes can also make some big differences if you are going the base curve route
I own an old 12 MPixel camera (LX7) that is prone to fringing (visible even zoomed out, fitting the image on a standard full-HD screen). I see less fringing with AMaZE than with PPG.
I did try out the fusion options on basecurve cos over a period of about 2 months - I was creating basecurves by hand. I found the double and triple fusion, to not work with the default kind of exposures I have in my RAW images, so now I just use single fusion.
I also tend to keep the color preservation to none, i.e no color preservation. I must add though, I use other methods such as adjusting the top right point in a tone curve (in RGB or LAB independent mode) as well as exposure or highlight reconstruction module so that any over exposure created by my image development is managed, in other ways, so I do not need to preserve colors in base curves.
Just my own experience with these things. Who knows in a few months I may experiment again and change my opinion on this.
Interesting - I will try this out and see what improvement it brings, especially to images taken in natural light.
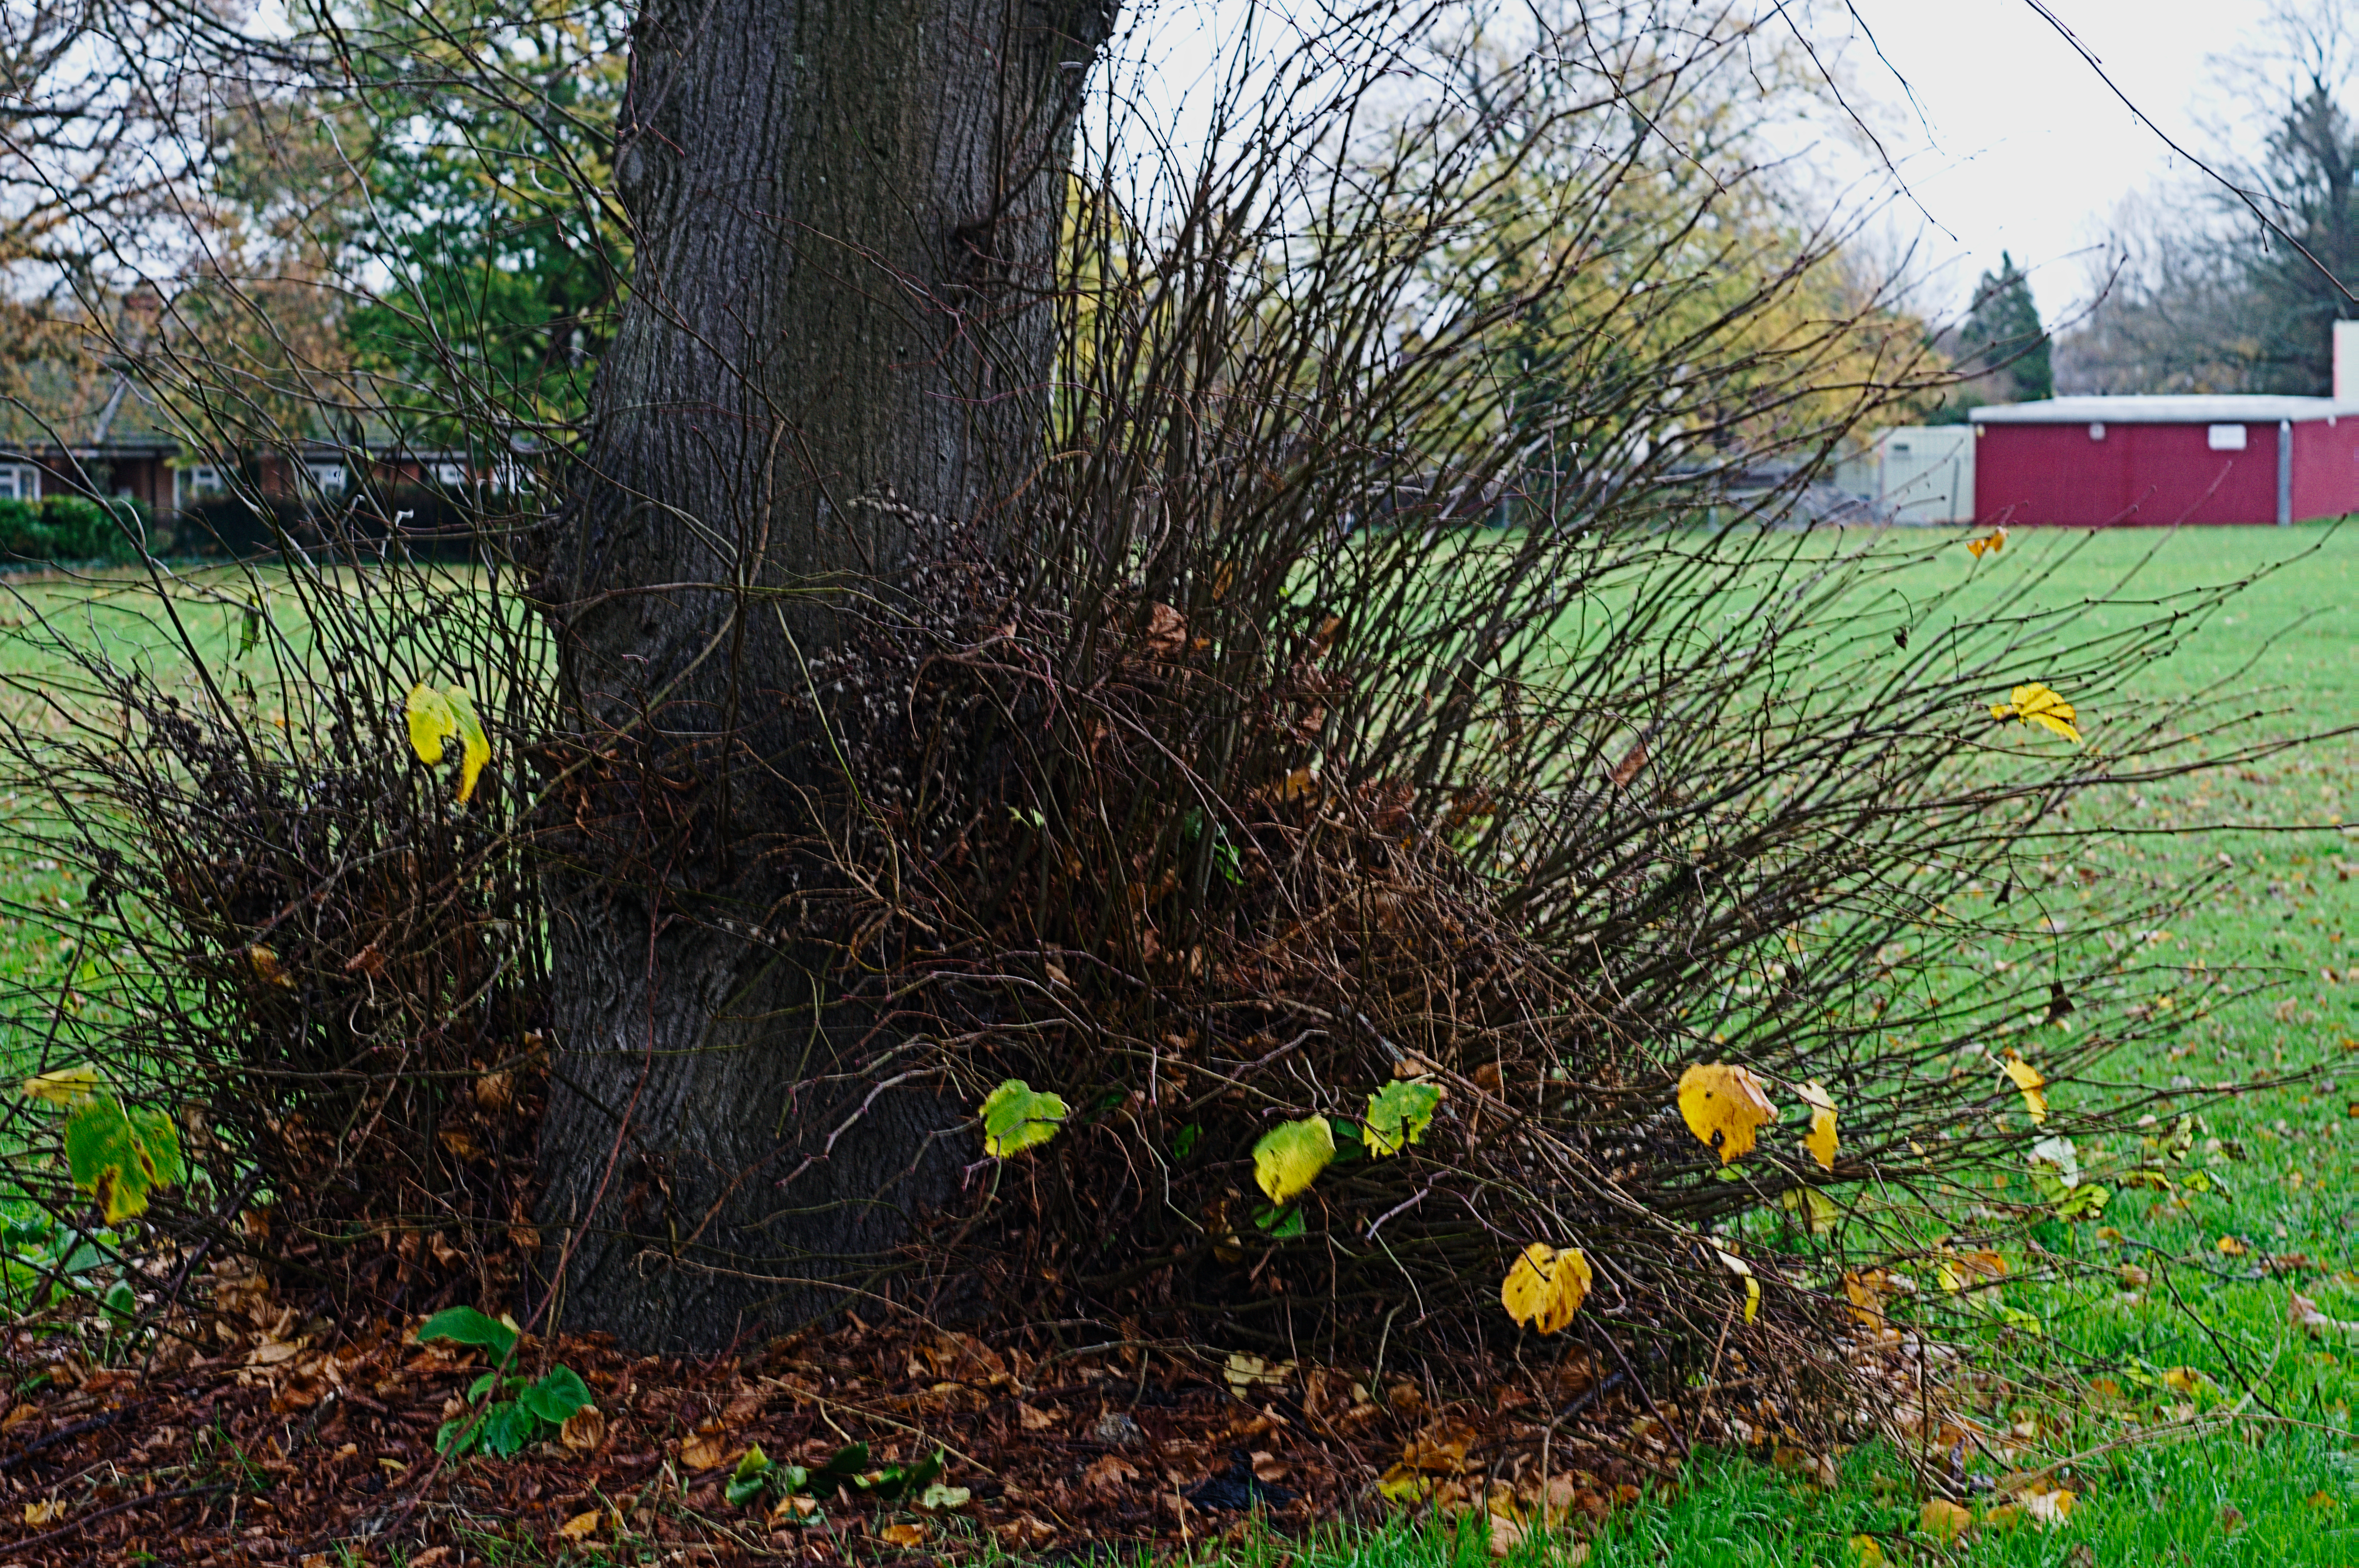
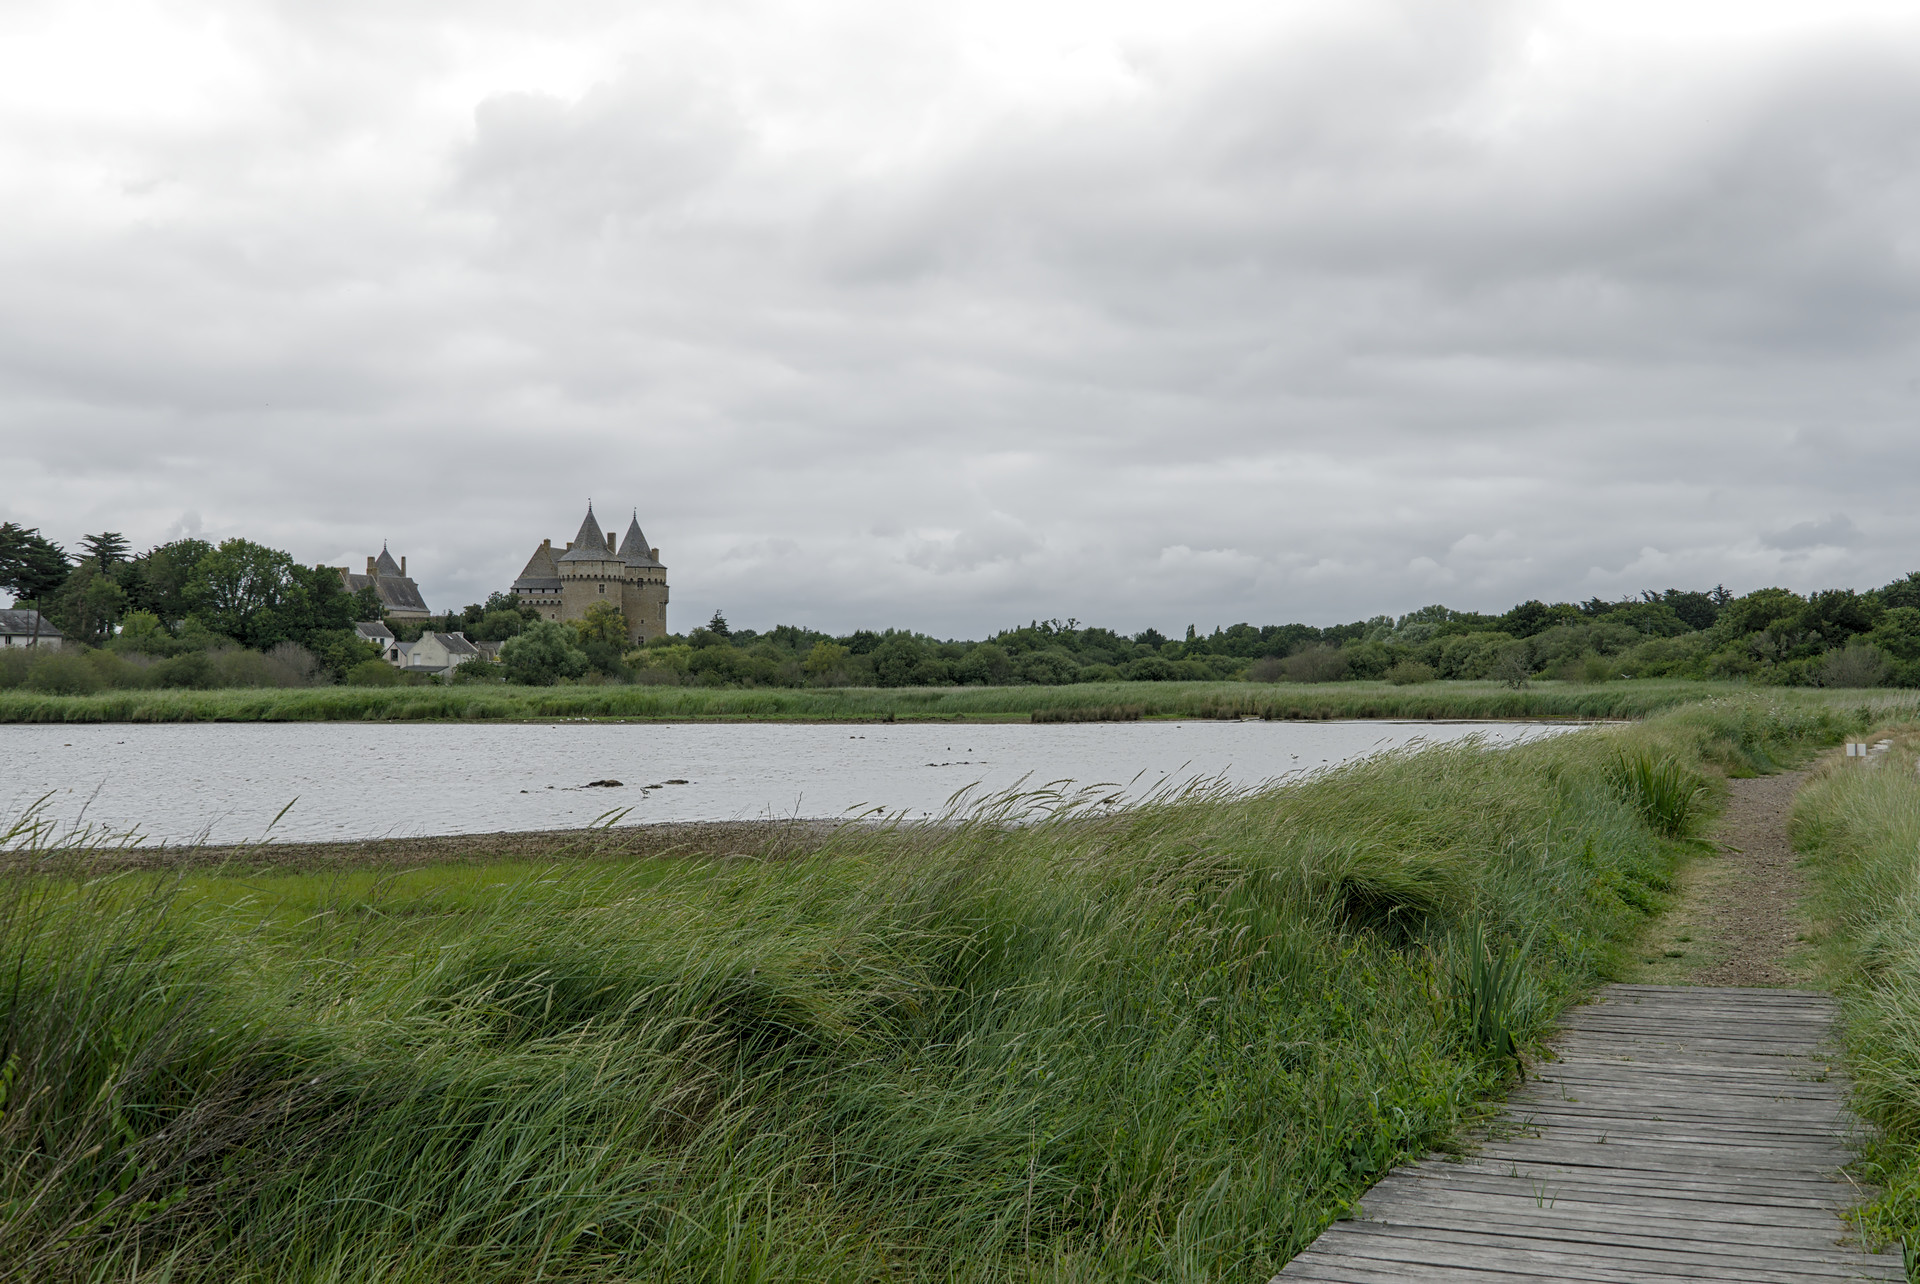
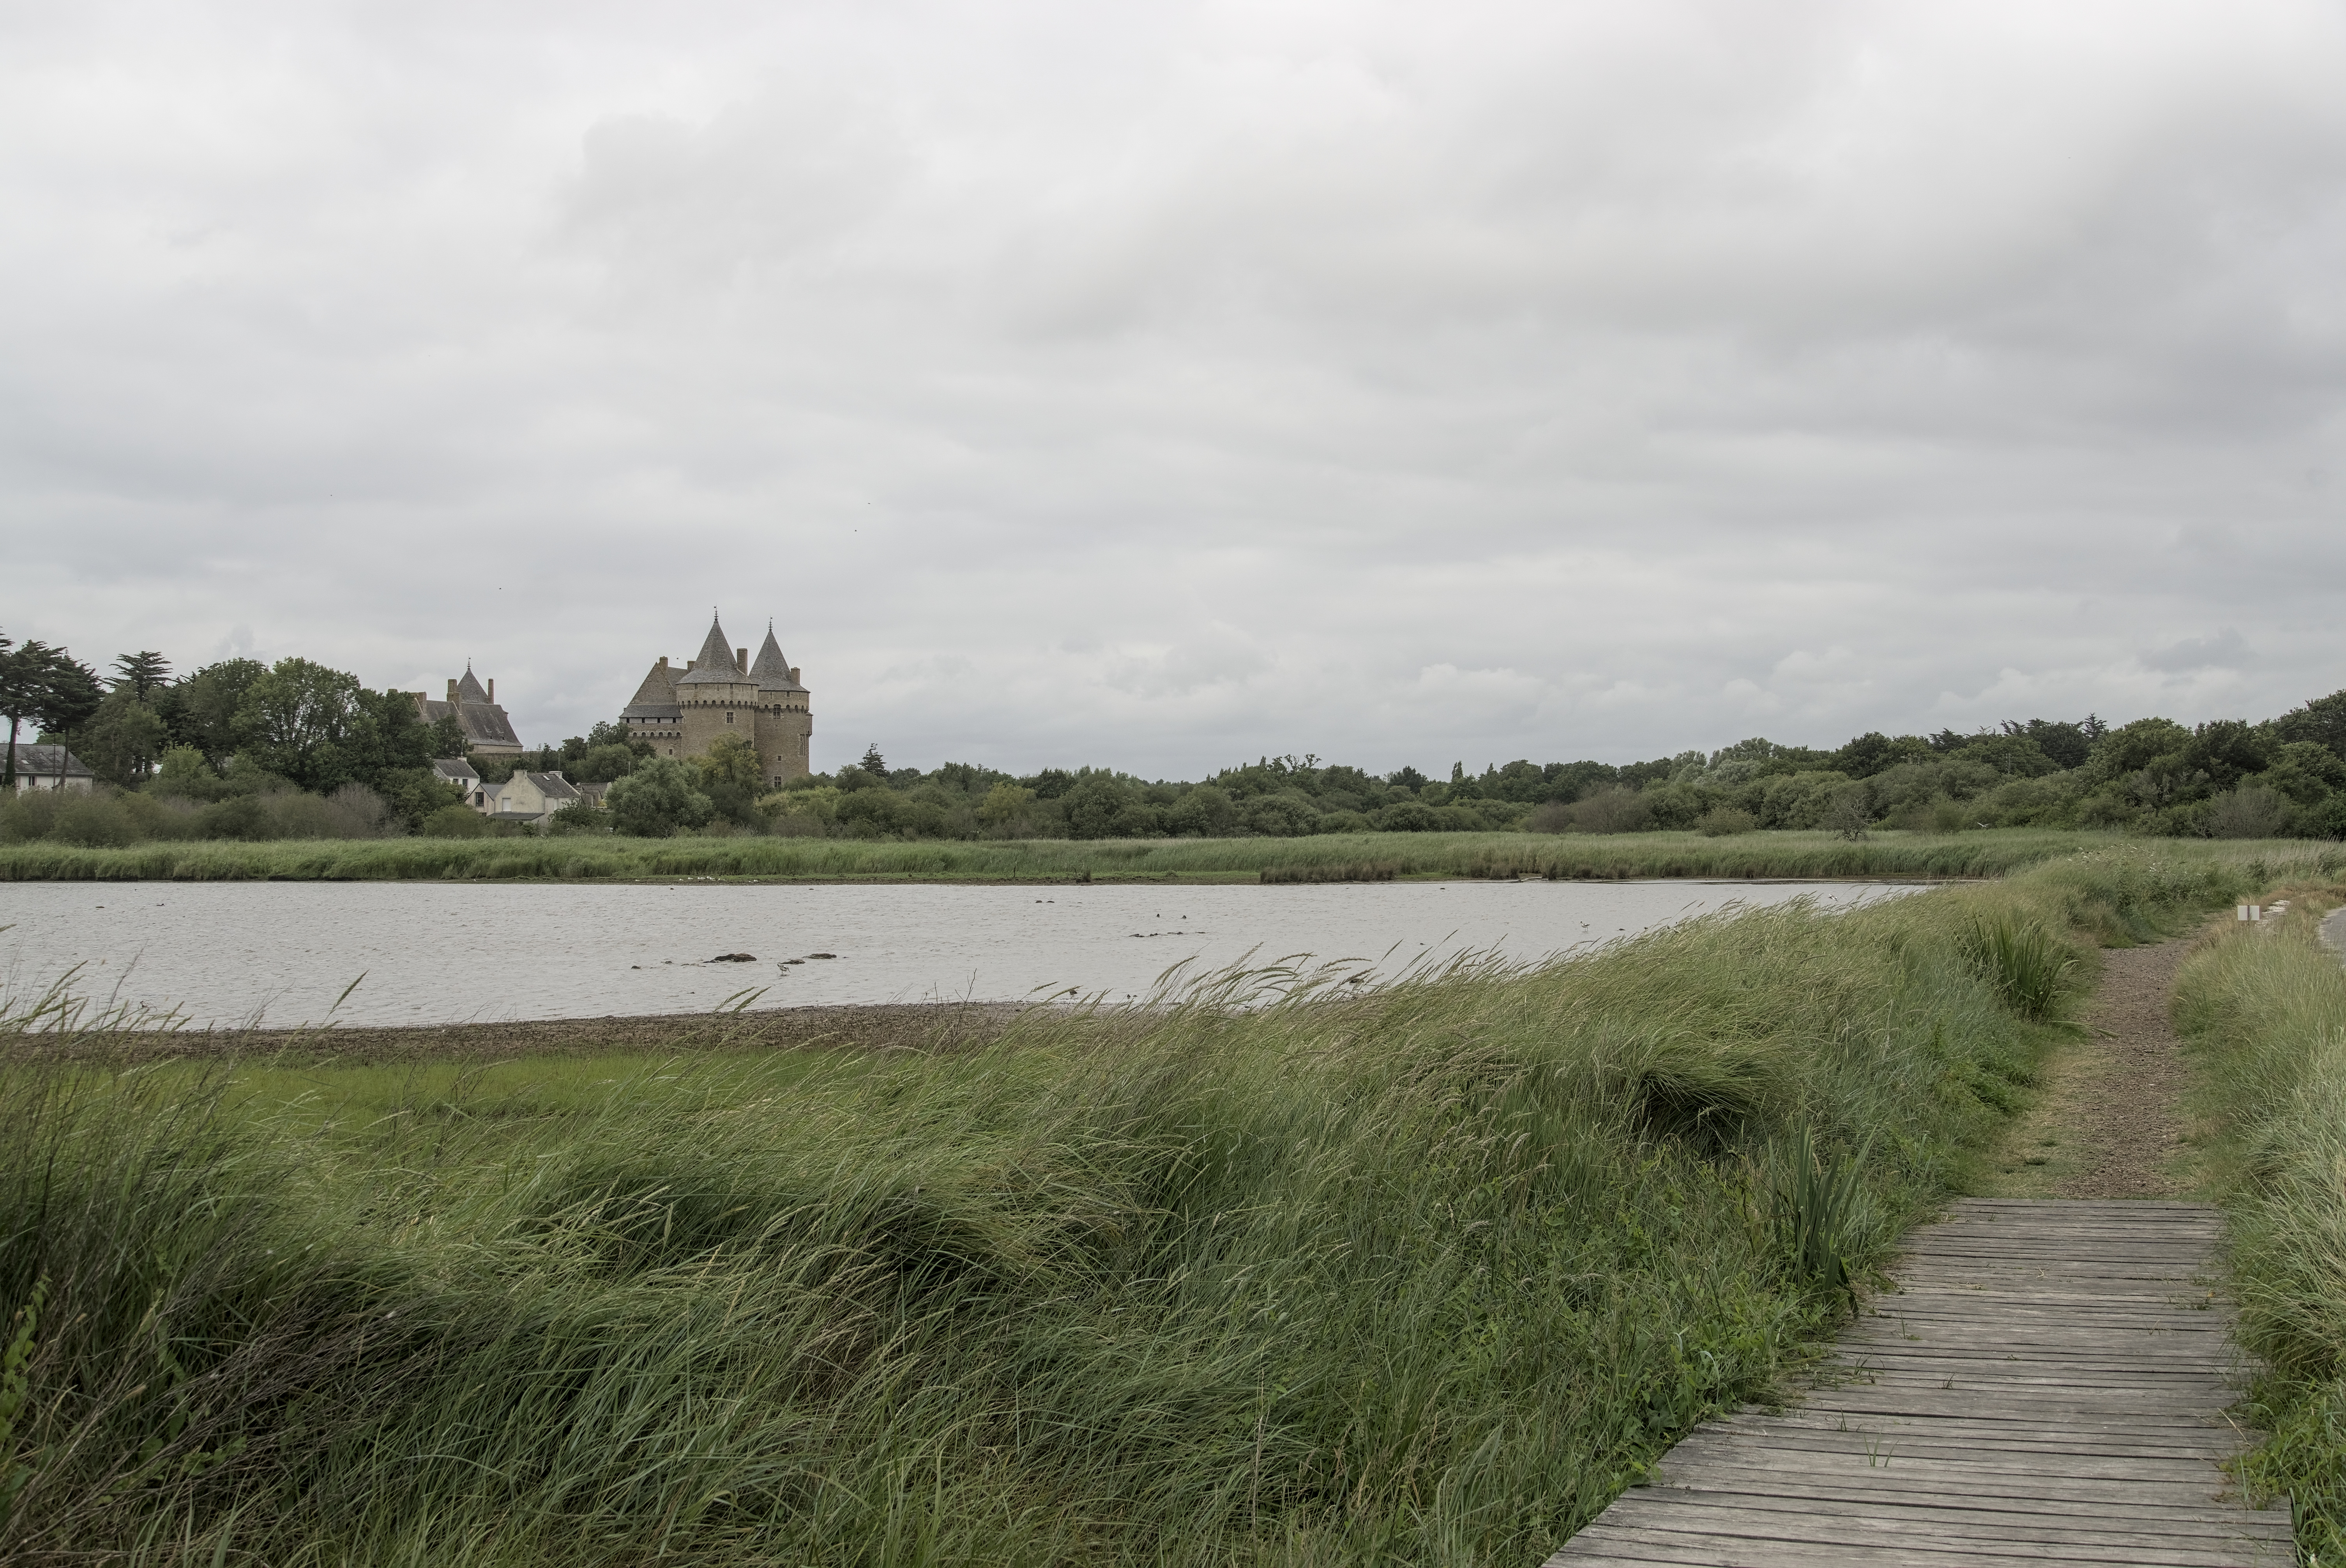
I wanted to come closer to the hues of the jpg. I noticed that after the default filmic the greens in particular were off. I played around with color calibration, color balance, and lut 3d, but wasn’t happy. Then I tried giving filmic a straight “curve” and then went back to the other modules for color adjustment. I am more pleased with the result. I put more drama in the sky than the jpg, but that’s what dt is for, creativity.
DSC09835_13.ARW.xmp (91.3 KB)
3 Likes
Hello,
may I ask my question about sharpening here?
Is it possible that RawTherapee can sharpen much better without looking like artificially sharpened than darktable?
Here I send an image example with the respective sidecar files.
Can someone show me how to sharpen properly with dt?
Dießen.RW2 (23.1 MB)
Dießen.RW2.pp3 (12.5 KB)
Dießen.RW2.xmp (13.9 KB)
I actually have the opposite problem. Both Art and RT often produce artifacts at the default settings and pulling back to remove those basically nullifies sharpening…I am likely missing something as I use DT more but I have been trying to compare
that’s interesting. In my case, I have become very intensively involved in RT. This was possible because I was helped extremely well in this forum. In the meantime, editing with RT has become very easy for me. Everything seems logical and simple to me.
But now I hear again and again about the great quality and the infinite possibilities of dt. I have now spent a few days there very trained and I am quite satisfied (with me  ). Only one thing I do not succeed nearly as well as with RT: The sharpening. The difference is most obvious with portraits. RT does that fantastically!
Have a look at my .pp3, what I did, maybe it helps you with your problems. That would make me very happy.
1 Like
Thx I will take a look, There is a new module in DT that can be used for local contrast deblurring and sharpening. The Diffuse module was just added to the dev master a short time ago. With Art and RT I get rice grain like noise esp on faces with default setting and if I pull back then the sharpening seems like it has not done much. Maybe if I had printed it would be okay and it’s just displaying in the preview. Sometimes enabling impulse nr helps with the artifacts but then I get different artifacts. It’s too nice outside to be on my PC but later I will try to post an example
Using dt 3.6 I get this result - see xmp
Chromatic abberation is a must with this lens. I did not use lens-correction since shifting pixels so much seems to harm sharpness.
DSC09835.ARW.xmp (9,9 KB)
Not fiddling around a lot, just used my standard settings for my D500.
1 Like