So overall, this far, I am a little unhappy with the brightness level of the image I produced. I’m going to try the following two things next time I get my hands on my computer:
1: Brighten the image more + warmer white balance
2: I wonder if noise removal + stronger sharpening along with reducing the image size to …say 3/4 of the original, would produce a sharp and noise-less image, although slightly smaller. hmm
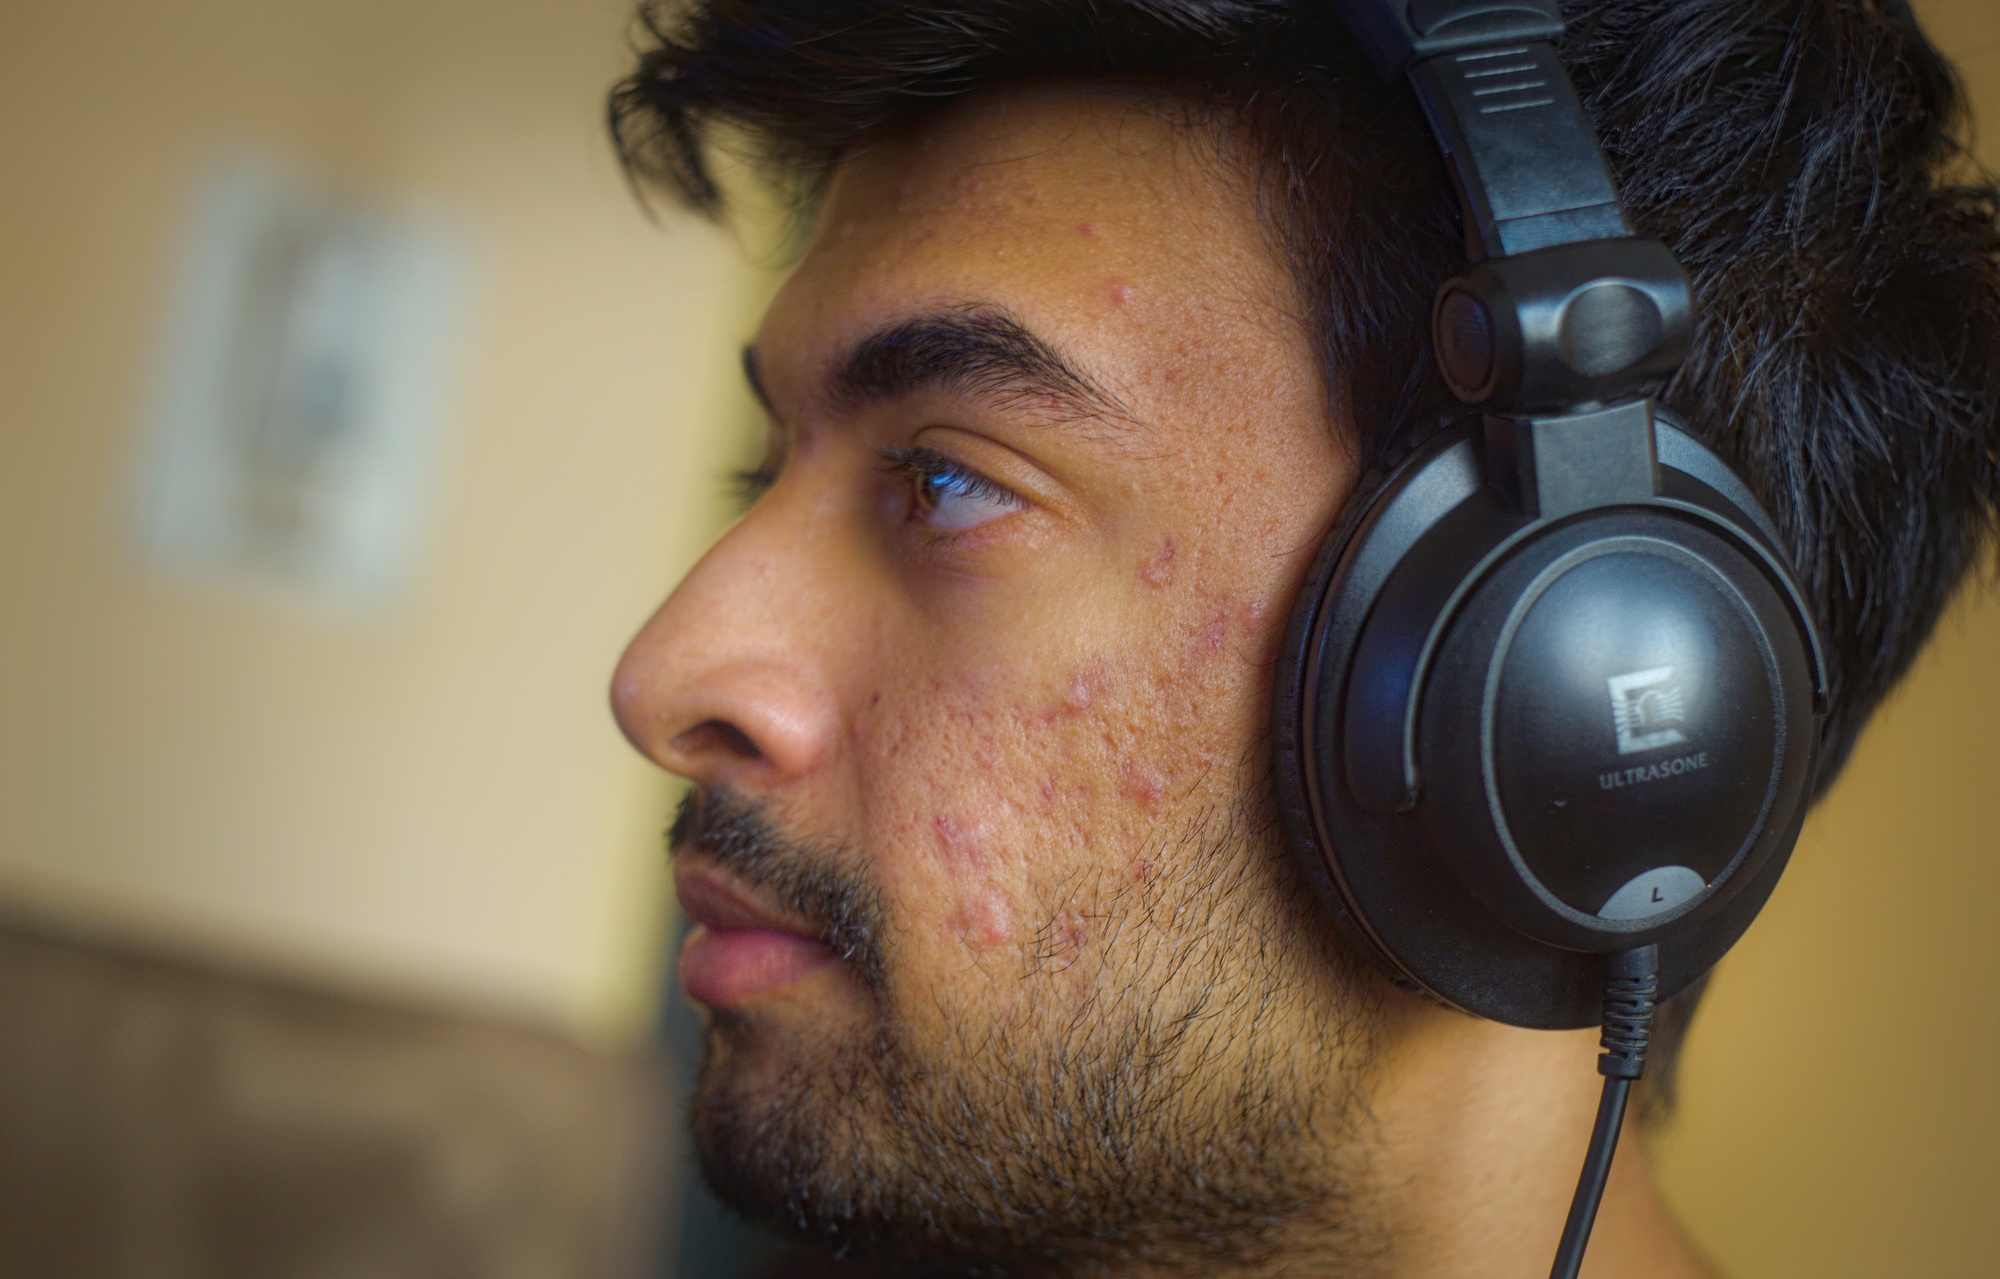
Yes @stefan.chirila, the mileage varies wildly for the handheld shots. I can go much lower than 1/100 so I thought like what I said. Here is an example of 1/10 sec handheld pic of a very uncooperative subject who tolerated me being around when he is studying while listening to music!
@shreedhar that is quite impressively sharp for a handheld photo at 1/100 without image stabilization. Unless the Canon EOS 6D has image stabilization, which the Internet says it does not.
Now, did you use a tripod or was it handheld? I’m asking because if you used a tripod it’s not as surprising, but in my case, out there, it’s not that having a tripod would have been out of the question, however, I did not have one on me at the time.
It was handheld and at 1/10sec exposure. Not 1/100 as you said. There is no IBIS for 6D. The trick I did was to set the focus at the closest and I moved closer till the image looked sharp in the view finder (no focus peaking). My son was quite irritated with this but kept quiet (barely)!
@Claes but of course someone came up with a name for it haha
I remember using this approach before; especially when doing macros; I set it to the closest focusing distance and then slowly approach until in focus, then I click
UPDATE: I: So here I tried something. I brightened the image up quite a bit; added some noise removal. II: Here I tried to scale it down from width 4200px to width 4000px, (with post-resize sharpening on) to see if the new interpolation for smaller scale may result in something seemingly less noisy ?
Results:
The resizing interpolation in Edit II doesn’t seem to have removed any noise. The post resize sharpening does make it look clearer though. Ugh I hate high ISO
There is a technique called “binning”. The name of the term is not agreed upon. Basically, when you halve the resolution of the image much of the noise (and unfortunately fine detail) would be swallowed up by the interpolation. When you go from 4200 to 4000, the interpolation is uneven. Perhaps, if you don’t want to go as far as 1/2 resolution, try different resizes to see which ones work best for the noise given. Of course, you would likely be better off with denoising algorithms and strategies, as many of them preserve the edges and detail.
PS My Canon 550D is so noisy and soft. 1600 ISO is so bad that I cannot share the photo. 800 ISO is passable but needs a lot of post processing. As for hand holding, I have to go 1/125 or higher. That is how bad my hands are.
@afre the better sensor you get the more it spoils you. I guess it’s human nature to always strive for better; it’s how we grow, so I’ll look forward to whenever I end up buying a newer generation sensor. In a way it’s better this way; since one day cameras will be so good, that they will tame the darkness and people will no longer fear it, and they will take even less care in how they shoot. We already, as is, live in the “i’ll fix that later in Photoshop” age.
As for shaky hands, I remember reading that 1/125 is the safe number and anything under is risky. My favourite photographer Jose Villa likes to overexpose his film by at least a stop (those film shooters who can do that without worry …ugh) and he tends to shoot at 1/80 or 1/60. I read that and I was like -.-
It depends on the focal length of the lens. To be safe, double the (35mm equivalent) focal length of your lens in mm. You were shooting a full frame camera with 35mm lens = shoot at ~1/70th and don’t worry. With good technique and non-moving subjects, you can slow the shutter down even more.
Shooting 1/125 on a lens that short because you’re worried about motion blur is very much overkill.
I totally get that, and in fact have been on board with that idea myself. It’s not for nothing that I went for the size advantage of Micro Four Thirds. However, I will say that it is in exactly this same kind of conditions that I have come to the realization that the ONLY solution is to change the lighting. The easiest way to do that is with a small speedlight. Luckily, there exists now some very small and portable options (also affordable). Check out the Godox TT350 (http://www.godox.com/EN/Products_Mini_Camera_Flash_TT350S.html). It’s pretty affordable at about $85 on Amazon (here in the US),. You get the version that matches your camera brand, and it will take advantage of TTL (through the lens) metering, meaning that it’s a breeze to set up and use.
I think in this situation, even just mounting a flash on the camera with a diffuser or a bounce card and a warming gel to match the ambient lighting (so you can adjust white balance globally) would have really helped your subjects to pop, and allowed you to use a lower ISO for a cleaner result in the end.
I have resisted adding flashes, etc, to my setup because I just didn’t want the added complications of that. But I am realizing that if I “want the shot,” then under certain conditions you need to bring your own light. We all love post processing, but there is only so much one can do under adverse lighting in post.
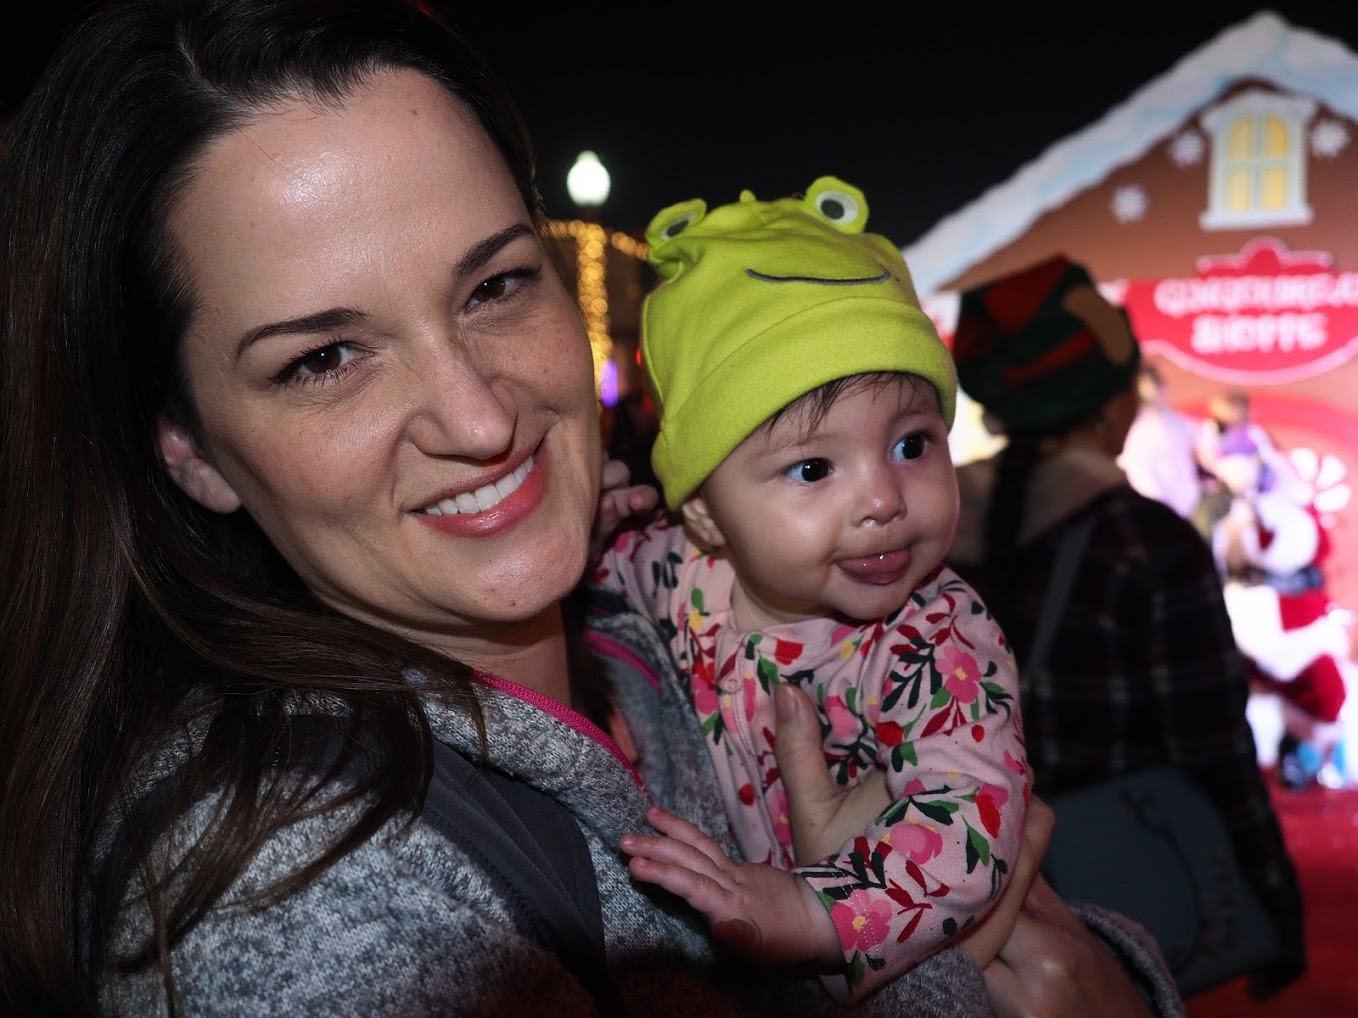
EDIT: just a little example showing how using a small on-camera flash with a little diffuser can make an impossible photo possible. This is from our recent christmas fair here in my town, and was taken right at dusk, pretty much in the same (or even a little darker) conditions as you photo. Artificial lights abounded, so it would have been possible to take a shot in the ambient conditions. But I opted for fill flash so that my wife and baby would look like human beings, and not orange ghosts, lol!
Here is the absolutely un-edited (SOOC JPEG):
Afraid of the grain, chuckukkhh chuuuhhh, no no it’s more like john voigh in runnaway train, a beast meeting its destiny, through the cold, fighting with broken greasy hands, with a broken soul, fighting for what? to die a free man… maybe
This one doesn’t have any noise reducShionism whatsoever > RT_RC2
@age thank you this is great. great improvement over mine. will use it.
This is great! I’m so happy about this for a bunch of reasons; obviously that I found a way to make these portraits work, in spite of the yucky noise, but also that things got solved by our little community here


 .
.