I came across these free presets for RawTherapee:
http://www.stefanchirila.com/customchrome/
I don’t think that they’ve been discussed on here. It seems like the author put good work into them.
I came across these free presets for RawTherapee:
http://www.stefanchirila.com/customchrome/
I don’t think that they’ve been discussed on here. It seems like the author put good work into them.
Maybe not specifically, but the author, @stefan.chirila, is on the forum:
hello @Boris_Simovic,
Thank you for mentioning my presets. Since you brought them up here I might as well talk about them a little since there is a bit more to it than just presets.
What is customCHROME:
It all began back in the day when Lightroom presets became super popular and tried to mimic films. Of course I wanted the awesome film look that, say Jose Villa (http://josevillablog.com) produces with his Fujifilm 400H, but since I was using RawTherapee exclusively I was neither able to use Lightroom presets, nor did RawTherapee (at the time) have equivalents for most Lightroom features. So I decided I’d need to reverse engineer the look I wanted from scratch.
It was a lot of work, and although I am still trying to work out how on earth @patdavid achieved his amazing Fujifilm 400H rendition in his LUT, the process taught me a huge lot about what it is that make films so well liked; while at the same time I also noticed the online photography industry, almost in its entirety outsorcing processing to presets like VSCO, Mastin labs, and so on. I mean the presets are good, some are great, but they teach little about what makes the images look good, a lot of them rely on colour LUTs for the more complex colour modifications, in Lightroom they’d be icc or dpp profiles I believe, and most people wouldn’t really look even if everything was showing. The preset producers are interestes in making their sales and they are and it’s all good, yet my point is that it creates the niche for customCHROME, as an innititative to raise awareness about what makes pretty edits pretty and educate those who care.
So basically, when it is ready, ideally I would like customCHROME to contain more than just presets but detailed tutorials on many of them explaining what they do and how and it’s good for. Open source is awesome and it is a powerful tool against ignorance, we’re just not quite there yet and the journey is exciting.
What there is:
As of today, there are 4 sets up on the page (http://stefanchirila.com/customchrome)
CC1: a set intended to apply a nice look to images shot in JPG
CC2: “the classics” a collection of what I considered to be classic image looks
Tribute 400H: contains my best efforts at recreating the Fujifilm 400H look and feel (yes I am obsessed with this one). I need to update this one with my newer work on it.
StefanCHROME: in an excess of self-absorbedness I named this one after myself. It contains some edits I use on a regular basis.
Worth noting: These were all made with RawTherapee 4.2.1 as found in the Debian 8 Jessie (Debian -- Details of package rawtherapee in jessie) and the colour curves act very differently these days. I noticed this recently in this discussion: Debian and RawTherapee - #5 by stefan.chirila
What is still missing:
Tutorials. Posting pretty presets, as useful as it may be in a world where all good presets seem to be for Lightroom, is not fulfilling customChrome’s mission statement by itself alone. So I need to get going and come up with some writeups about them.
A proper description as to how to get them to work on Windows/MAC (as in where the presets folder is on those OSes).
An updated version of the existing presets to compensate for the different curve behaviour.
Honestly, any feedback is very appreciated! I am so out of this world flattered that someone considered my presets worthy of this forum. I have a lot of respect and admiration for all Open Source contributors, and to be, even to a little extent, one of you guys, is huge to me. Long live the Libre revolution 
Finally got new computer built and newest RT build I could get my hands on downloaded. I will start work on furthering the customCHROME effort by outputting some screencast tutorials. Here’s a first try. Please be gentle 
http://www.stefanchirila.com/blog/2016/12/08/intro-to-rawtherapee-screencast/
If you don’t feel like visiting the link, the video is here: VIDEO LINK
The original RAW file, as well as the RawTherapee preset PP3 file are also downloadable. Enjoy and come back for more!
either my link speed is too low (it’s the cas : 1.5Mb) or the file is too big :
I can’t read the video, even after several minutes.
sorry
The video file is 41MB. It isn’t small, but that’s because it’s 10min long and at relatively high resolution. If you want and can afford the bandwidth, try right clicking the direct link and downloading. As for the blog post itself, different browsers may complain in regards to the file type they’re willing to display directly embedded. Chrome should work.
This tutorial has no commentary, but future ones that will have commentary, will also feature a transcript just in case and screenshots.
Let me know if it works  Thanks for checking it out!
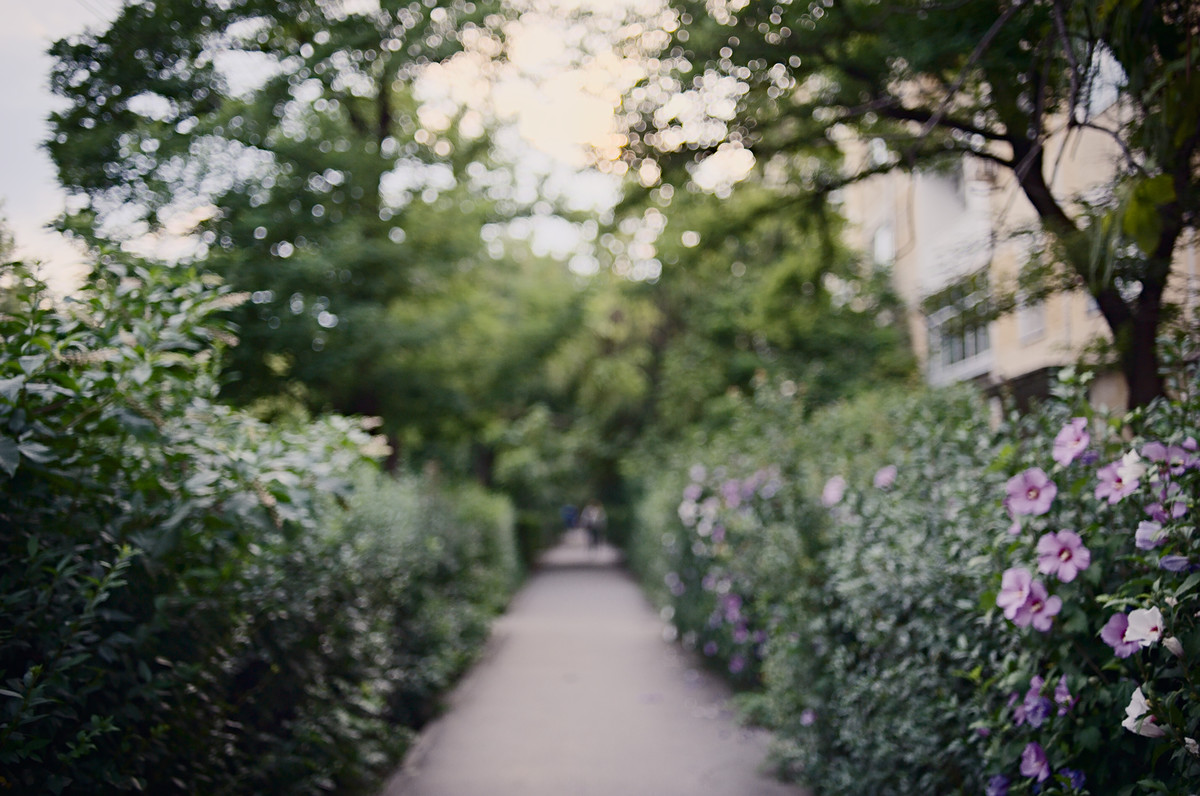
Not to look a gift horse in the mouth, but you put a great deal of effort into editing a photo that is so badly out of focus that most of us would have sent to the trash straight from the camera. Net result is that I can discern no visible improvement from all your work. Sorry that’s as gentle as I can be.
I disagree: sharpness is one attribute of a photograph that can be varied depending on what the photographer is trying to evoke. Also this is a film emulation preset, so sharpness likely doesn’t have much to do with the effect. You can also try the preset on your own photograph.
I definitely found the video educational. And it’s just cool to see on-the-fly decisions that build up to the final result!
It is not the lack of sharpness (per se) that disturbs me. However it does prevent me from discerning the film emulation effect which was, presumably, the object of the lesson. Note that I am referring here to the video.
Hey there, first of all thanks for the feedback, it helps a lot not being a lone wolf in this world of photo madness So let’s try and make sense of this.
@paperdigits: it is not necessarily a film emulation attempt though I am flattered you think it could pass for one. The video is meant to be an intro to what it feels like and looks like to use RT and the various features of it. I do like filmy looks though and try to create similar feels in my edits.
@mikesan: I understand your frustration and it would indeed be a photograph worthy of the garbage bin had I not intended to give it an out-of-focus, near-bokeh-shot feel. A bit of a background story: this year I visited my hometown in Romania (where I was born and spent the first 16 years of my life), and it was the building on the right where my grandmother’s apartment used to be, so consequently I spent many childhood days walking that street. I took the photograph this way because I wanted to go for a slightly-dreamy look and feel to it, sort of like a depiction of the fact that the angle here is more or less the depiction I have of that place in my memory of back then. The additional sharpening I applied using the tone mapping tool was in order to bring out the out-of-focus light circles, which I do enjoy dearly.
I have a lot of friends who just don’t get the point of the bokeh-shots, and some of them get literal headaches from their eyes trying to force-adjust the view and bring it into focus. But the shot was most certainly meant this way.
Thanks again folks for the feedback. It’s very welcomed!
Thanks man! Always feels good being appreciated. I’m in the making of an actual tutorial with voice-over on the topic of building a multi-layer panorama in Hugin where the initial edit is done in RT and perhaps an HDR merge of multiple exposures of the same panorama.
This is only about your video format compatibility:
On Windows 7, neither Cyberfox nor ordinary Firefox can play the video on your web page (for me, that means). Vivaldi works as expected. The downloaded ogv file plays in VLC and SMPlayer, but MPC-HC only plays audio. The MediaInfo tool doesn’t recognize the format.
On an Ubuntu Studio 16.04/64 virtual machine, Firefox also can’t play the video, and the default Parole Media Player 0.8.1 can’t play the ogv (Could not initialise Xv output). VLC can, again.
Since Firefox can play many ogv videos properly, perhaps you could tweak some format settings, to make it more compatible.
If it is not only me, having problems.
Be well!
(edit: typo)
Yeah I know  the format issue is definitely a real one. I’m not very experienced with formats and compatibility, but am working on it. For now I’ll make sure to provide direct links to download the videos in case they don’t read well.
Maybe @patdavid might have an idea what format to use to be as supported as possible.
Here is my RawTherapee attempt with my preset for bolder colors.
I think the photo is fine for a film emulation preset, especially since it is a typical scene and it also contains good dynamic range to showcase the effects of emulation on highlight/shadow areas.
Perhaps my biggest gripe with presets (don’t get me wrong, I’m also in the process of developing a preset, but only for the Nexus 5) is that it rarely works well when applied to different camera/sensors than it was developed on. Usually it is faster to develop your own from scratch that is tailored for your camera if you want a preset that you can sort of “apply and get 90% of the work done”. I mostly study those presets along with the RAW image to see how they achieve certain effects, but not to copy the actual numbers.
With these said, I’m looking forward to your future videos with commentary since your results surely look nice!
@stefan.chirila Your video seems to be VP8 in Ogg container, which strikes me as an odd combination. Perhaps try VP8 in WebM or Theora in Ogg?
@PkmX: Yeah I hear you! I think when it comes to film presets, they really help us get why back in the day there was such a crazy competition between brands, way worse than Nikon versus Canon today. Thing is I think that a lot like actual films, the film presets can be made to really make the best out of a certain situation and others like it, whereas it’s not easy if even possible to make one that works great for just about any lighting situation. I also like the idea to make “the Stefan preset” that I can slap on to all of my pictures and it just work, but I haven’t gotten there and I don’t think I will. Variety is good
As for the picture being a good testing candidate, honestly I didn’t put too much thought into it. I was working on it at the time of posting and thought it’ll bring the point of the video across. Now that I think of it, you’re right, it does have varying dynamic range, the only think missing, I guess, would be a face, to see what a given preset does to portraits. Oh well …I never intended it to be a perfect shot anyway
about your edit: did you apply any highlights recovery? the orange sunlight center top looks like it could use a little
ND7_8484.NEF.pp3 (9.7 KB)
It uses the Kodak Portra 400 NC 1 - HaldCLUT from @patdavid’s film emulation preset and Rec2020-elle-V4-g10.icc as the input profile which you can download from here. You need to point them to the correct path for the pp3 to work.
For highlight recovery, I used the default values from “auto levels” which sets the highlight compression to 100 with method blend. The result already looks good so I didn’t change anything in the exposure tool beyond that.
As for the orange sunlight, yes I really like that effect. I stole the CC/CL curve trick from @Morgan_Hardwood here and then applied it in reverse: lowering the CL curve to desaturate the image while bumping the CC curve up to compensate. It is one of those little accidental discoveries that does wonders to a photo.
Edit: I figured that I misinterpreted your sentence. I don’t think there are many details that could be salvaged there and I do prefer having that area blown out with a orangish tint which makes the bokeh looks better IMO.
Yep. If you’re ok with it, a good option is to offload video heavy lifting to something like YouTube. Otherwise, the best option is a few different formats to cover the bases, with h264 being the most widely supported. I’d do that + webm to cover most users and supply both in an html5 video element.
This all assumes you’re not going to use DASH adaptive steaming. Which is a different fun can of worms. ![]() I’ll post some options for getting these files easily with ffmpeg later this week and run a few tests. Thanks for making it available! Any chance you could license it freely? Maybe cc-by-sa?
I’ll post some options for getting these files easily with ffmpeg later this week and run a few tests. Thanks for making it available! Any chance you could license it freely? Maybe cc-by-sa?
You should also be able to use handbrake, which offers a bunch of output presets.
