I went looking through the vkdt code to see how it works and realized how trivial the module system is. It is very easy to create your own module for your own artistic needs. Because of this, I wanted to try it out and share my experience in hopes that it will enable more contributions to modules.
Objective
Implement the gamut clipping methods proposed by Björn Ottosson
My setup:
- Windows 10 (I know)
- Intel Core 17-8650
- NVIDIA GeForce GTX 1060
- msys2 with ucrt64 dev kit
Init
To get started, just clone the repo and run
make all
I had trouble with parallel execution but you could all -j20 to speed this up.
Then I created a folder under src/pipe/modules/ called gamutclp. In that folder you need a couple files
main.c         # module entry point
main.comp      # shader entry point. can be named anything since we pass the name into main.c
connectors     # module connector definition
params         # uniforms pass to all shader modules as 'set = 0, binding = 1'
params.ui      # ui components that modify param values
readme.md      # contains tooltips for this module, it's connectors, and it's ui components
below is the boilerplate for these files
main.c
#include "modules/api.h"
#include <stdlib.h>

void modify_roi_out(
    dt_graph_t  *graph,
    dt_module_t *module)
{
  // optional if there is only an input connector
  // that gets passed to an output connector
}

void create_nodes(
    dt_graph_t  *graph,
    dt_module_t *module)
{
  dt_roi_t roi = module->connector[0].roi;
  const int id_gamutclp = dt_node_add(graph, module, "gamutclp", "main",
    roi.wd, roi.ht, 1, 0, 0, 2,
    "input",   "read",  "rgba", "f16",  dt_no_roi,
    "output",  "write", "rgba", "f16",  &roi);
  dt_connector_copy(graph, module, 0, id_gamutclp, 0);
  dt_connector_copy(graph, module, 1, id_gamutclp, 1);
  ...
}
main.comp
#version 460
#extension GL_GOOGLE_include_directive    : enable

#include "shared.glsl"

layout(local_size_x = DT_LOCAL_SIZE_X, local_size_y = DT_LOCAL_SIZE_Y, local_size_z = 1) in;
layout(std140, set = 0, binding = 1) uniform params_t
{
} params;

layout(set = 1, binding = 0) uniform sampler2D img_in;
layout(set = 1, binding = 1) uniform writeonly image2D img_out;

void
main()
{
  ivec2 ipos = ivec2(gl_GlobalInvocationID);
  if(any(greaterThanEqual(ipos, imageSize(img_out)))) return;
  vec3 rgb = texelFetch(img_in, ipos, 0).rgb;

  RGB rgb_gamut;
  ...

  imageStore(img_out, ipos, vec4(rgb_gamut, 1));
}
connectors
input:read:rgba:*
output:write:rgba:*
params (empty for now)
params.ui (empty for now)
Dev
After that, all I had to fill out was the logic proposed on sRGB gamut clipping
The developer feedback cycle is very nice. There are only a couple of commands that execute quickly every time you update
make -C src modules
make reload-shaders
cp -rf ./src/pipe/modules/gamutclp/ ./bin/modules
./bin/vkdt.exe
In addition, I found out you can pretty much copy-paste Shadertoy examples into the dspy modules! (See my module for an example.)
Results
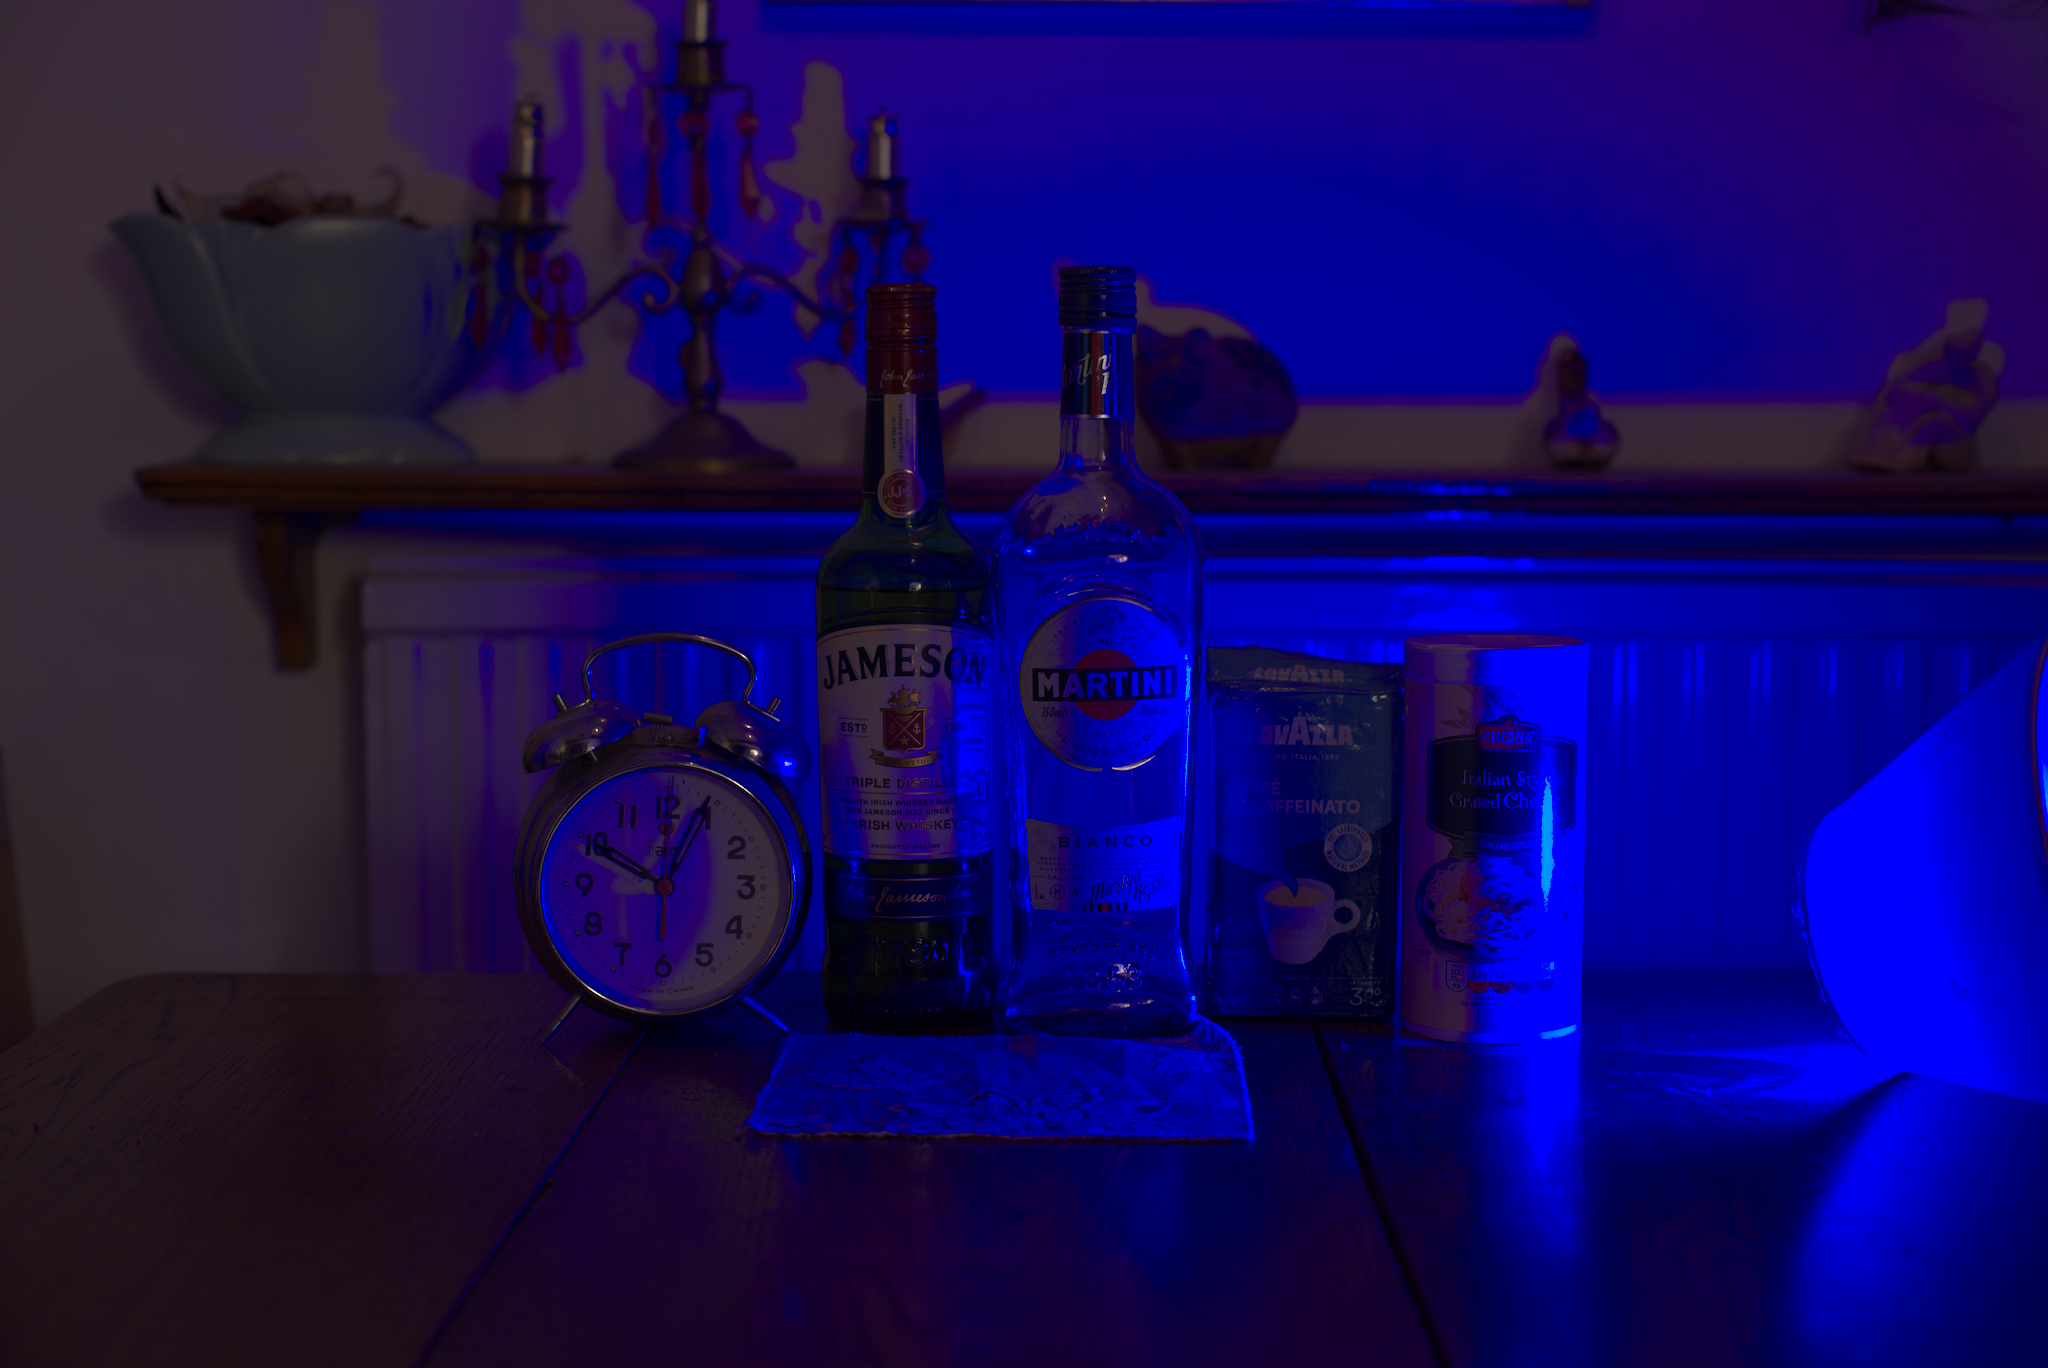
Subject: a scanned 120mm photograph of a sunset (taken on a 3d printed camera I made). It should be pretty easy to make some nasty and noisy out-of-gamut colors
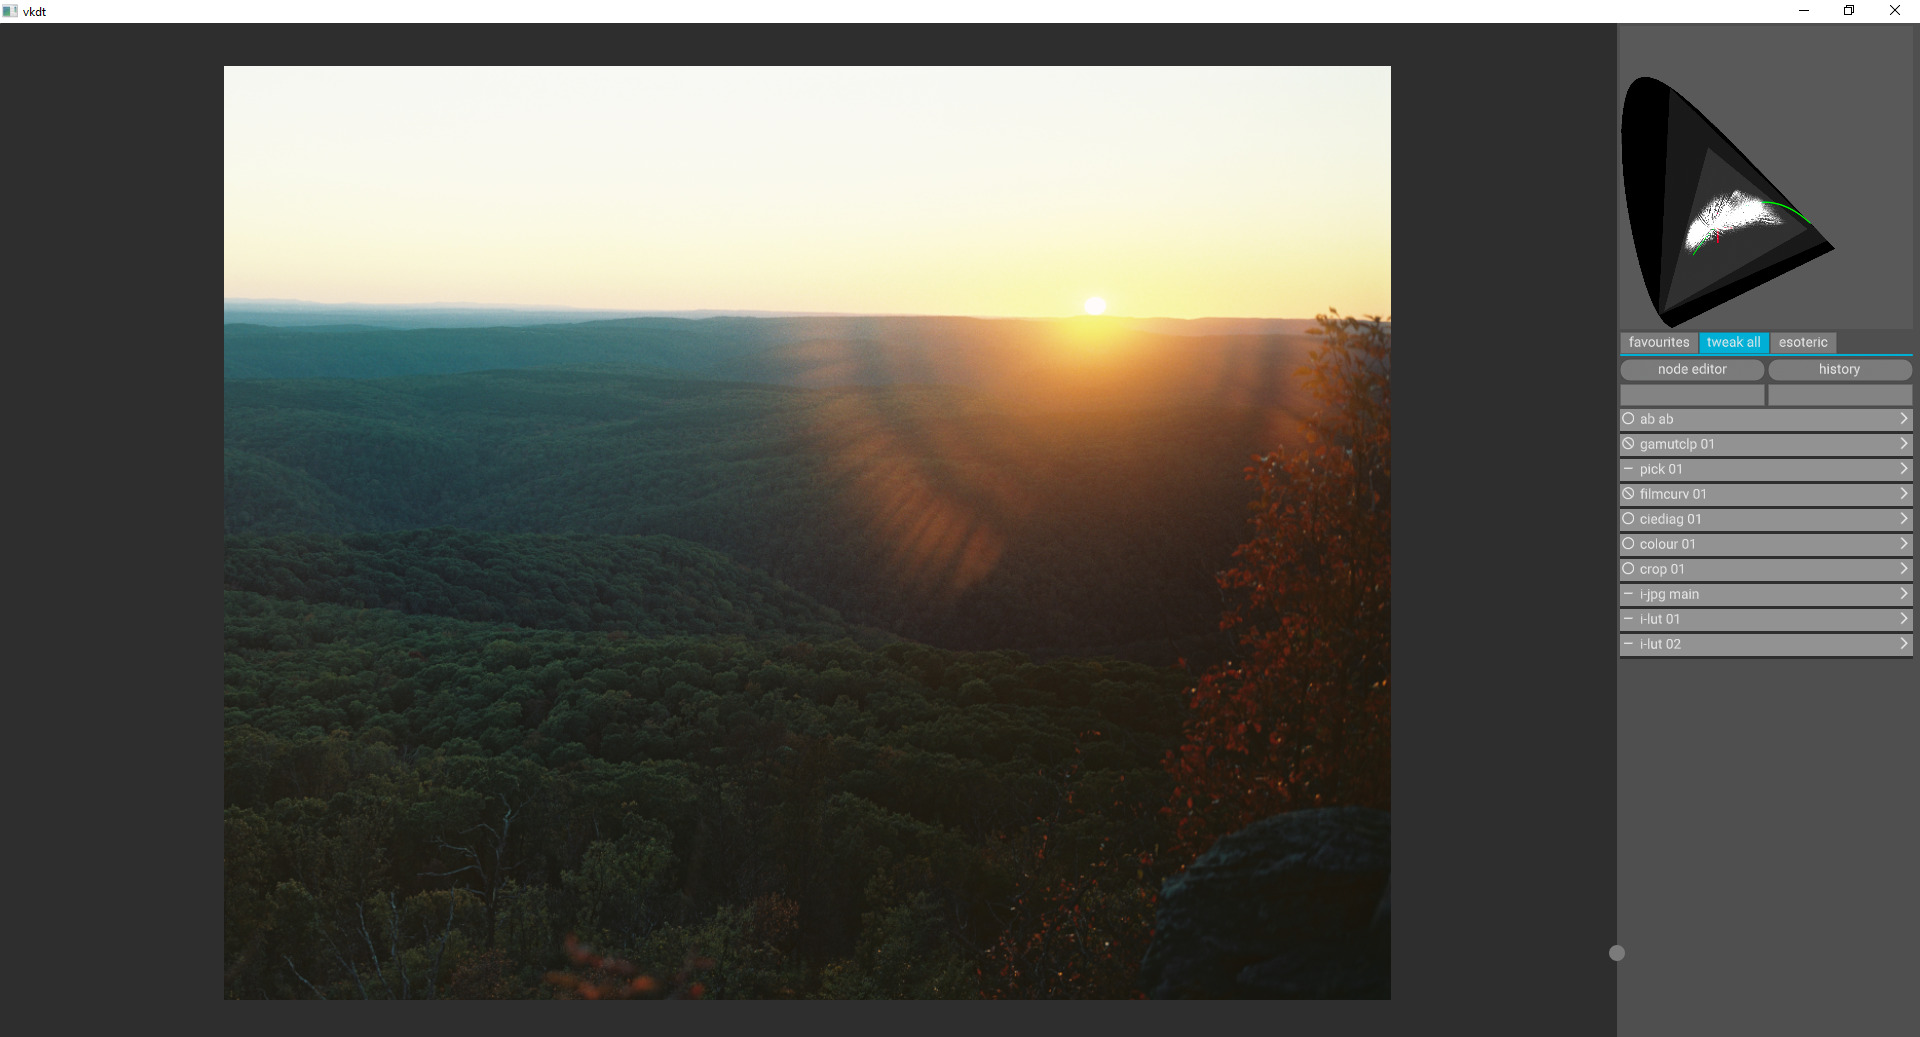
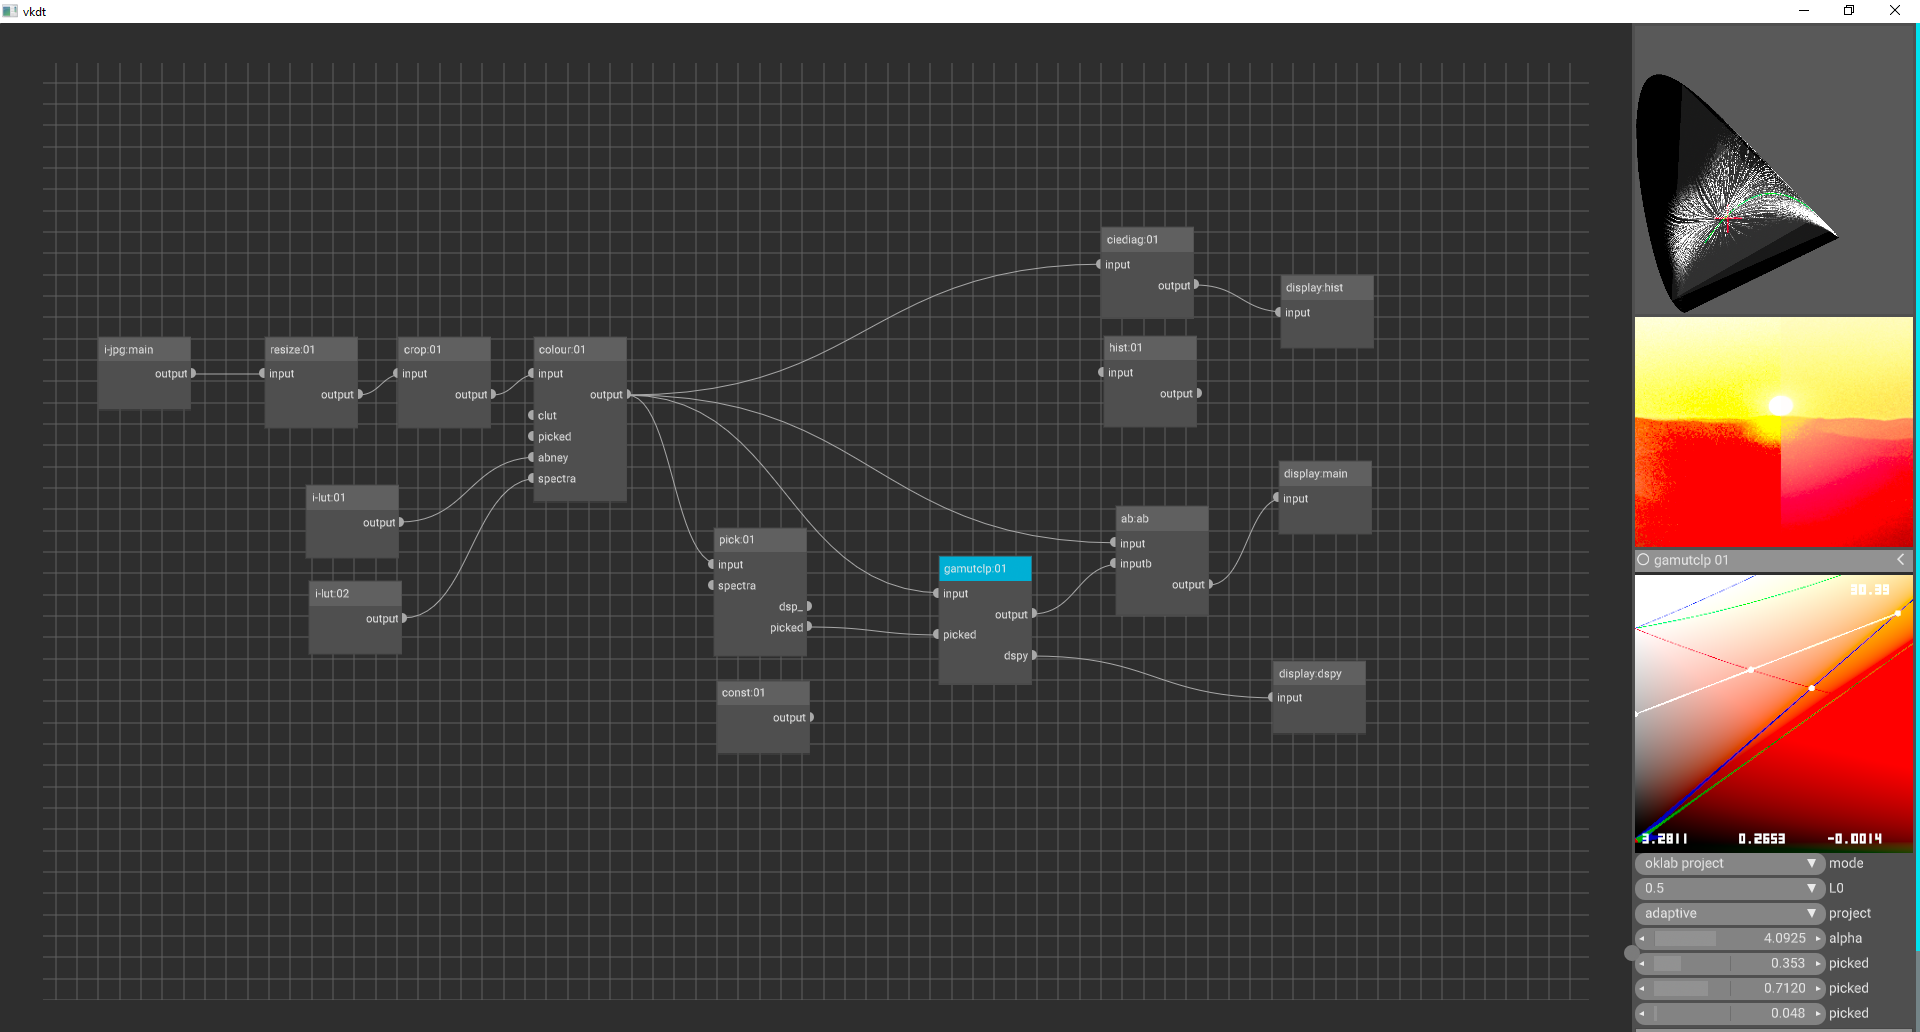
Setup:
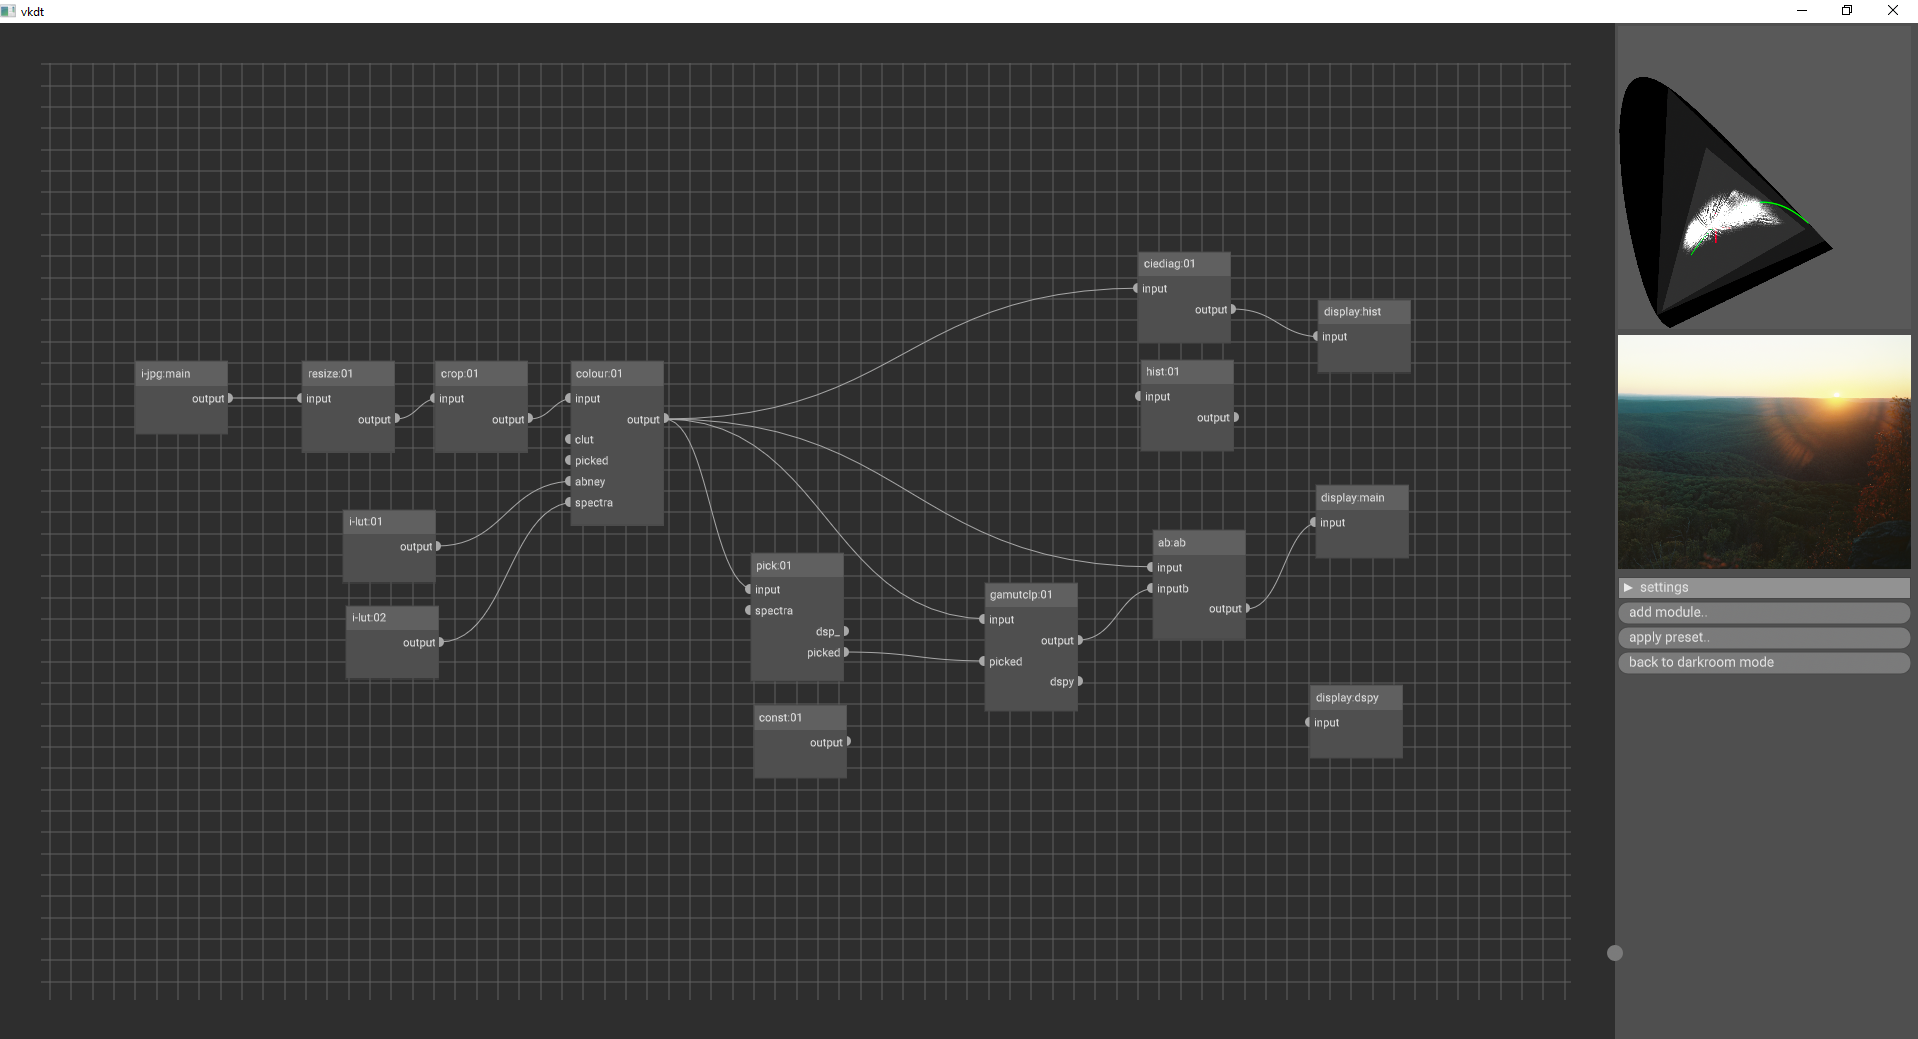
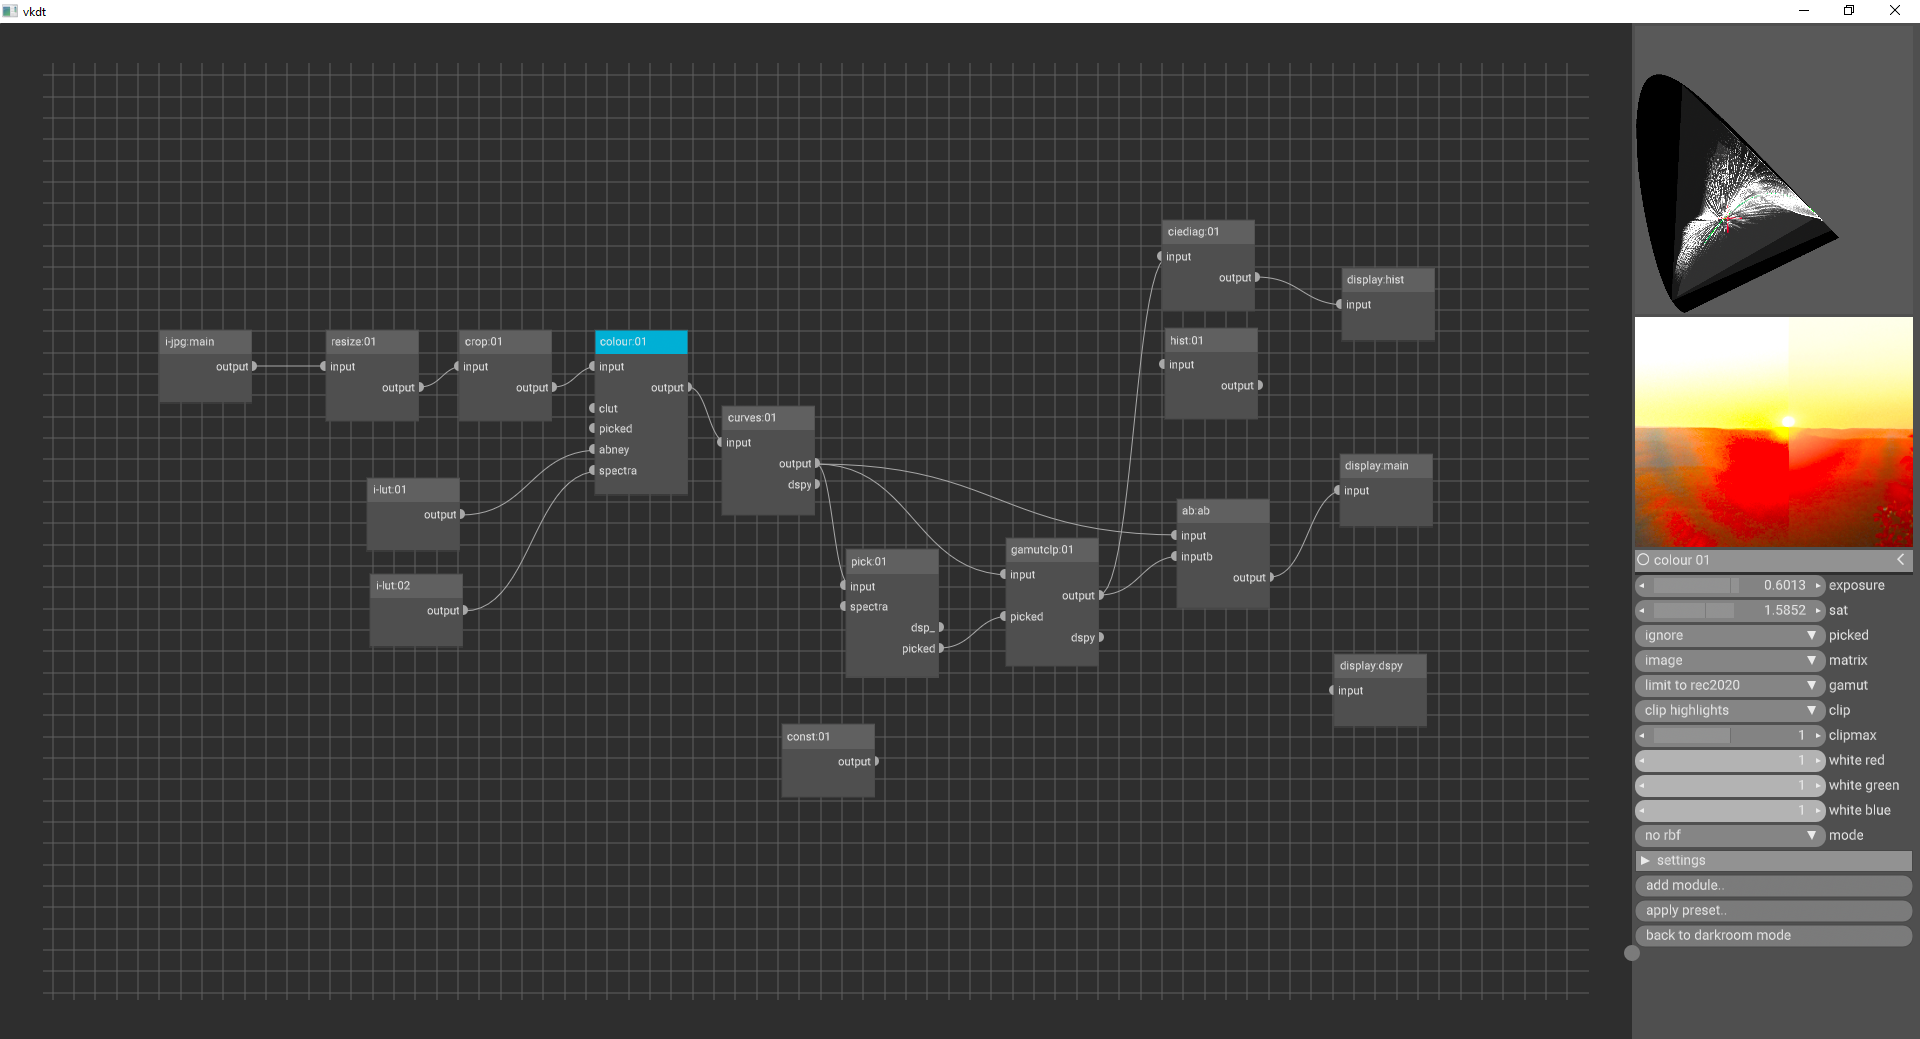
A simple raw import, into my new gamutclp module, then into ab to compare without, then main display.
Lets crank up the saturation to an unholy amount, tell ab to split right through the sun so we can see the extreme with and without, and then enable the gamutclp
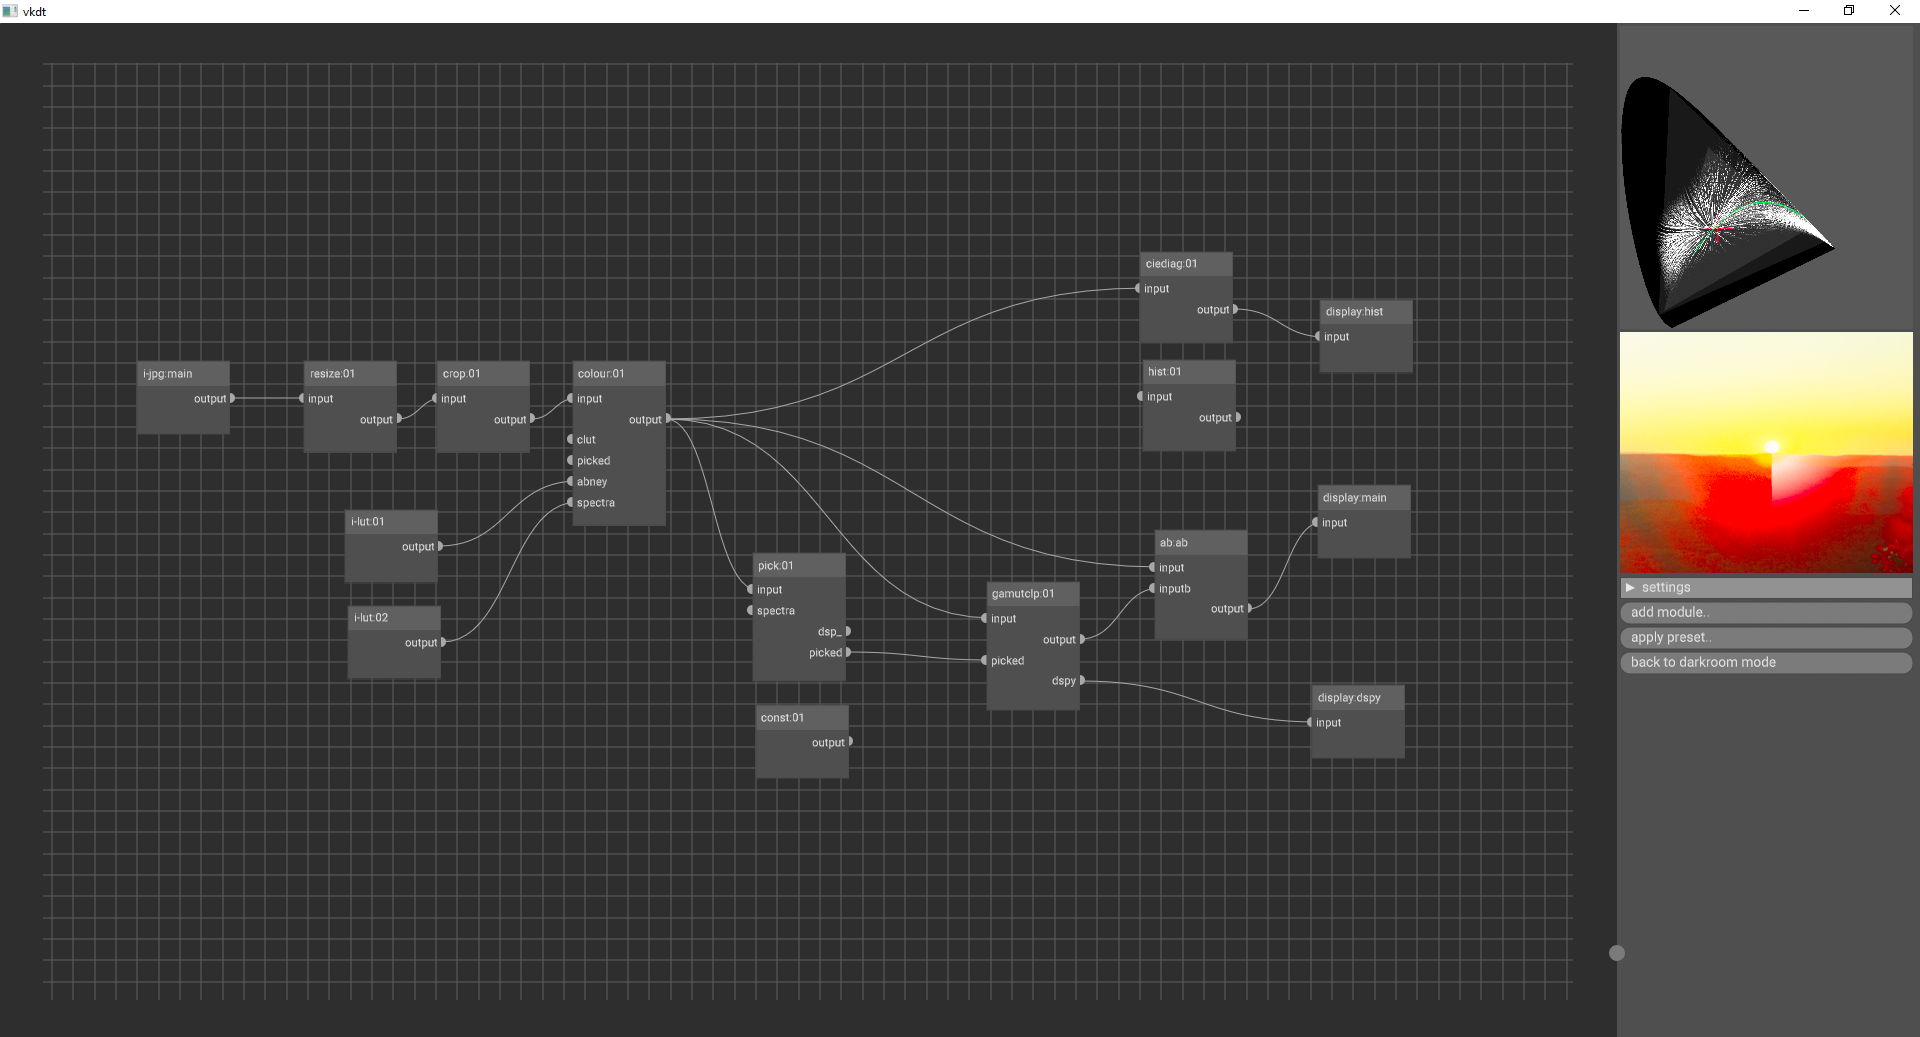
(left: without gamutclp, right: with gamutclp)
Hmm, it looks like our module is making smooth colors, but it is clipping the color into a whiter value. Why is that? If we use out color picker to pick somewhere near there, we can see what is going on
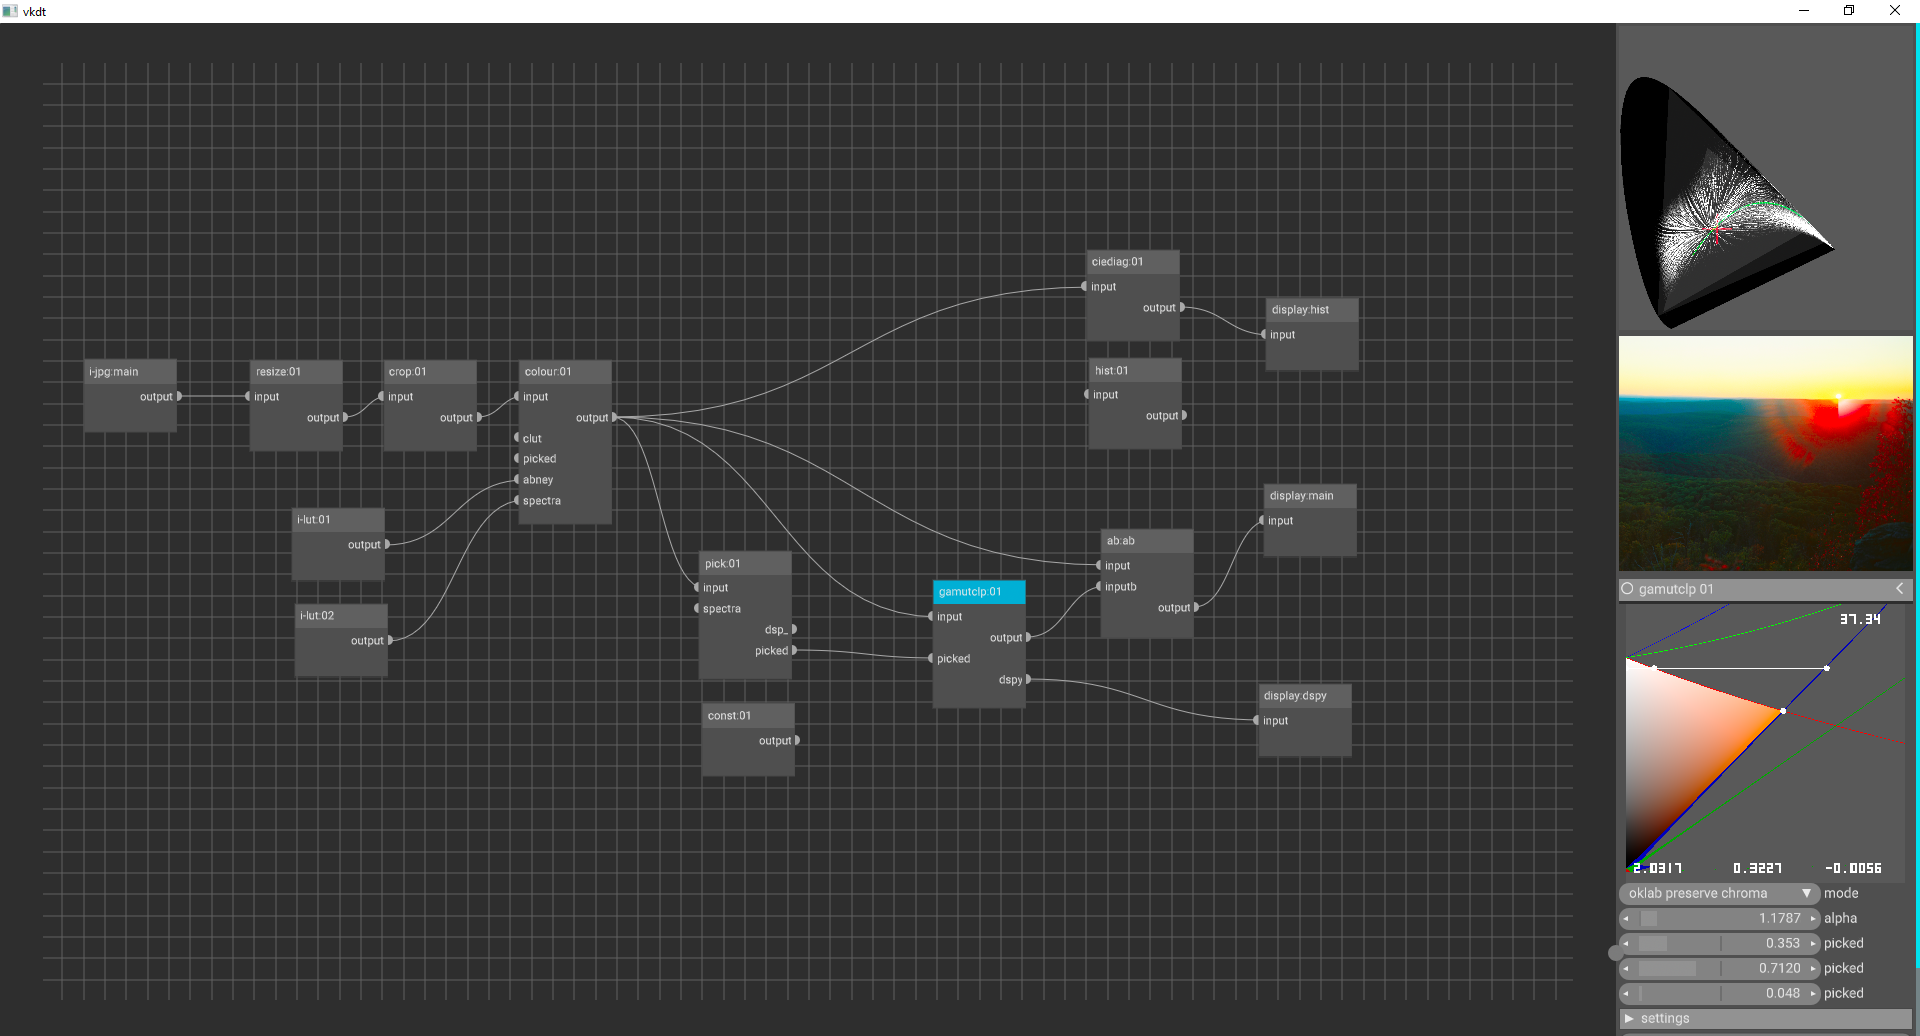
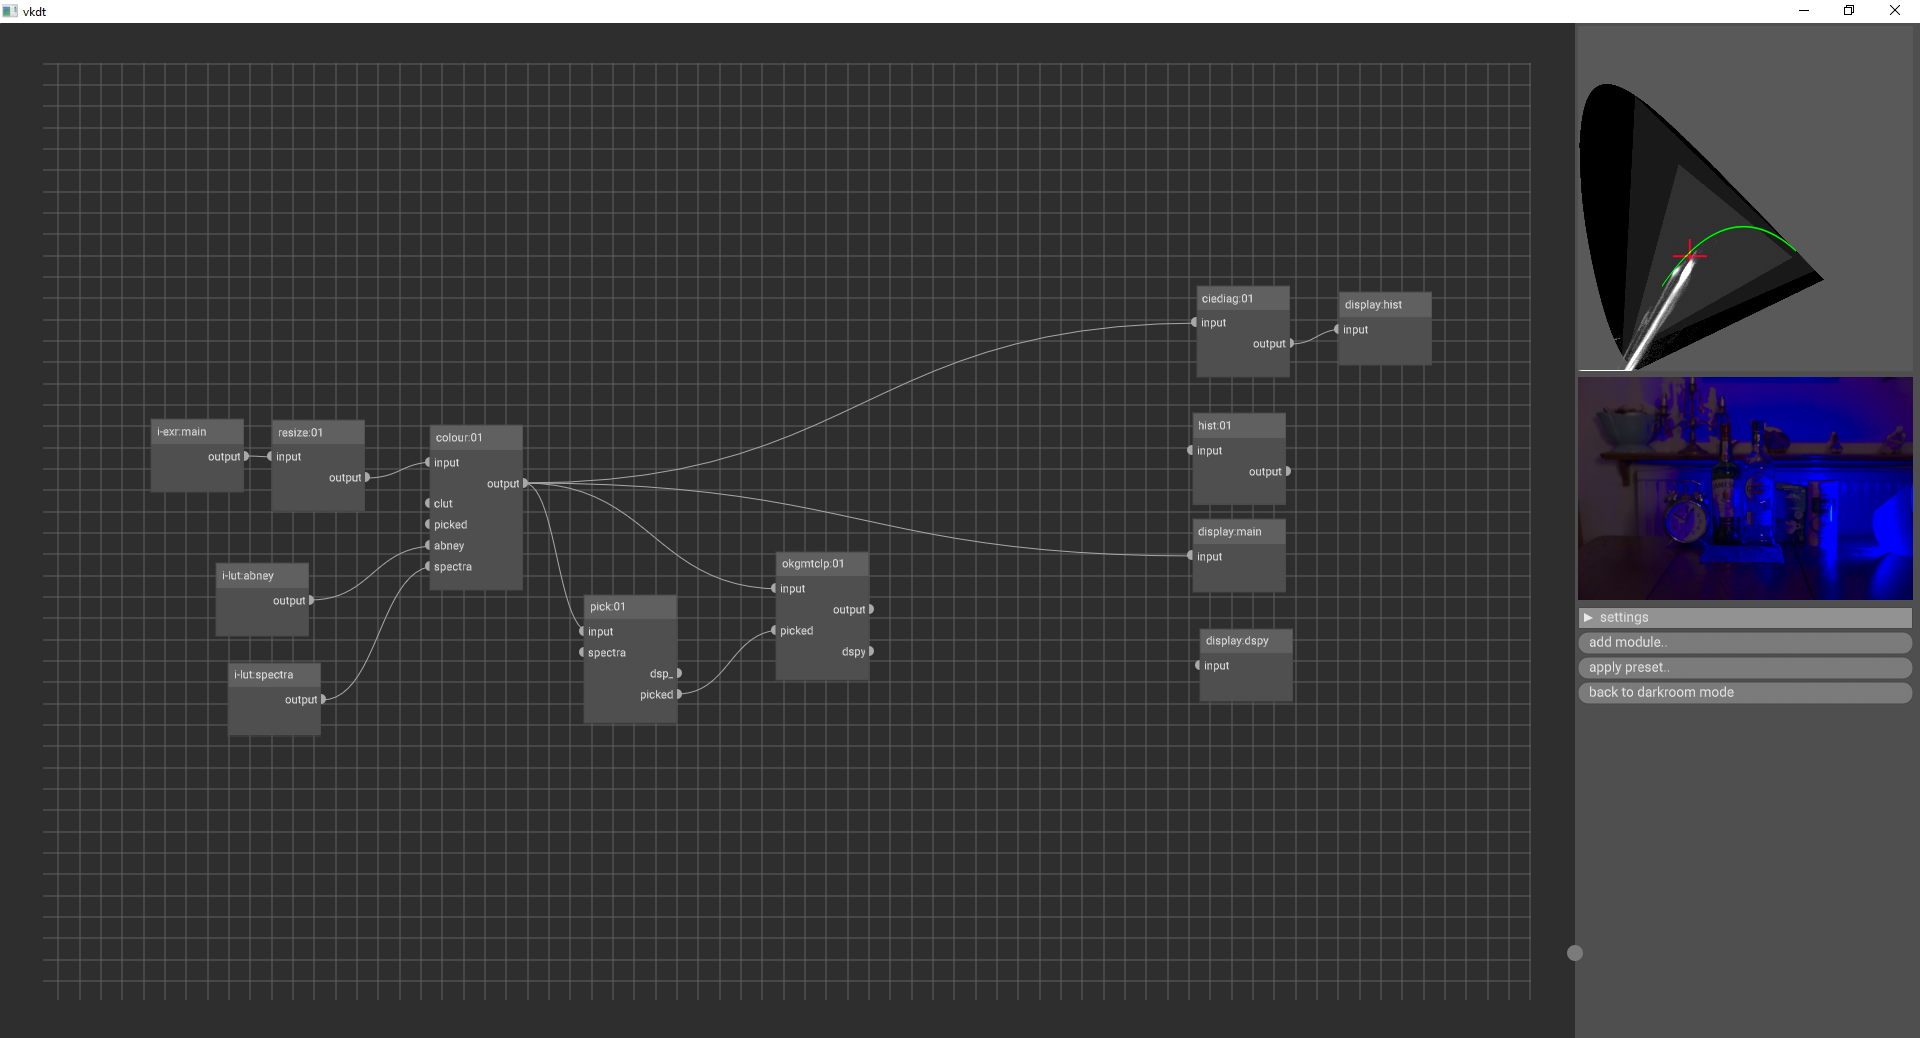
The module is clipping an out-of-gamut color directly while trying to preserve lightness. Luckily, since I added other clipping methods, we can change that. Let’s try a project mode that clips it towards a luminance of 0.5.
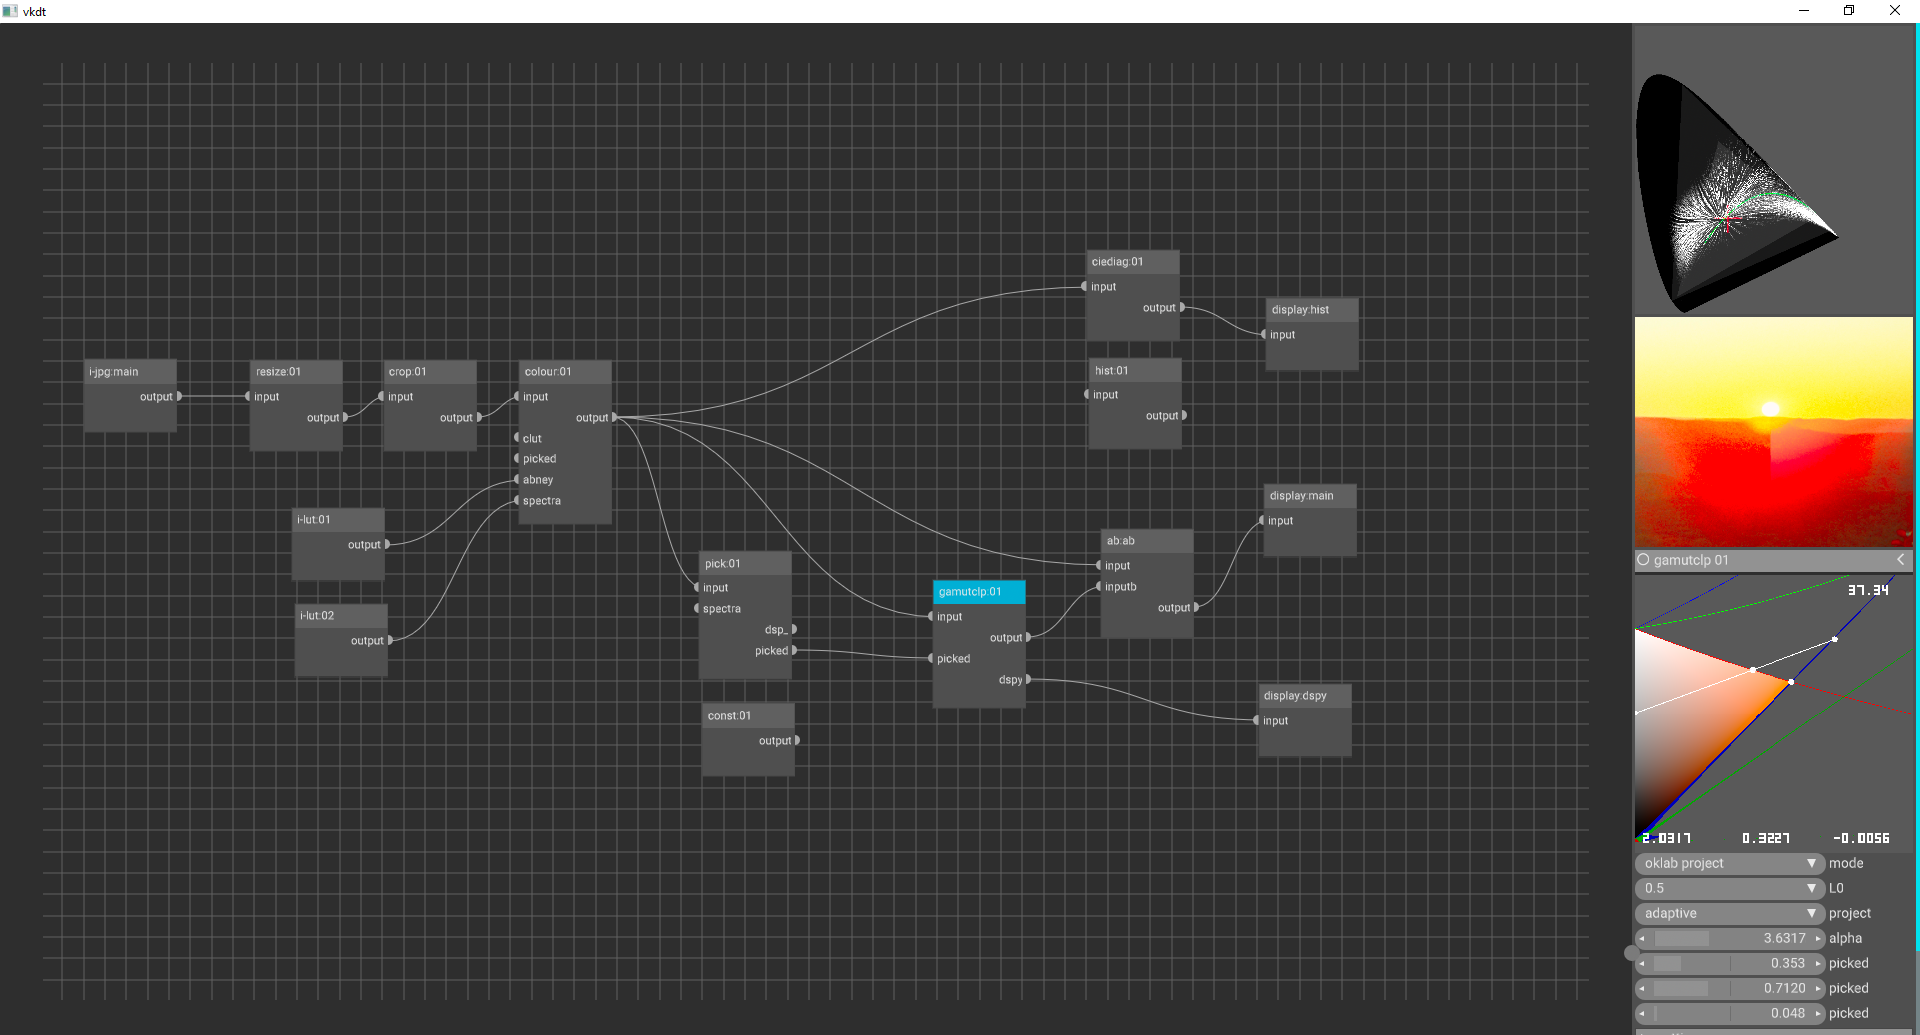
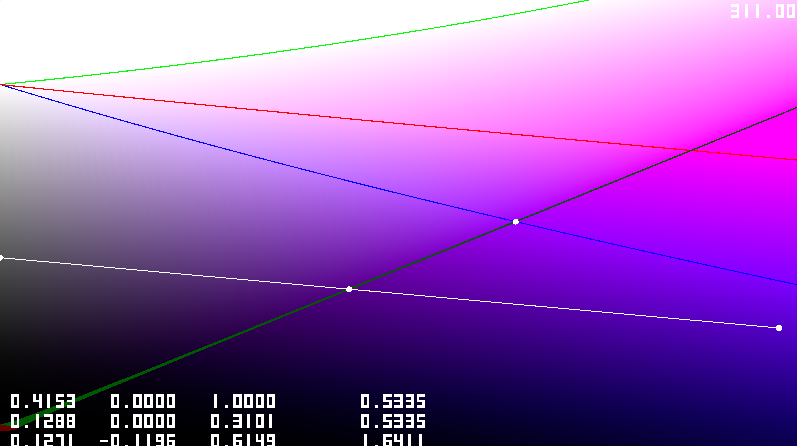
The color directly around the sun looks better, but I am not totally convice it is better than just telling the colour module to gamut limit to rec2020. Lets recompile the shader to show out-of-gamut color on our visualizer to see where C_0 and L_0 it pulling from.
Oh, it is clipping from way out in right field…
If we tweak our red hue a tad in curves, it doesn’t look all that bad

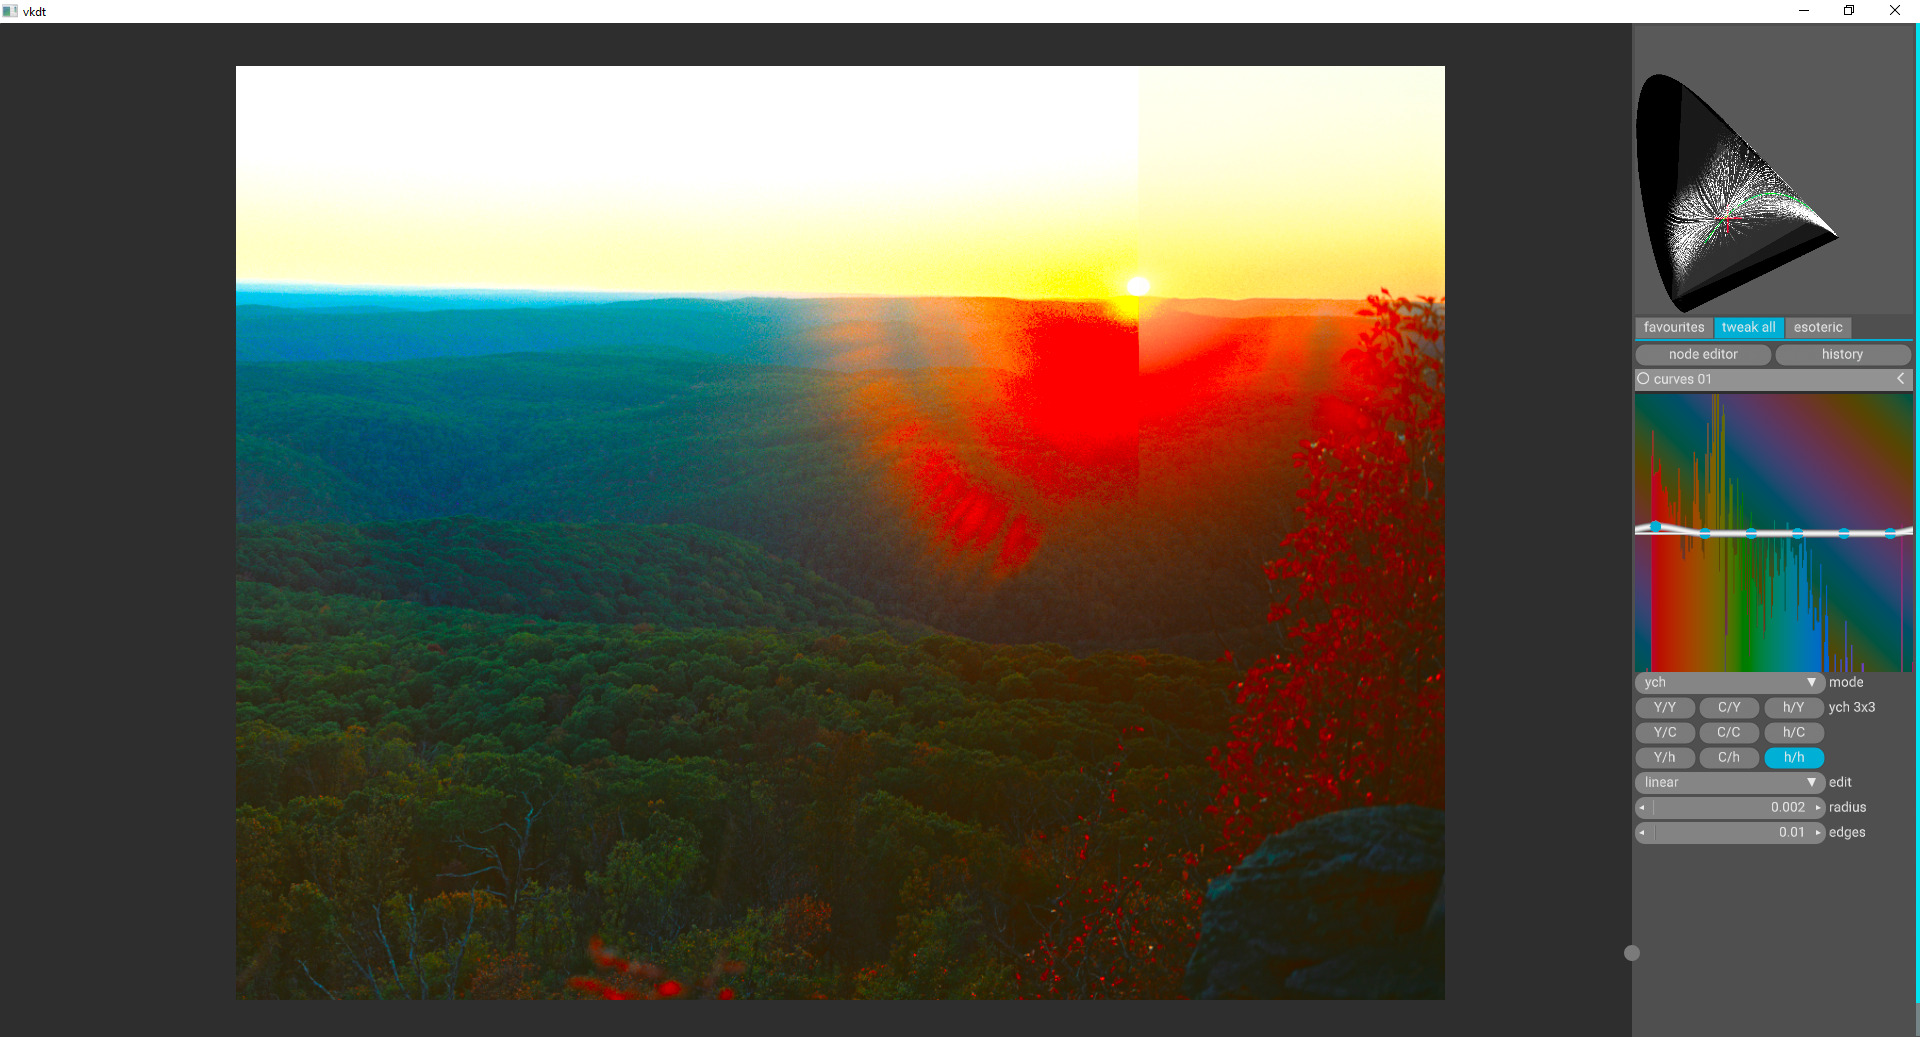
(image split a sun: left without, right with
gamutclp)
Conclusion
Though it was fun, this module is somewhat useful in the color-processing workflow but has some limitations. The colour module seems to handle gamut mapping pretty nicely already. Even the filmcurv module can help knock down extreme colors.