I have merged the multi-scale logic of the wavelets with the guided filter to guide laplacians in order to reconstruct clipped highlights. It’s kind of a turnducken of science.
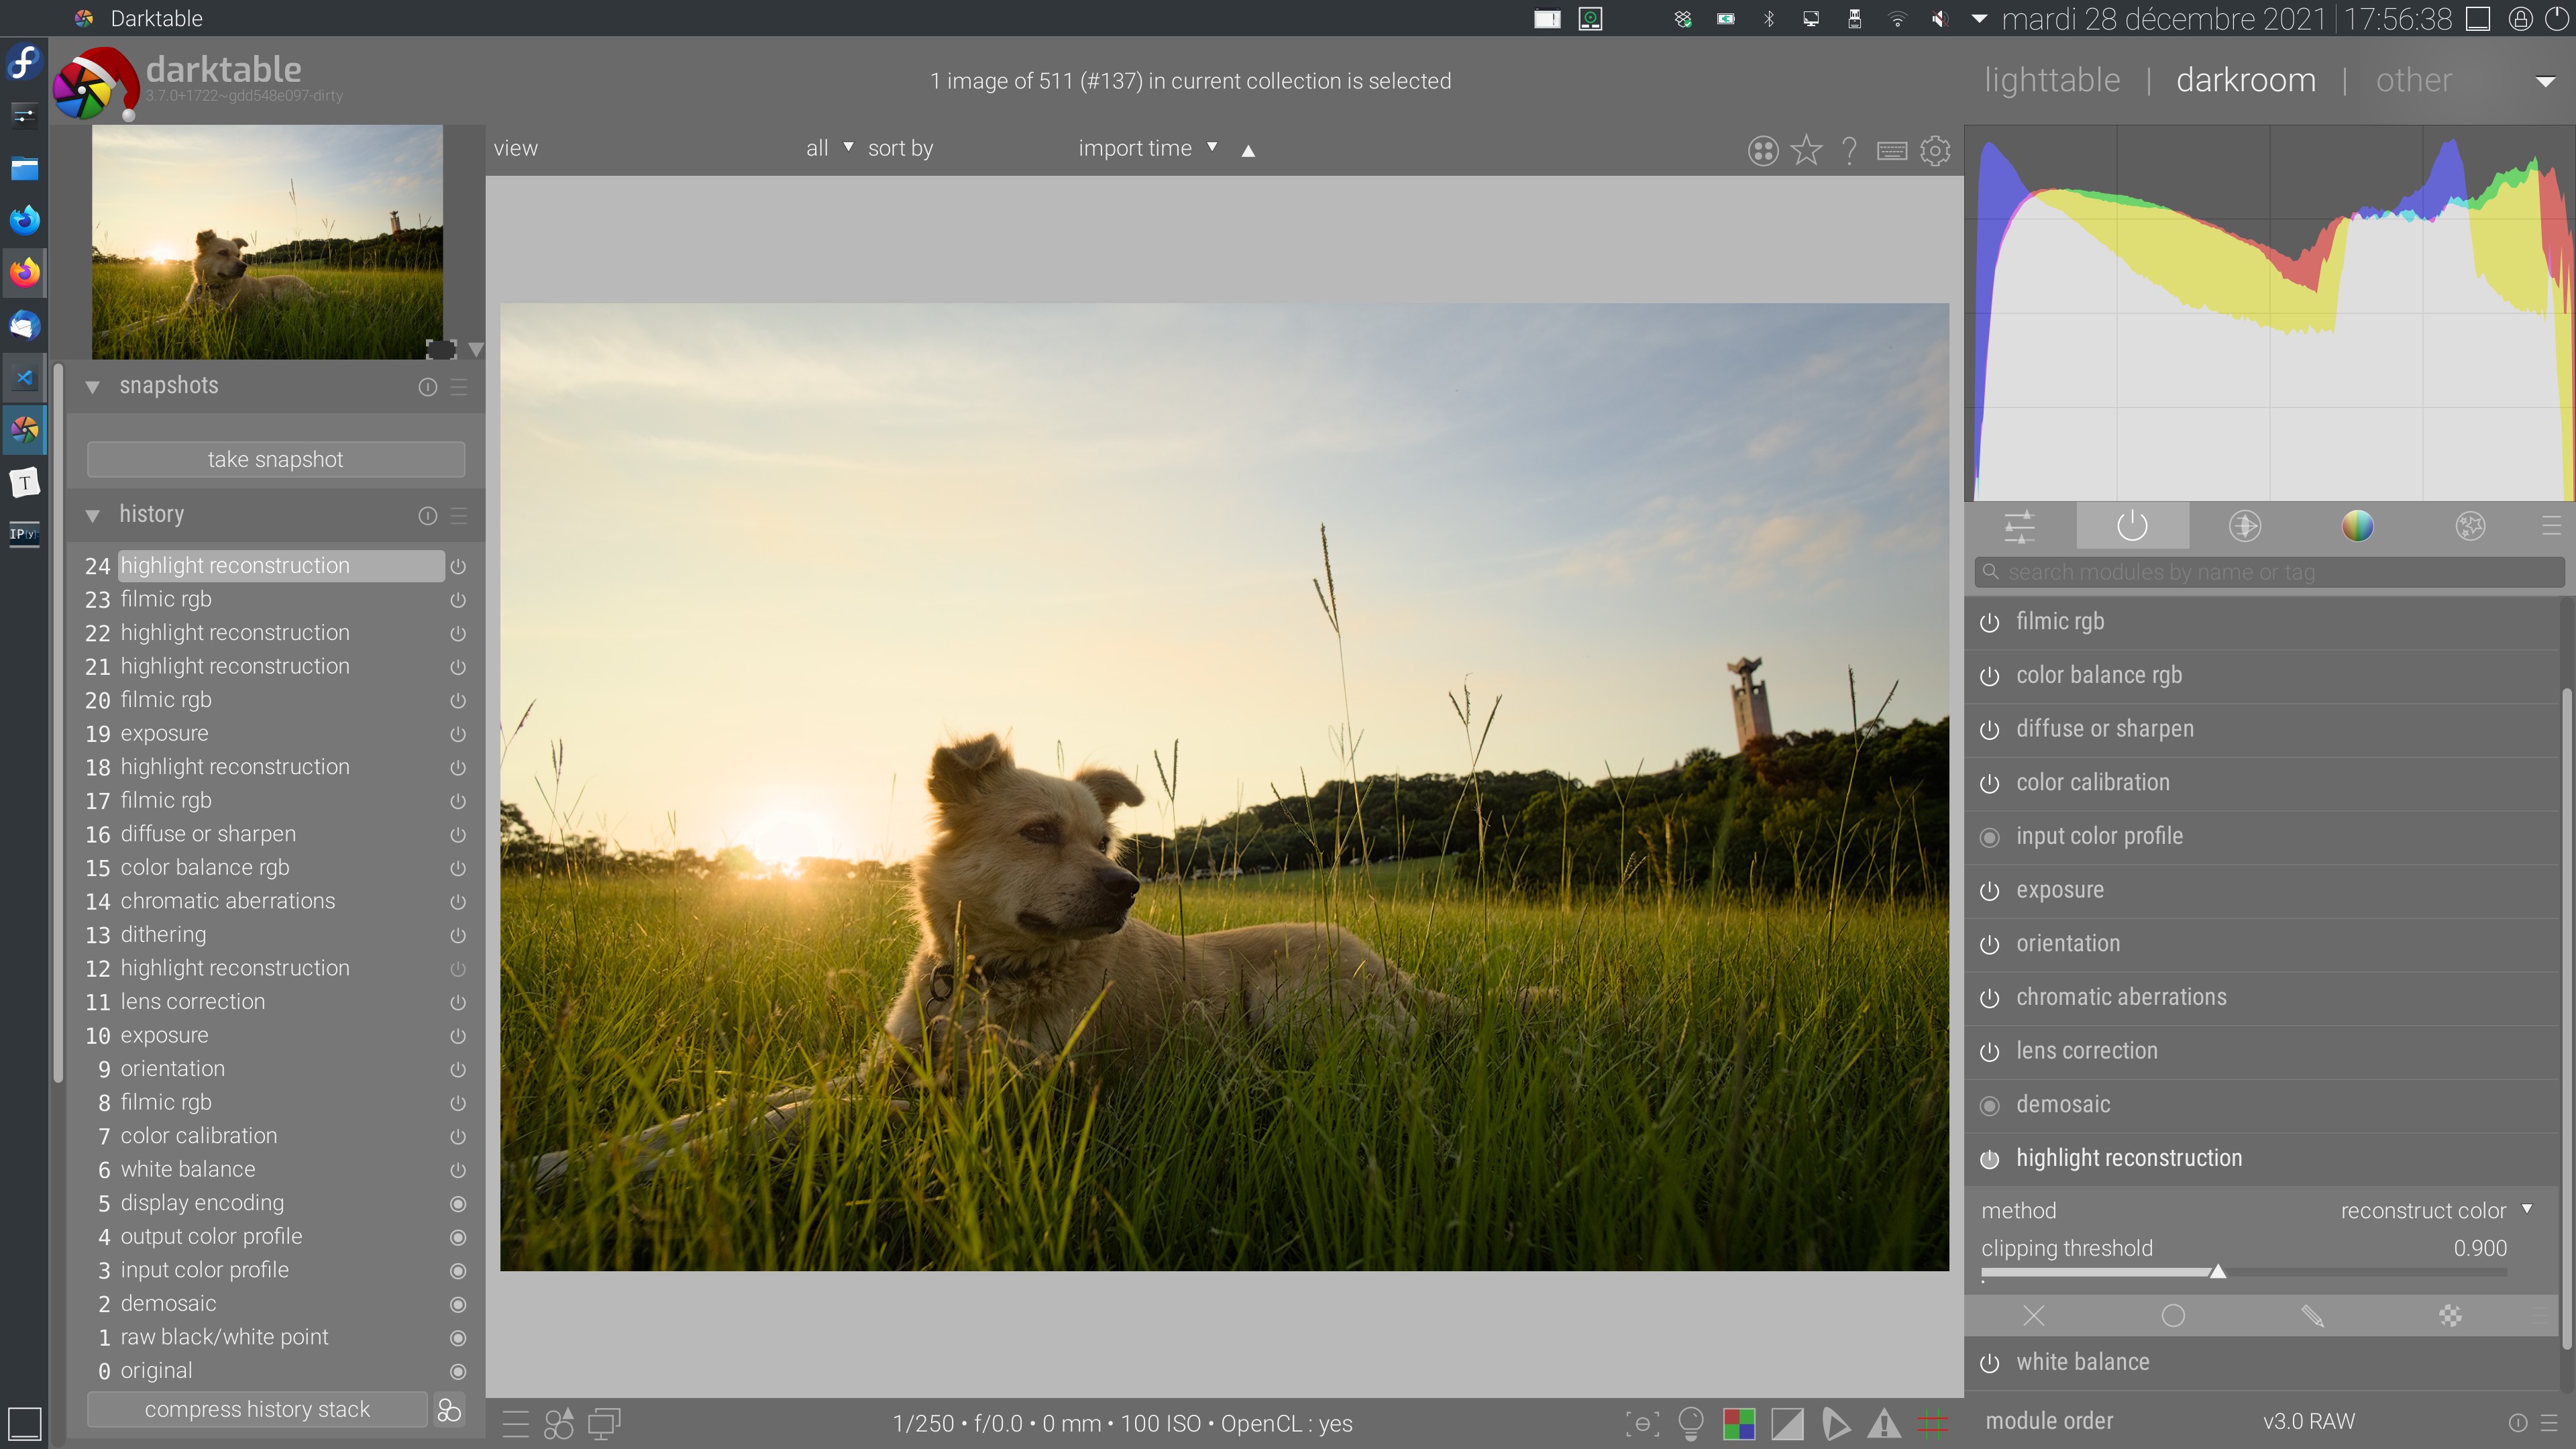
With little effort, reusing code from diffuse or sharpen and the logic from filmic reconstruction and the exposure-invariant guided filter, I got something working today to improve the noticeably shitty highlights reconstruction in darktable.
The results are far from perfect as a stand-alone reconstruction, but it helps filmic reconstruction a great deal. It’s a WIP since weird fringes can get produced. No OpenCL yet.
Code:
Results:
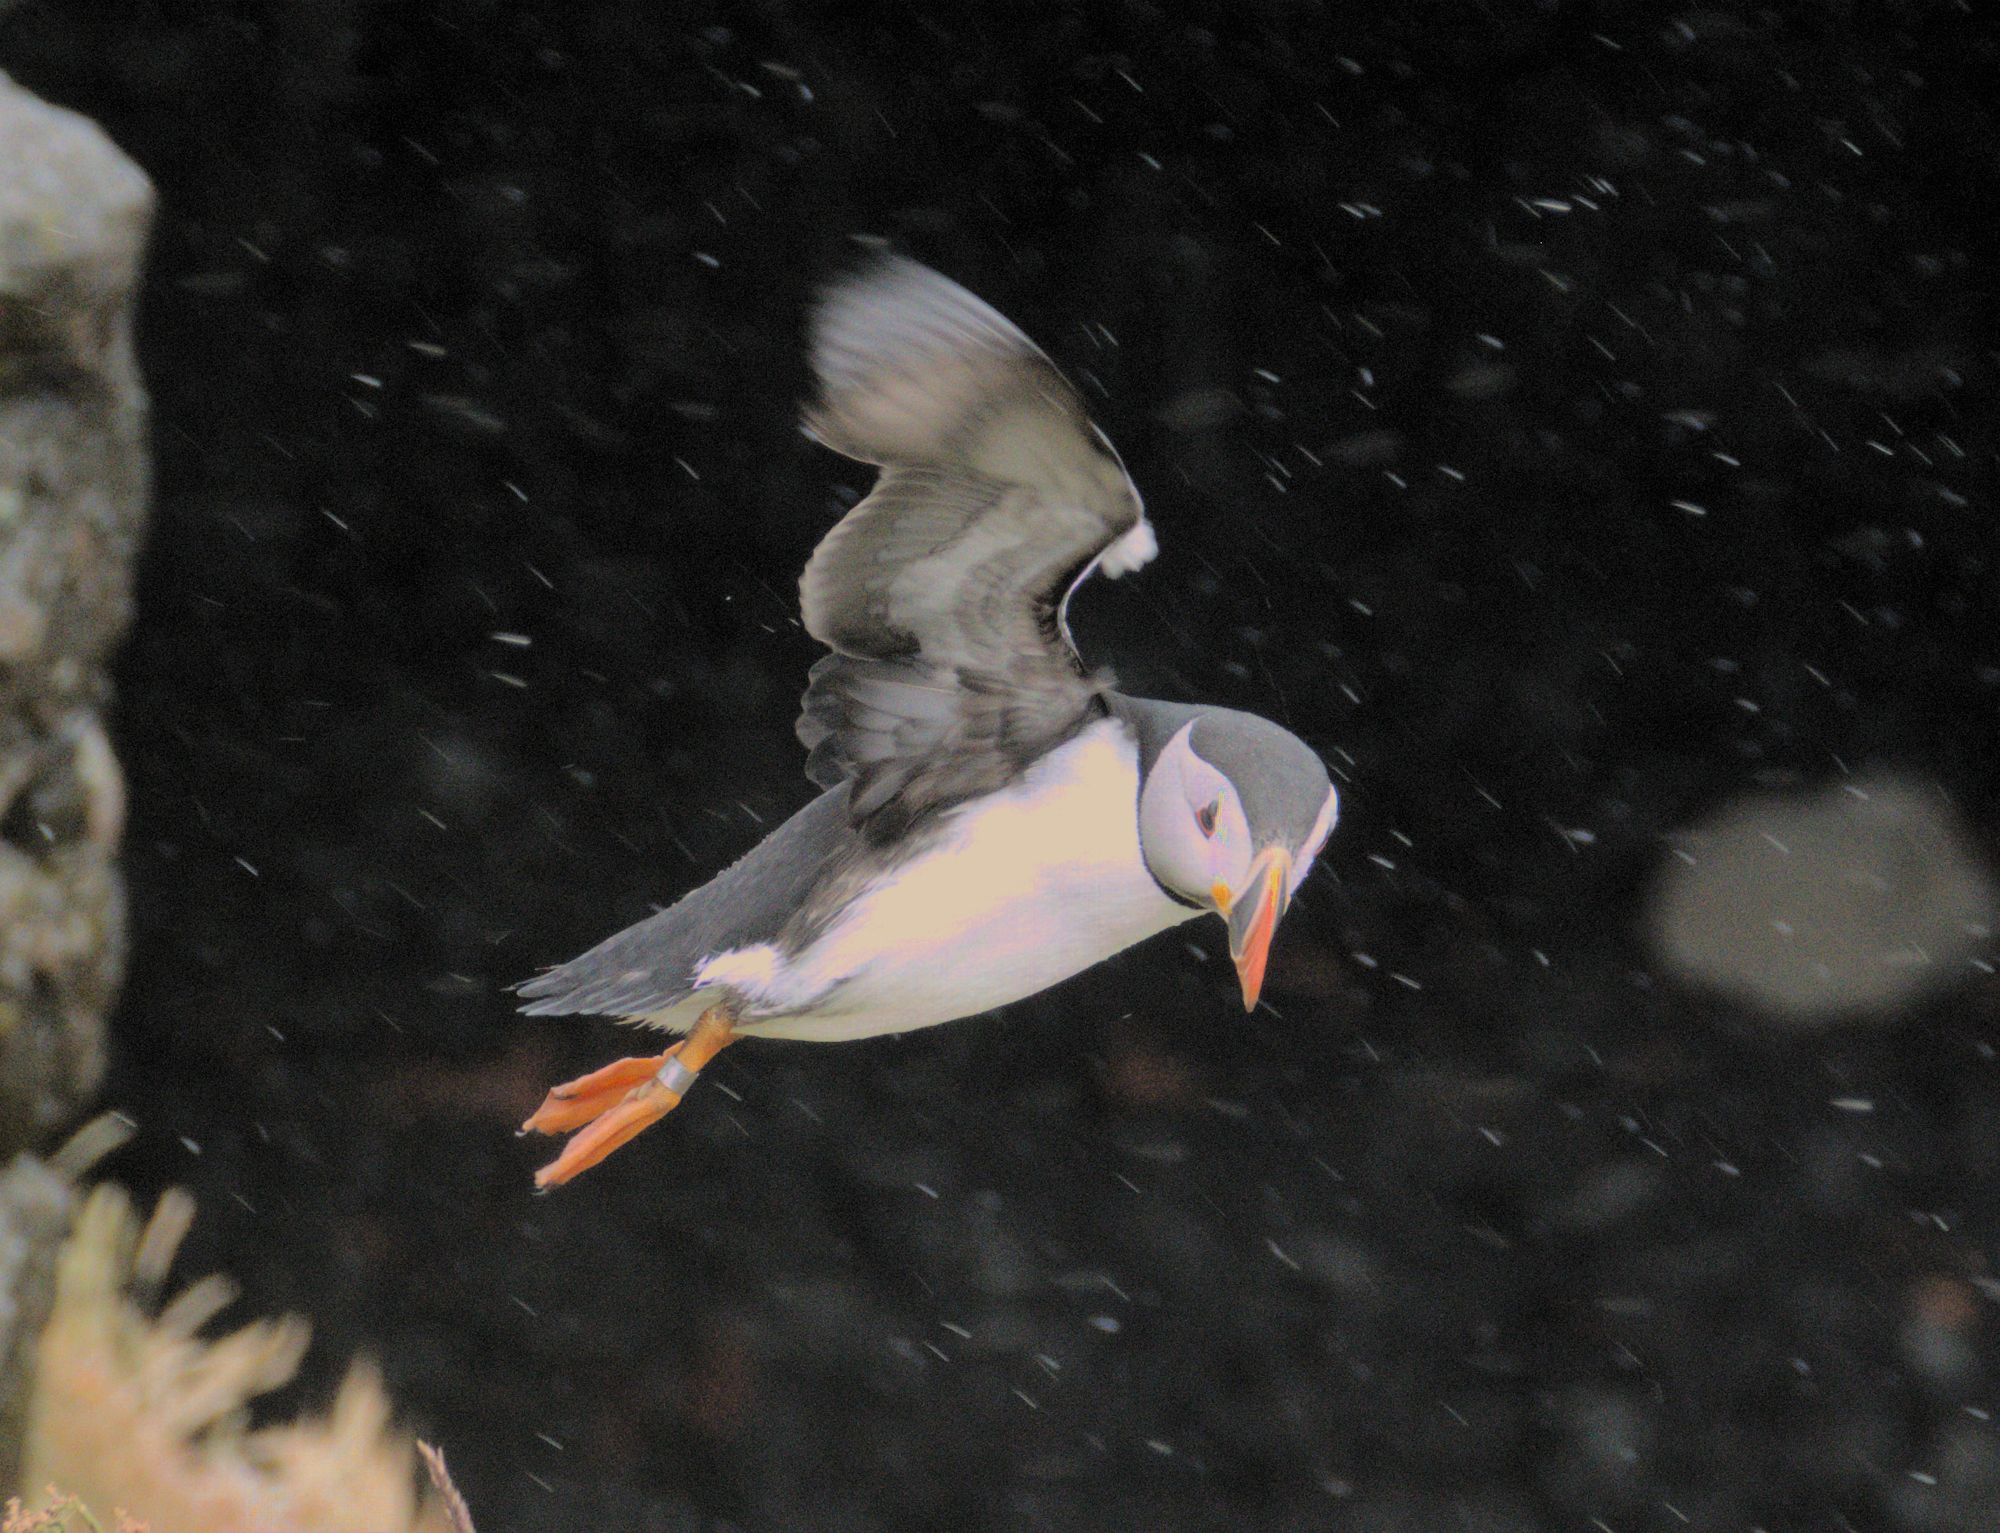
(“before” is using filmic reconstruction at the end of the pipeline and the new chromatic aberrations module, after is the same with raw highlights reconstruction):
Before, no raw highlights reconstruction:
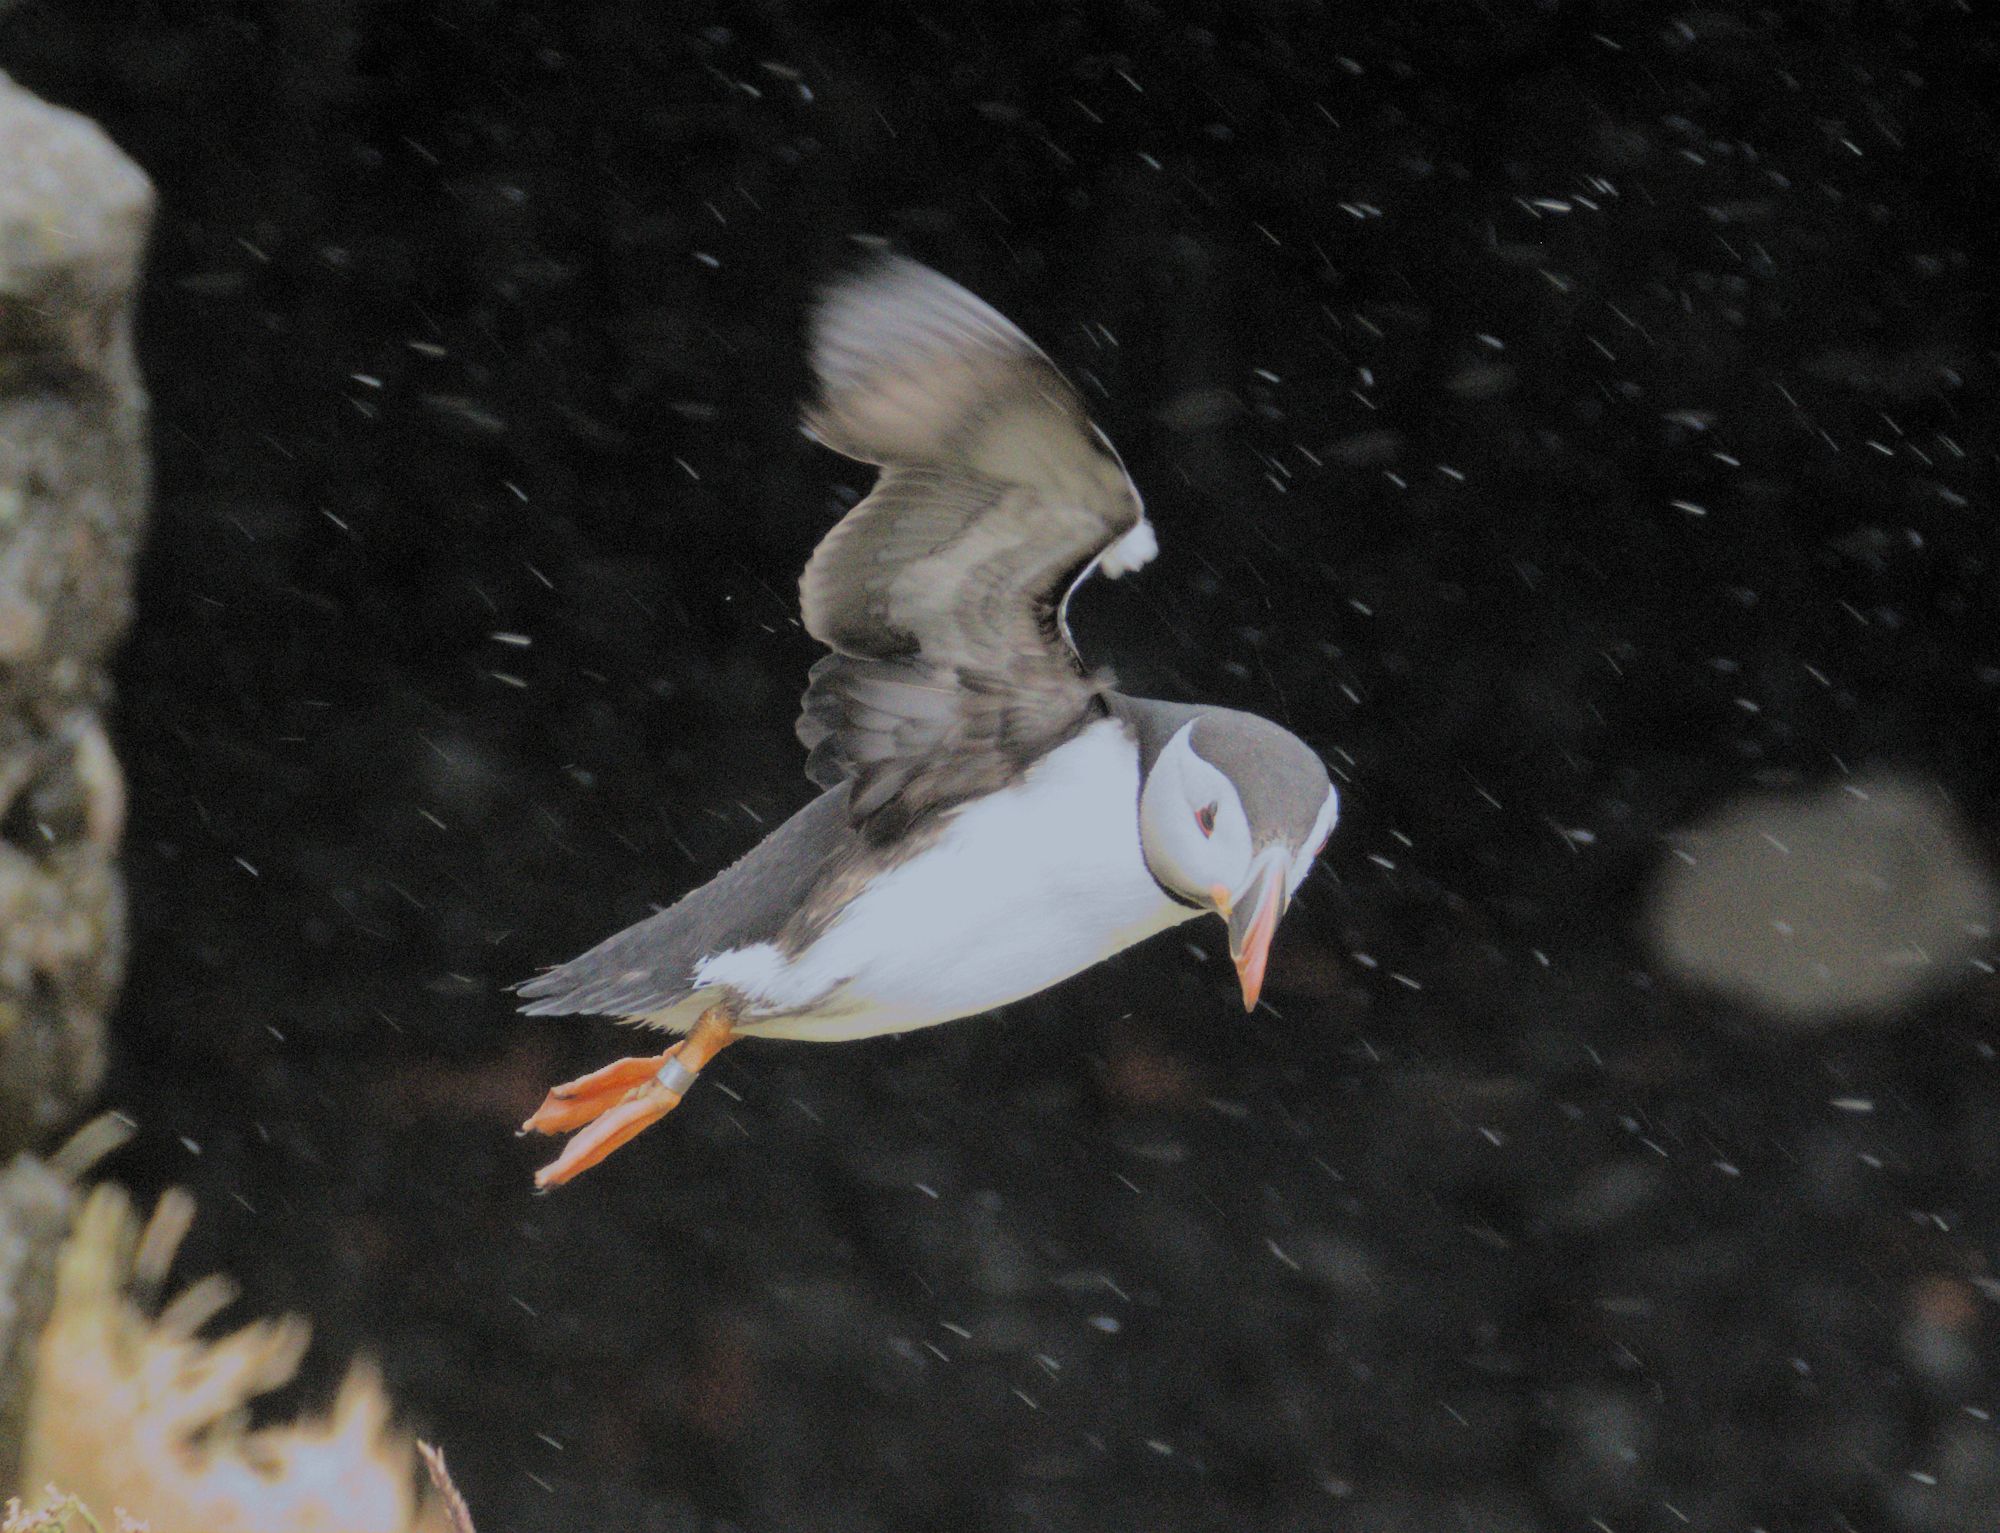
After, raw highlights reconstruction in “clip” mode:
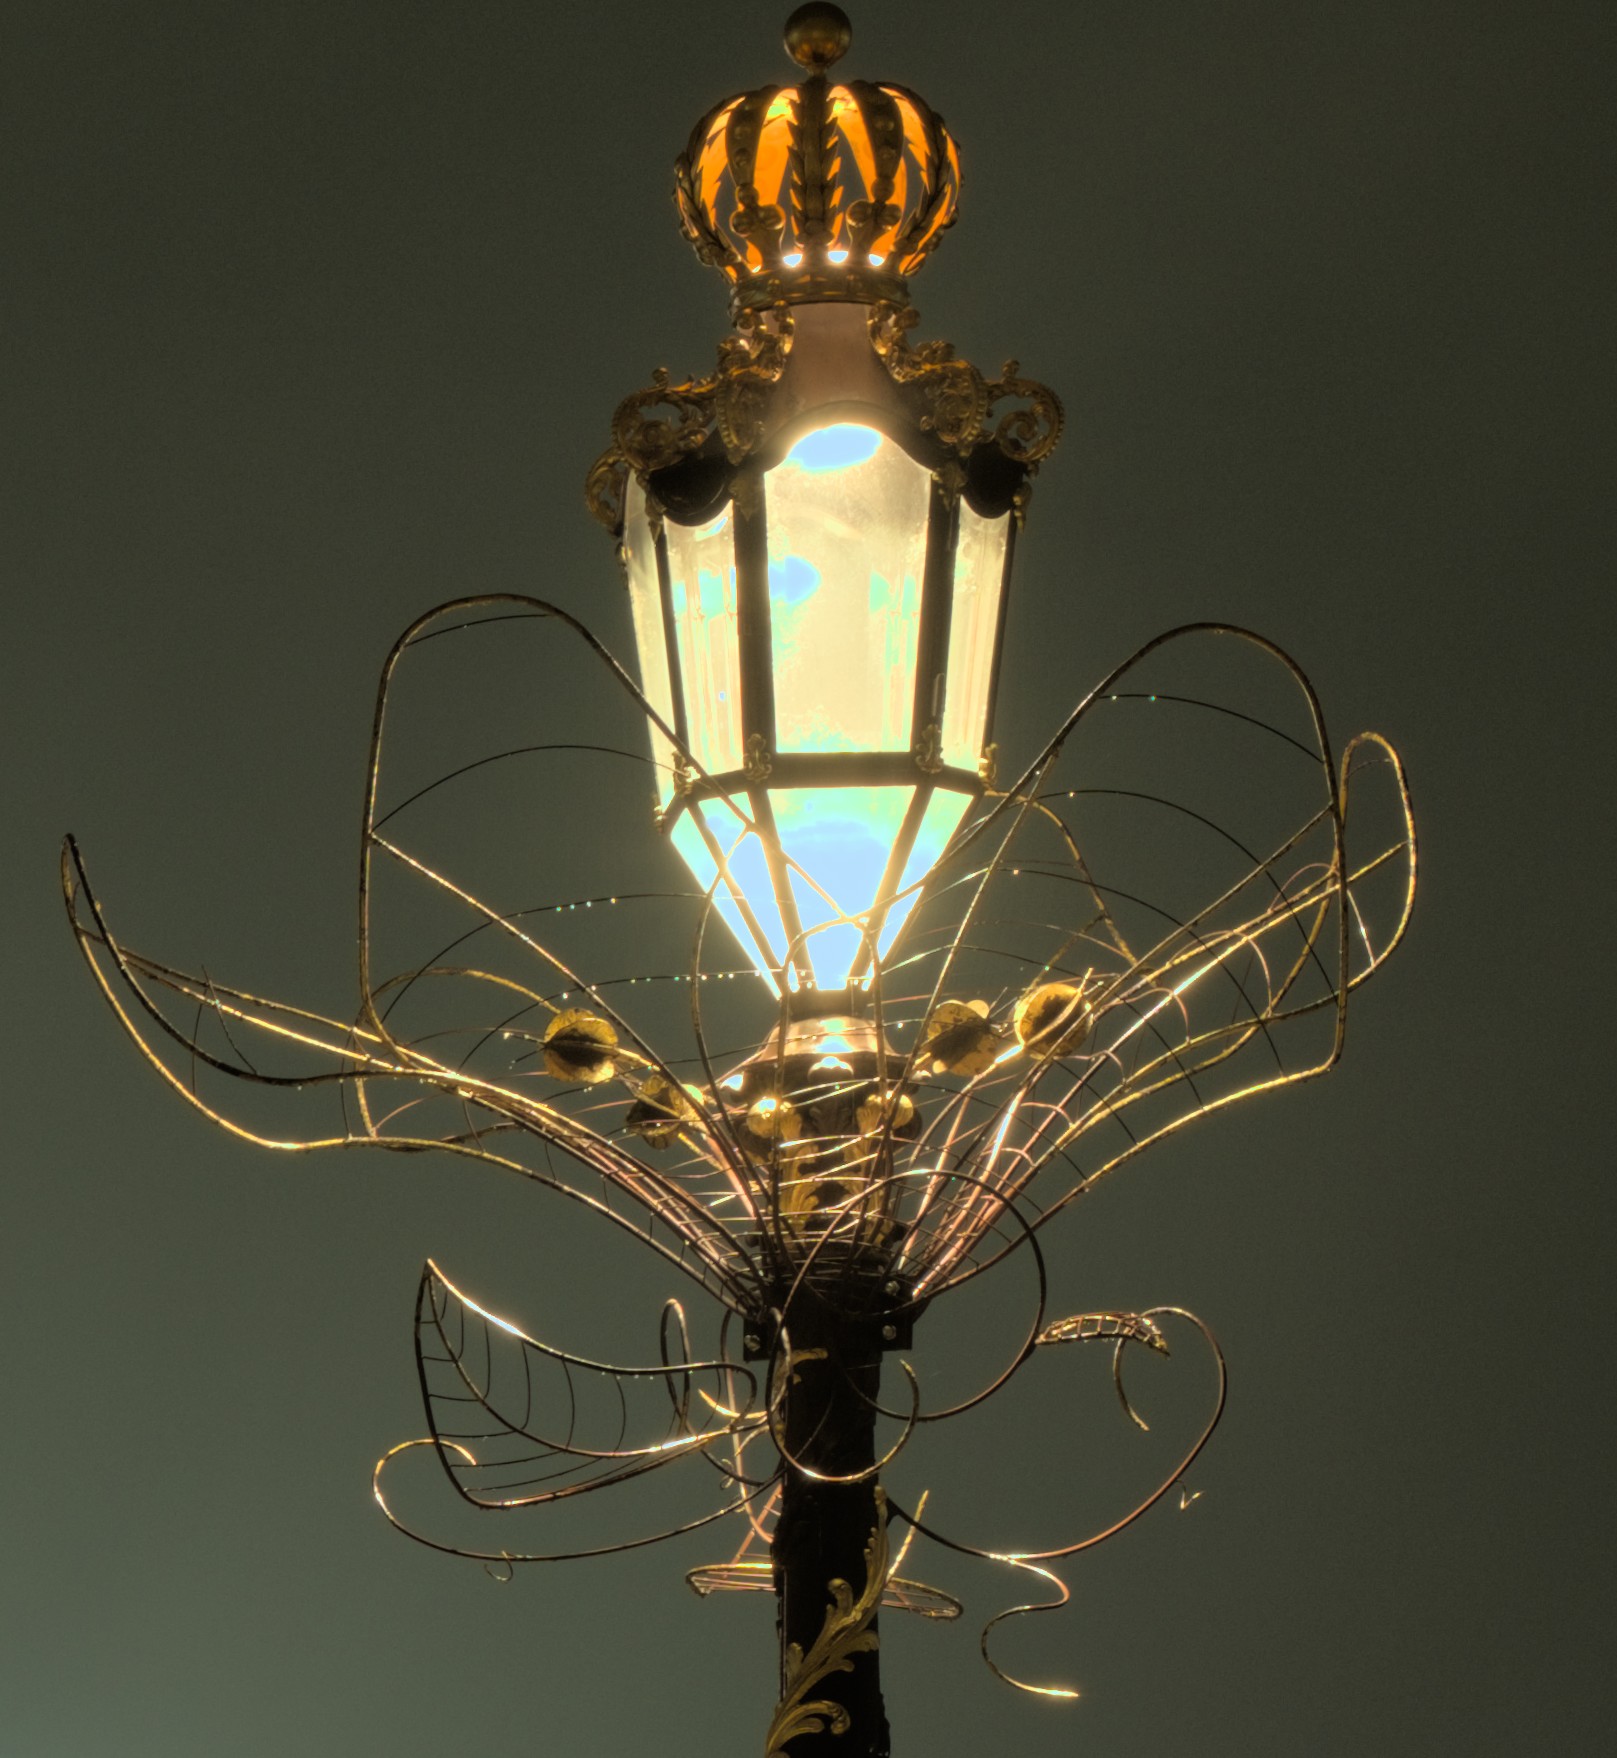
After, raw highlights reconstruction in “reconstruct in Lch” mode:

After, raw highlights reconstruction in “reconstruct color” mode:

After, raw highlights reconstruction in “guided laplacians” mode:

Before, no raw highlights reconstruction:

After, raw highlights reconstruction in “reconstruct in Lch” mode:
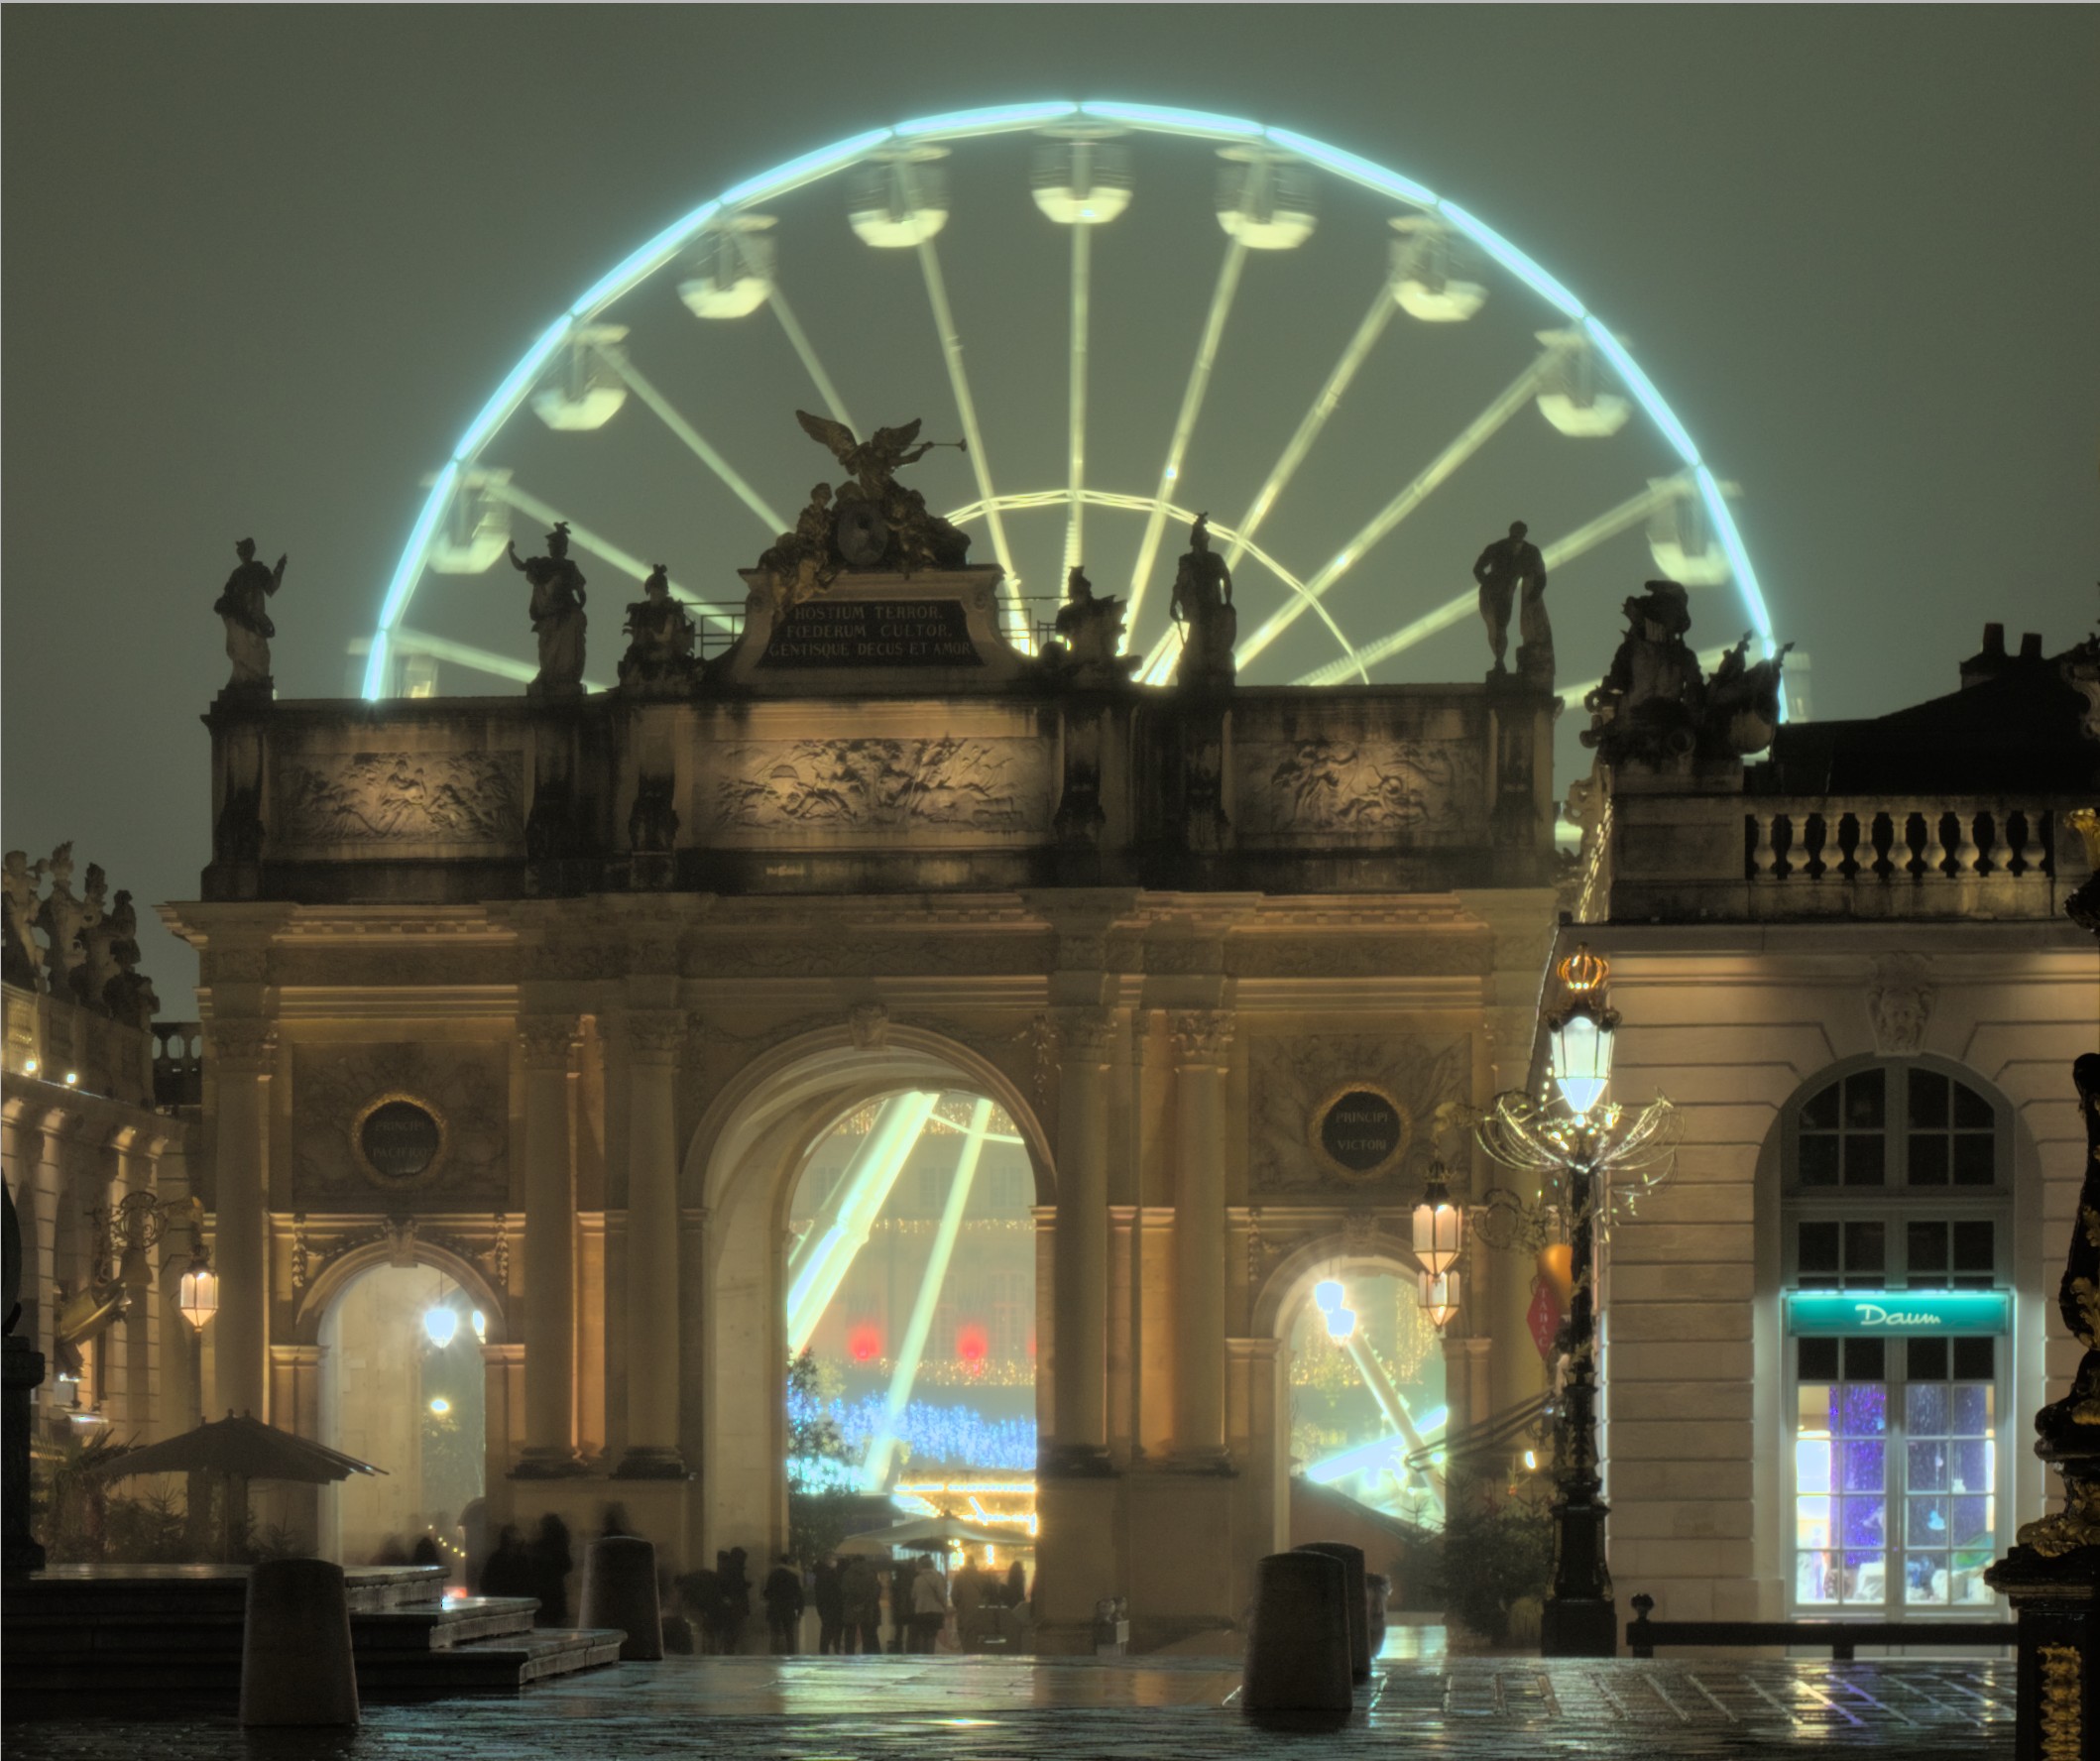
After, raw highlights reconstruction in “clip” mode:

After, raw highlights reconstruction in “reconstruct color” mode:

After, raw highlights reconstruction in “guided laplacians” mode:

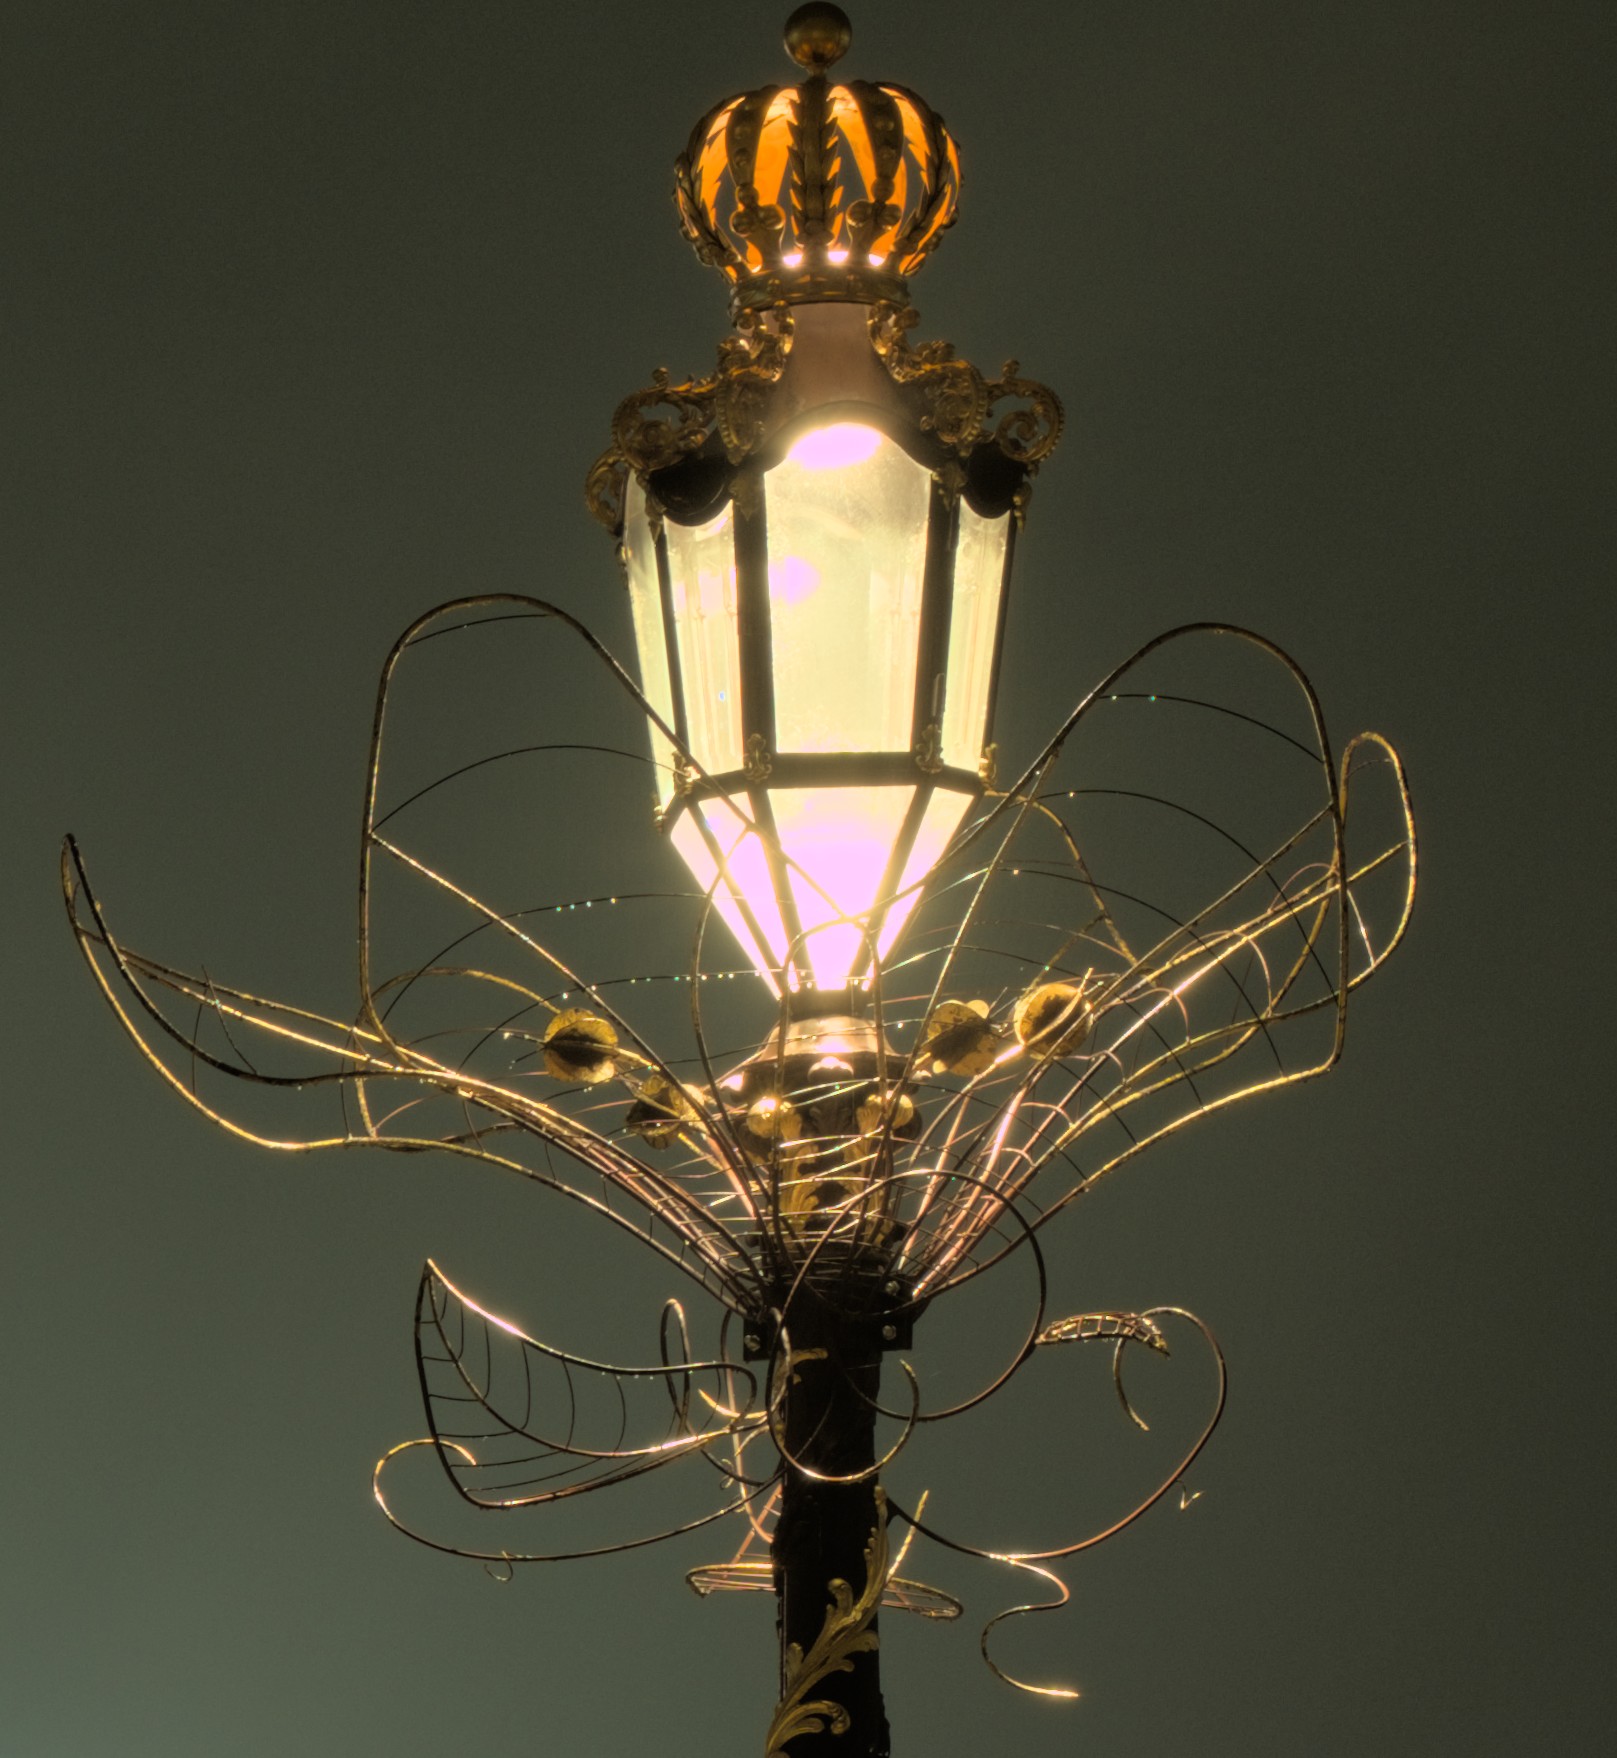
Before, no raw highlights reconstruction:

After, raw highlights reconstruction in “clip” mode:

After, raw highlights reconstruction in “reconstruct in Lch” mode:

After, raw highlights reconstruction in “reconstruct color” mode:
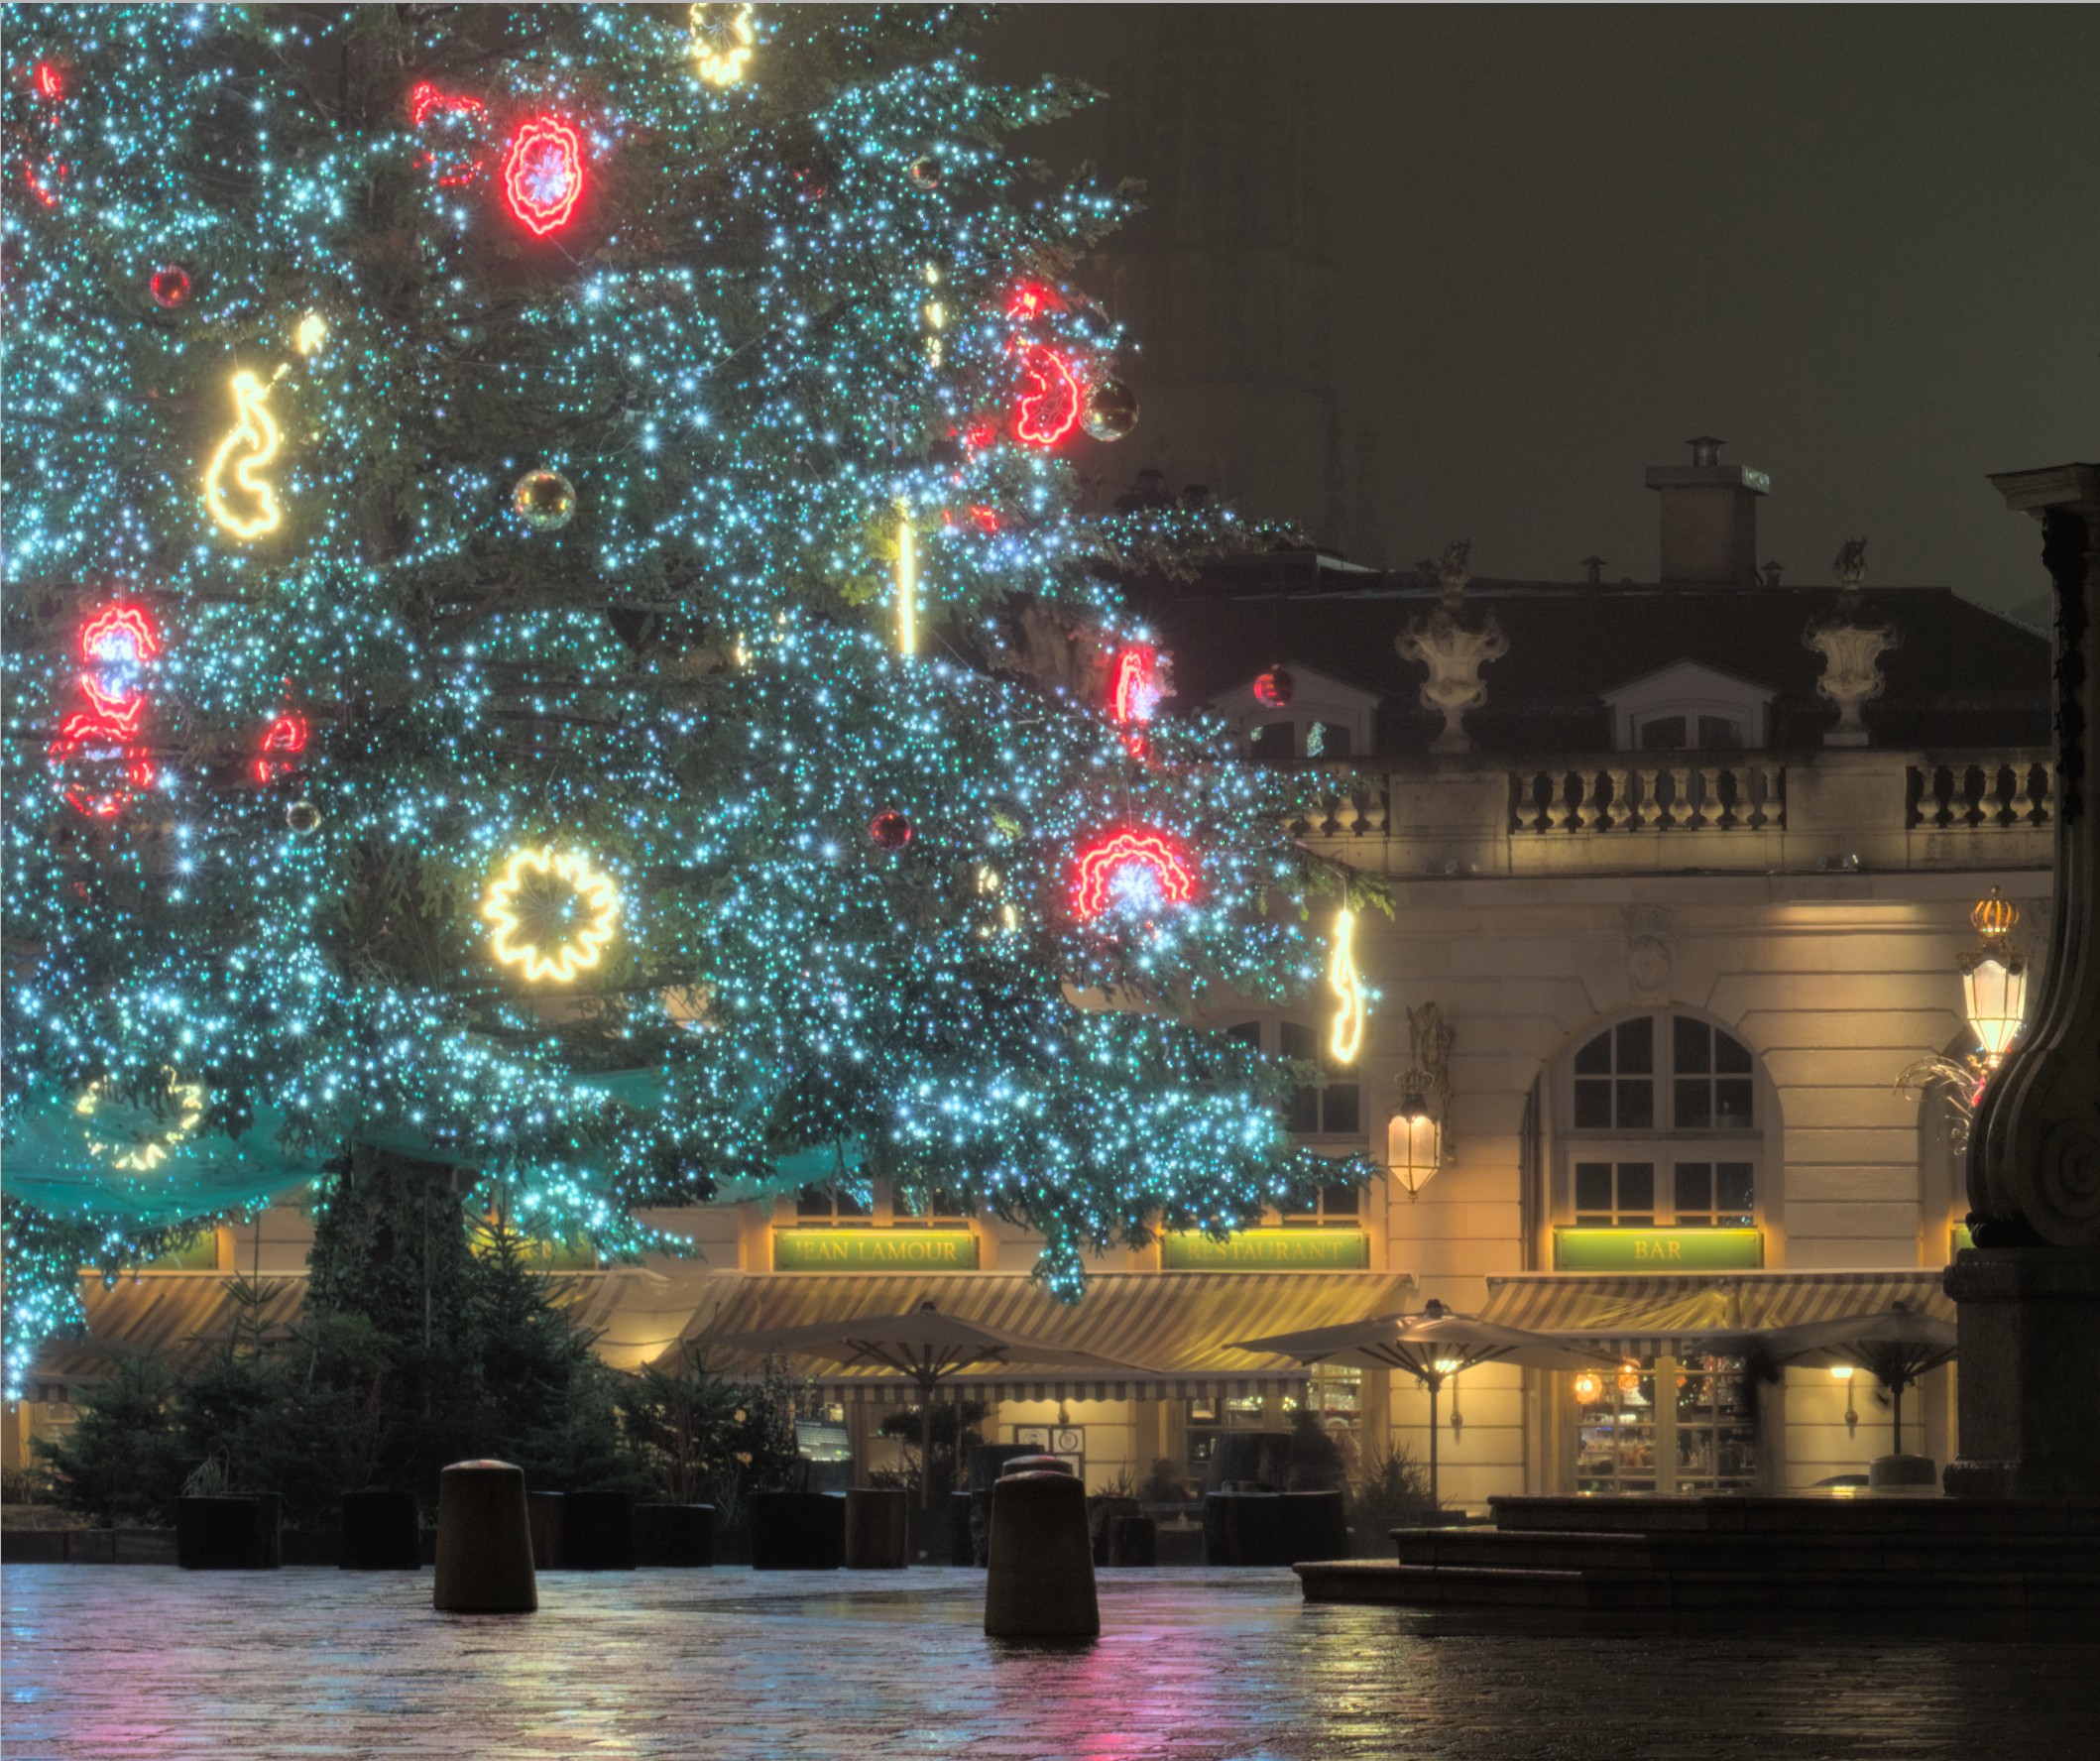
After, raw highlights reconstruction in “guided laplacians” mode: